|
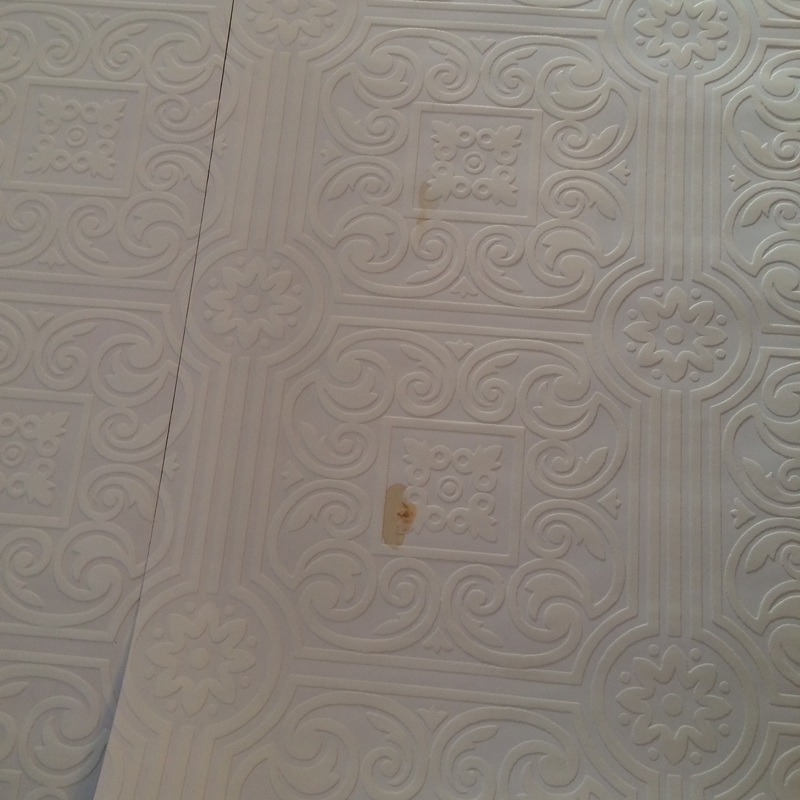
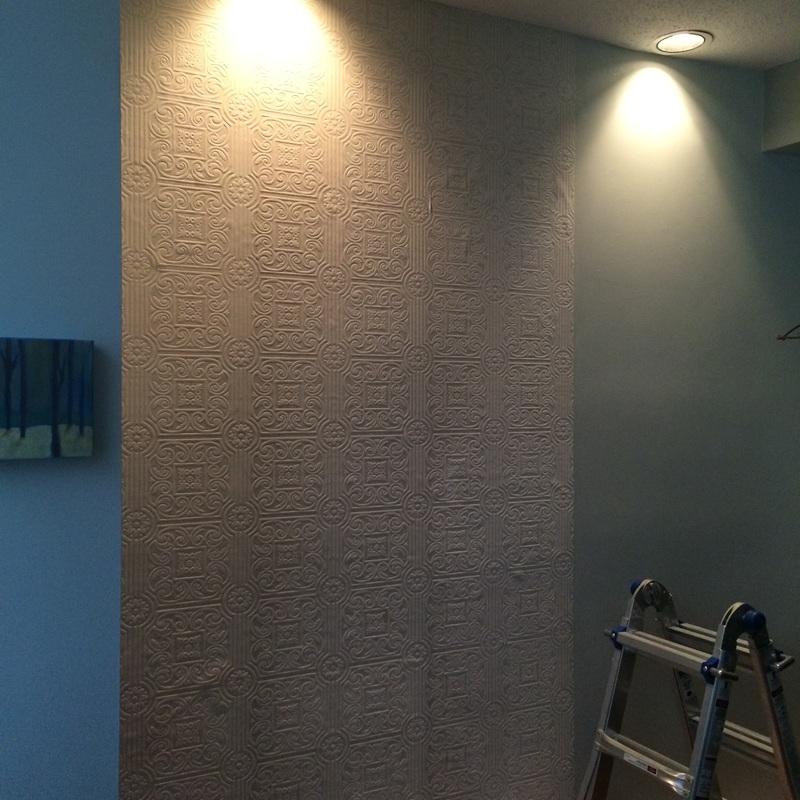
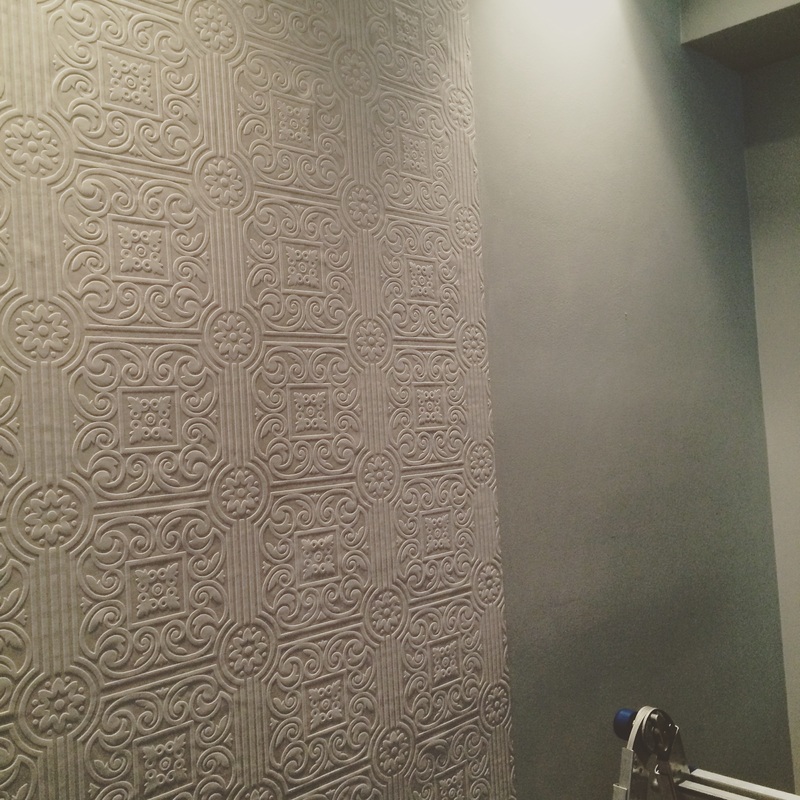
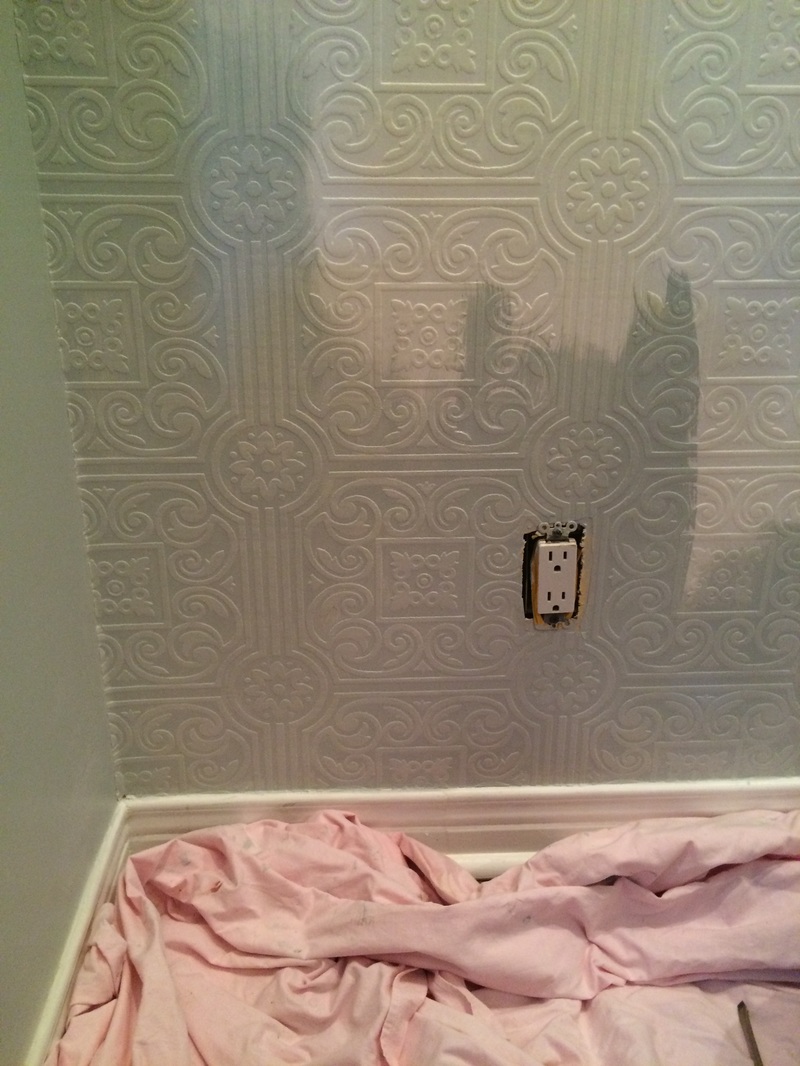
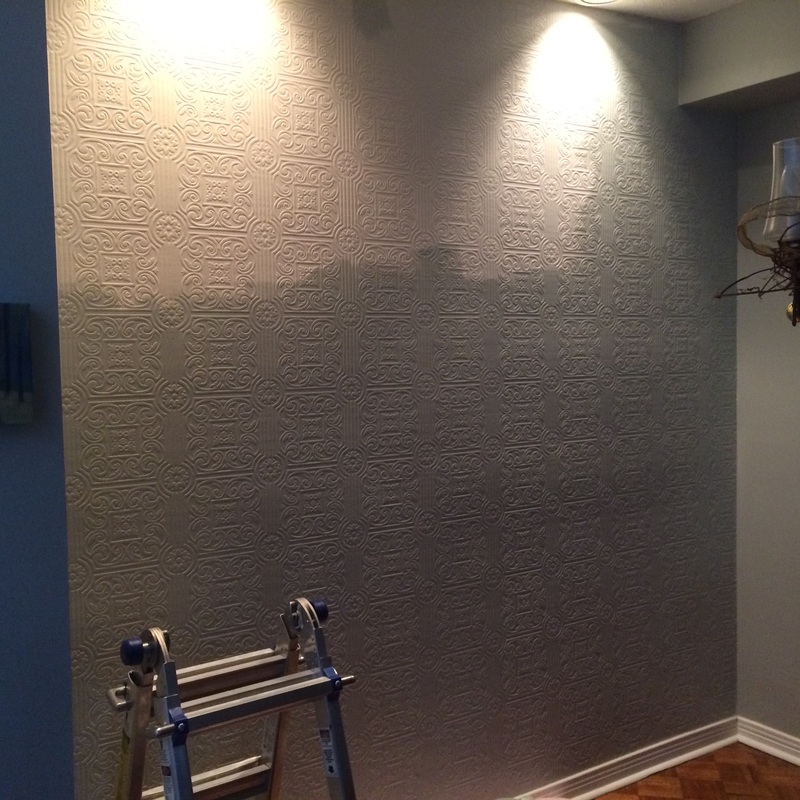
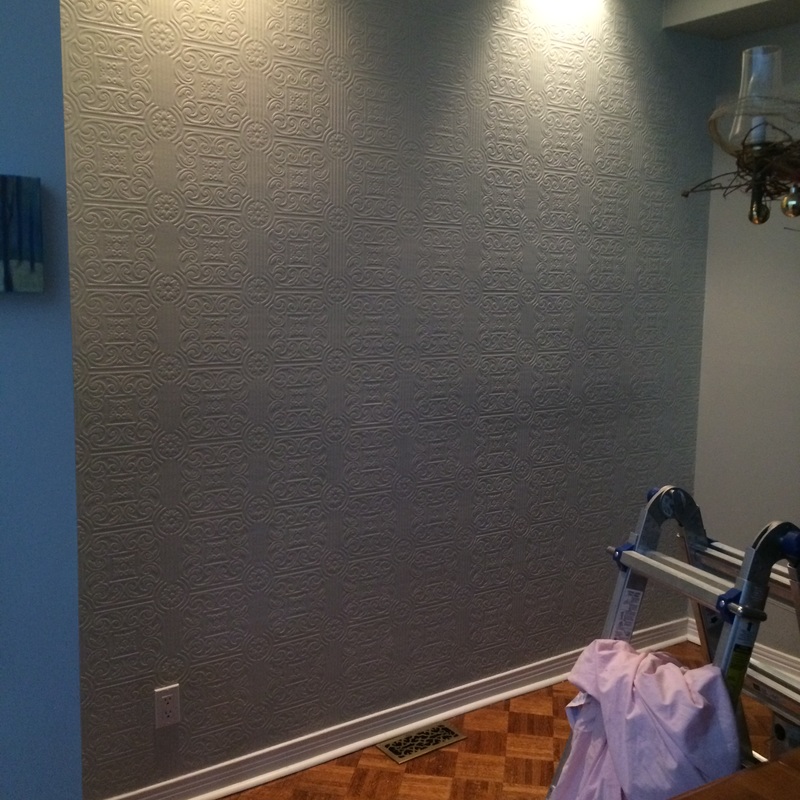
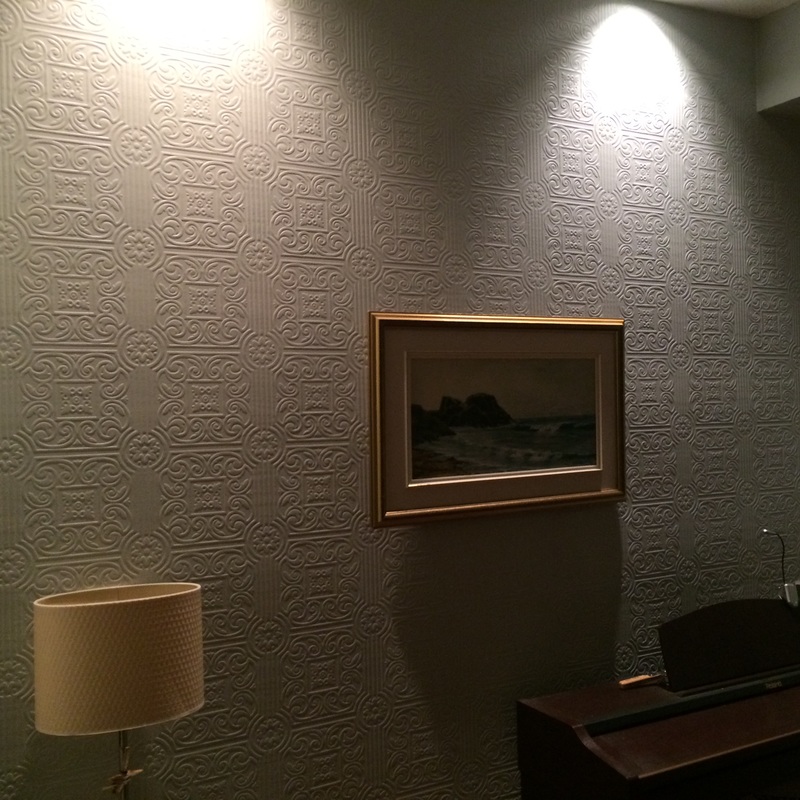
I saw some beautiful tin ceilings and walls on a trip to Prince Edward County and wanted to get that look in my home. There is a wall in my dining room begging for a PROJECT! Yippee! I've never installed wallpaper alone, used to help my mom when I was younger: almost a pro I figure! I bought paintable 'tin' patterned wallpaper off of amazon, similar products at home depot etc. I used most of two rolls for one wall. I did a lot of reading beforehand, watched youtube videos (this was a good one). Before wetting the paper: The prep and pre-cutting of the wallpaper took a while, lots of measuring. I started with the first piece on a line centred in the middle of the wall and drawn with a level. I cut each piece from the dry roll on the floor first, matching the pattern and numbered them on the back with pencil so I'd remember the order. Though the wallpaper was pre-pasted, there was lots of advice to also put on a thin layer of paste (in retrospect, I would not do this again, there was lots of excess paste). Installation: I moistened the cut pieces in groups of two: I'd take them to the bathtub, where I set up the wallpaper tray - moisten, and then fold paste side in ("booking"). I watched this video a few times before starting. Starting with the centre piece that was level worked out well and made it obvious to me our old house has wonky walls. I let the installed paper dry overnight and painted it the following day - I used a roller but had to go back with a brush to get paint on all the pattern. Level of difficulty: 3/5 Cost: $50-75 (2 rolls, wallpaper starter kit). I already had leftover paint and painting equipment. Time: 8-10 hours. I started Saturday morning and finished up later afternoon with paper installation. Painting was quick and occurred the following day. I think I'll be faster next time. Lesson Learned 1. The prep is a bit overwhelming but worth it. Once you start, you have to keep on going with the paper installation and get them in place while you can still manipulate them. Marking the centreline with a level worked well. 2. The paper was pretty stretchy once wet which was good and bad. I could push it around to match the patterns but wasn't 100% perfect. 3. A sharp blade makes a difference with all the trimming of the paper at the top and bottom. This paper was hard to trim cleanly, probably because of the stretchy-plastic nature of it. 4. Don't overly moisten the paper. 5. I think I would paint it with semi-gloss paint next time. I just used some we had left over but I think the bit of extra shine would make the pattern really stand out. Onto the next project!
1 Comment
Mommy
1/9/2016 09:48:41 am
wonderful job ! Leave a Reply. |

Author: Leah BartlettLover of projects, big and small! I try to not be intimidated by lack of experience/skill/know-how. Archives
September 2018
Categories
All
|
 RSS Feed
