|
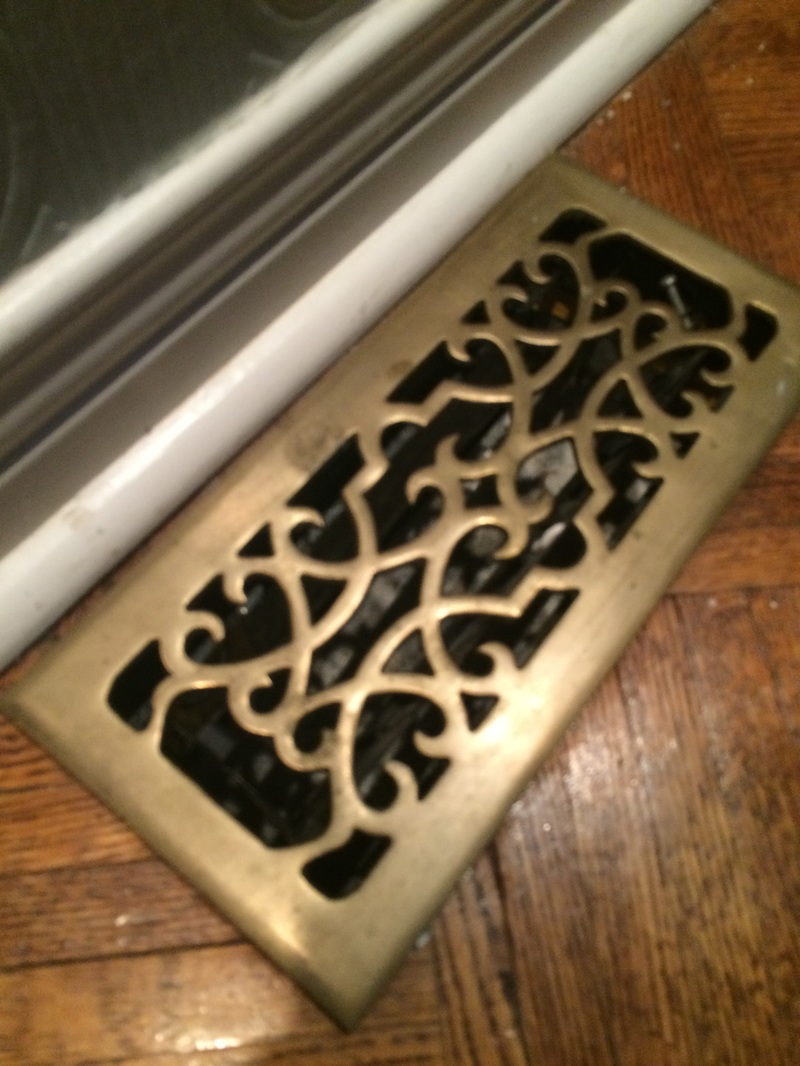
A quick project today to get our house ready for the cooler weather. Just grab some duct tape to help push more heated air into your space. We have forced air with floor vents with gaps between the edge of the vent and floor. I went around the house, popped off all the vent covers and then used some duct tape to seal the gaps. The only duct tape I could find was of the Green Bay variety #GoPacks. Luckily Abe is not a big fan of my blog so will probably never find out. Either way, once you put the vent cover back on, you can't see the duct tape at all. While I did this chore, I also lugged around the shop vac and attempted to vacuum the vents as far as I could reach. I found a big chunk of wood and more cat hair than I'd like. I am not sure if this project did any good but at least it didn't do any harm, besides using up some of the precious fancy duct tape. Costs Few strips of duct tape- 1-2$ Lessons Learned 1. Small effort, small cost. Probably also a small impact but I don't care. I felt handy! I also had my first foray into concrete mix patching. We had to replace our garage door, which still would not close completely due to an uneven garage floor. The garage install guy told me I could fix it myself - and I believed him! It took me around an hour to muster up the courage to do it and around 10 minutes to complete the job. Door now closes completely, good tight seal. I am shocked it worked out and I didn't do any permanent damage to the house in the process. If anyone needs some patching done and are not picky about aesthetics, give me a call.
1 Comment
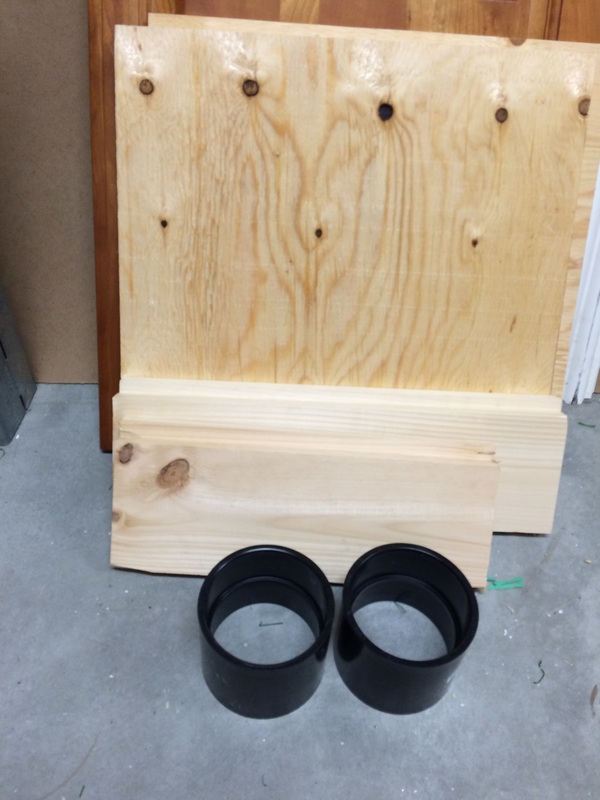
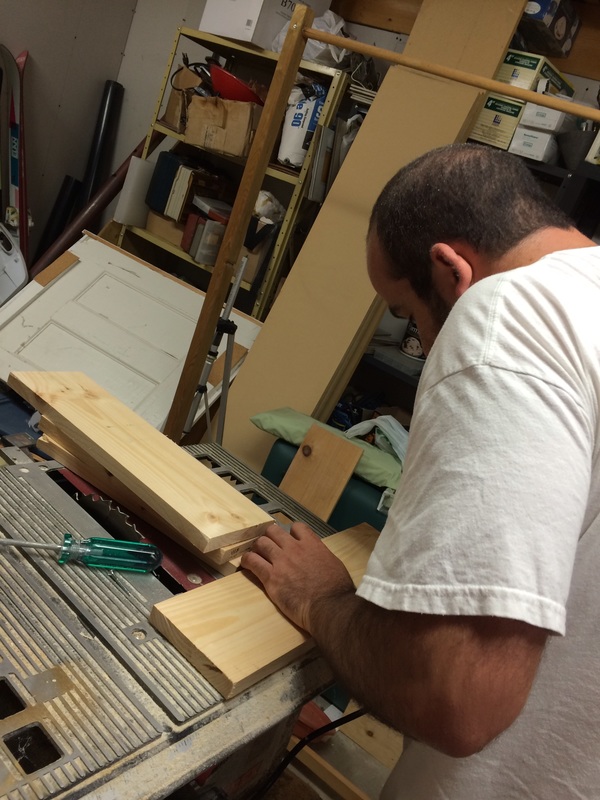
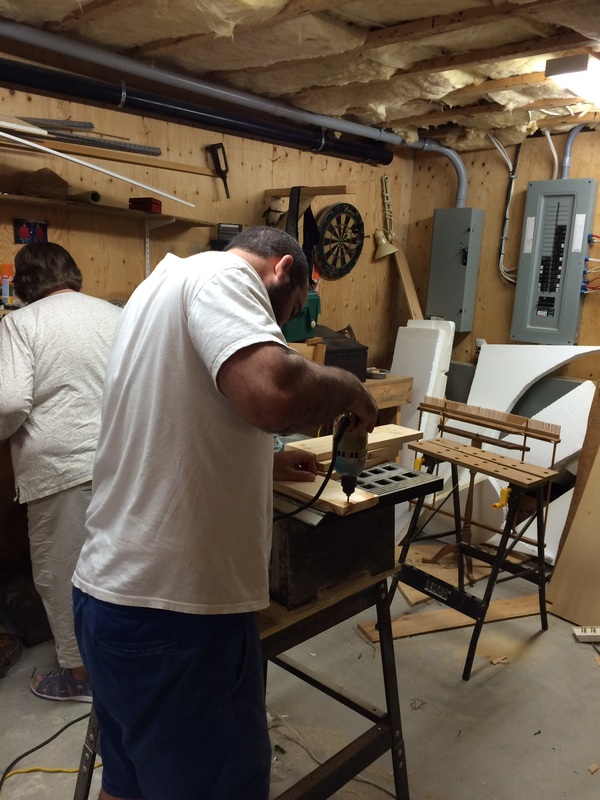
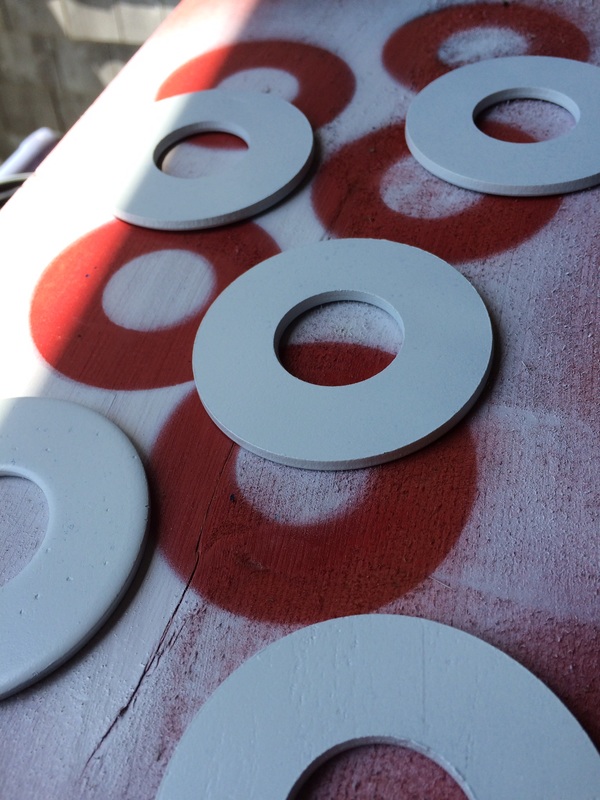
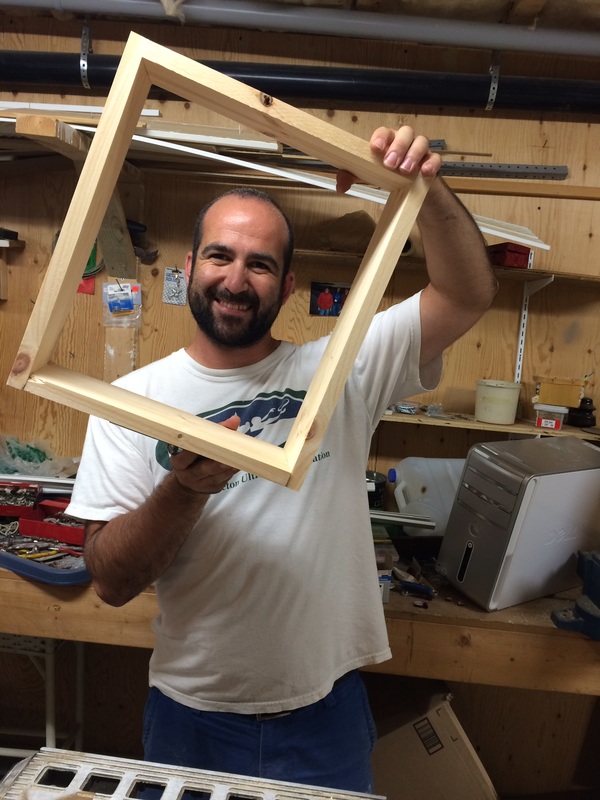
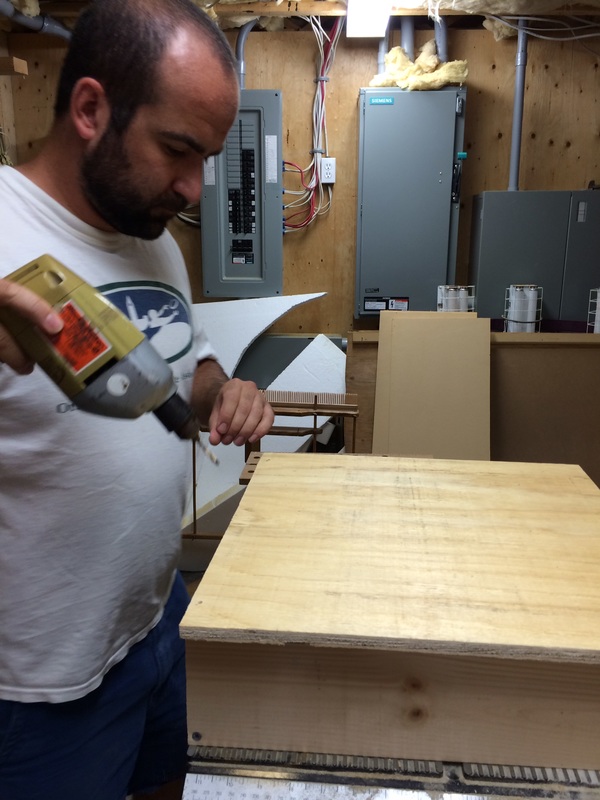
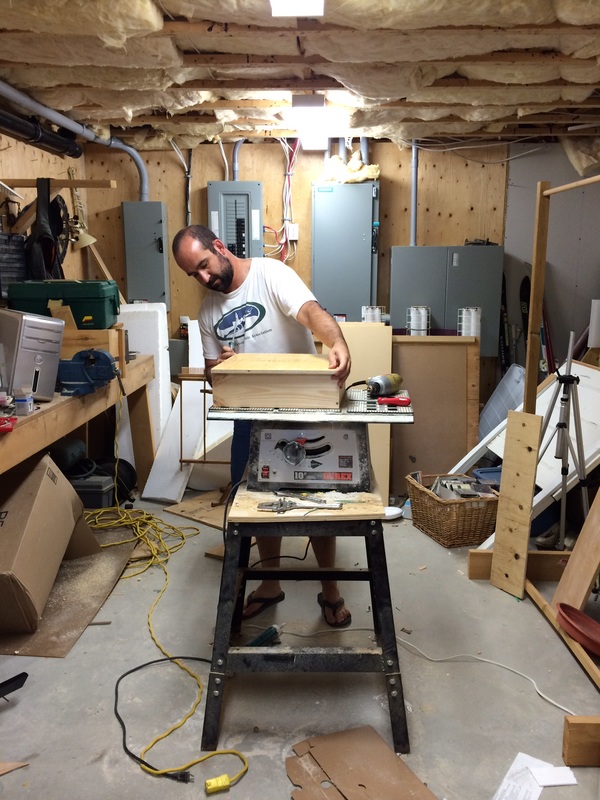
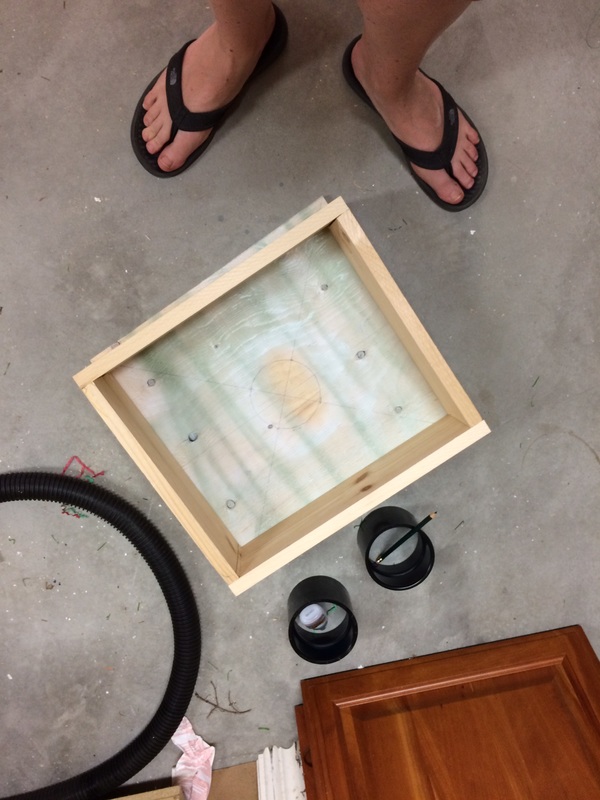
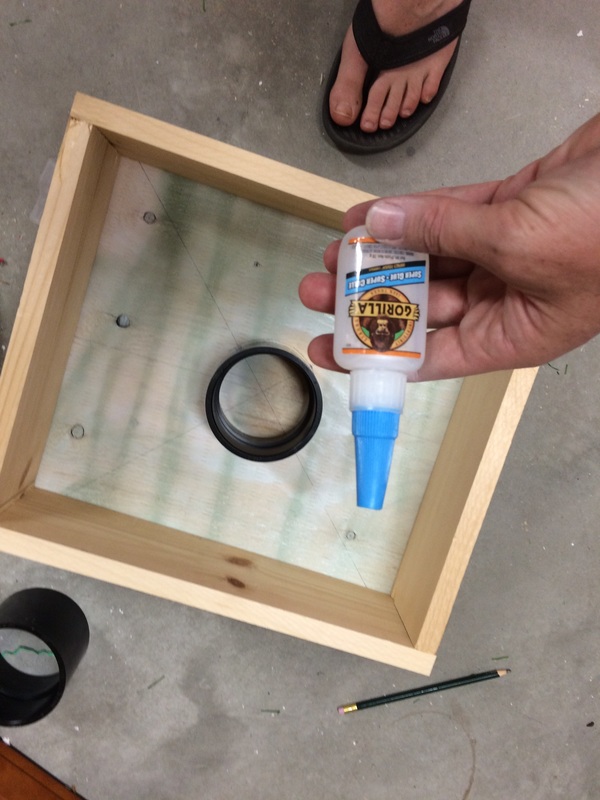
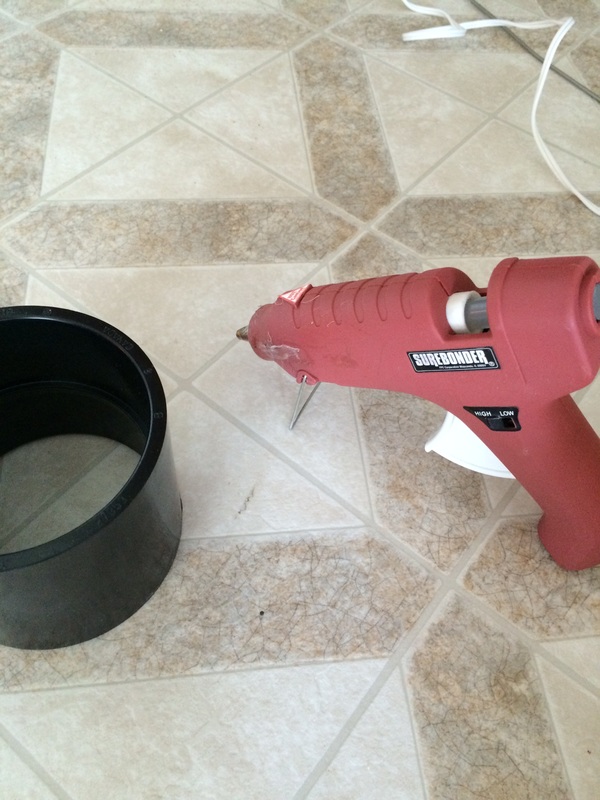
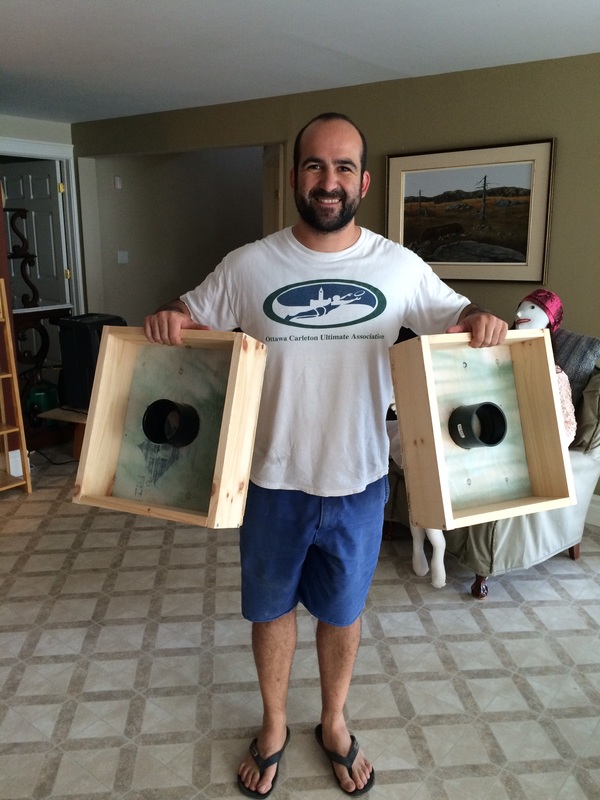
We were back to old NB for some rest and relaxation.....project time!! Camping in Campobello Island (check out the rustic huts!), we came across a game of Washers we've played a few times - and decided to build our own when back to Bocabec. There are tons of online instructions for how to build the game. We bought plywood for the bottom and knotty pine for the sides #cheapestoptions. The worker at Kent figured out what we were building based on our materials in the cart so that helped in finding the big washers. Seems the game is very popular out east. I spray-painted half the washers white and mom fixed them and made them purple :). It was great to have access to mom's shop in the basement to do the work. We tested out the game on Thursday with the extended family - it works! I may or may not have had the highest number of black pipe points #insufferablemaybe Time to complete: 45 minutes Cost: around $20 Lesson's Learned 1. I'd do it again - was a small input for a game we'll play for years. 2. The glueing of the pipe onto the plywood went through a few iterations, starting with a crazy glue kind, then onto hot glue which also failed after a few clunks. Finally, a very generous amount of gorilla glue weighed down for a few hours did the trick. 3. The pine sides quickly got dings and marks, which makes sense. Glad we used knotty pine, wouldn't use anything expensive. How to play 1. Place the two boxes a fair distance away. Online it said 15-20 feet away... 2. One player from each team stands behind the box closest to them. Team one throws 4 washers to the further box. If there is a Team 2, then the Team 2 member on the same side throws to the game box. The members who are over at that further end then pick up the washers and throw to the other box. Repeat 3. Three points for the black pipe in the middle. One point for in the box. Whichever team reaches 21 first win! |

Author: Leah BartlettLover of projects, big and small! I try to not be intimidated by lack of experience/skill/know-how. Archives
September 2018
Categories
All
|


 RSS Feed
