|
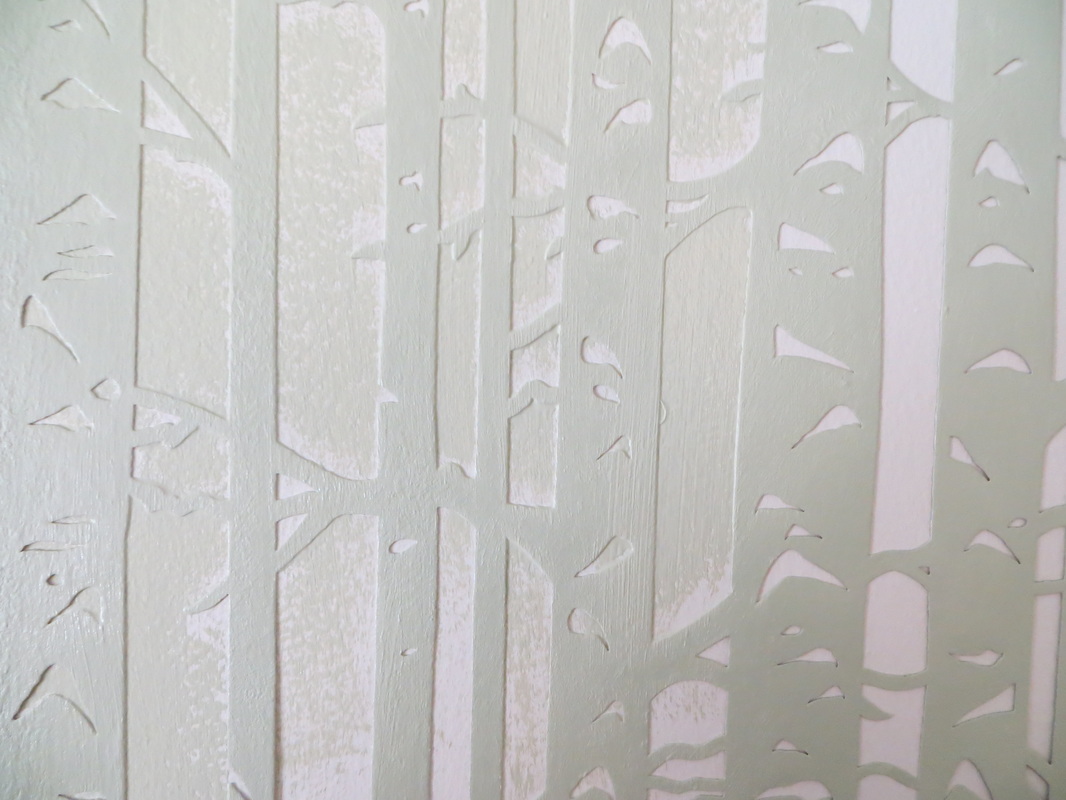
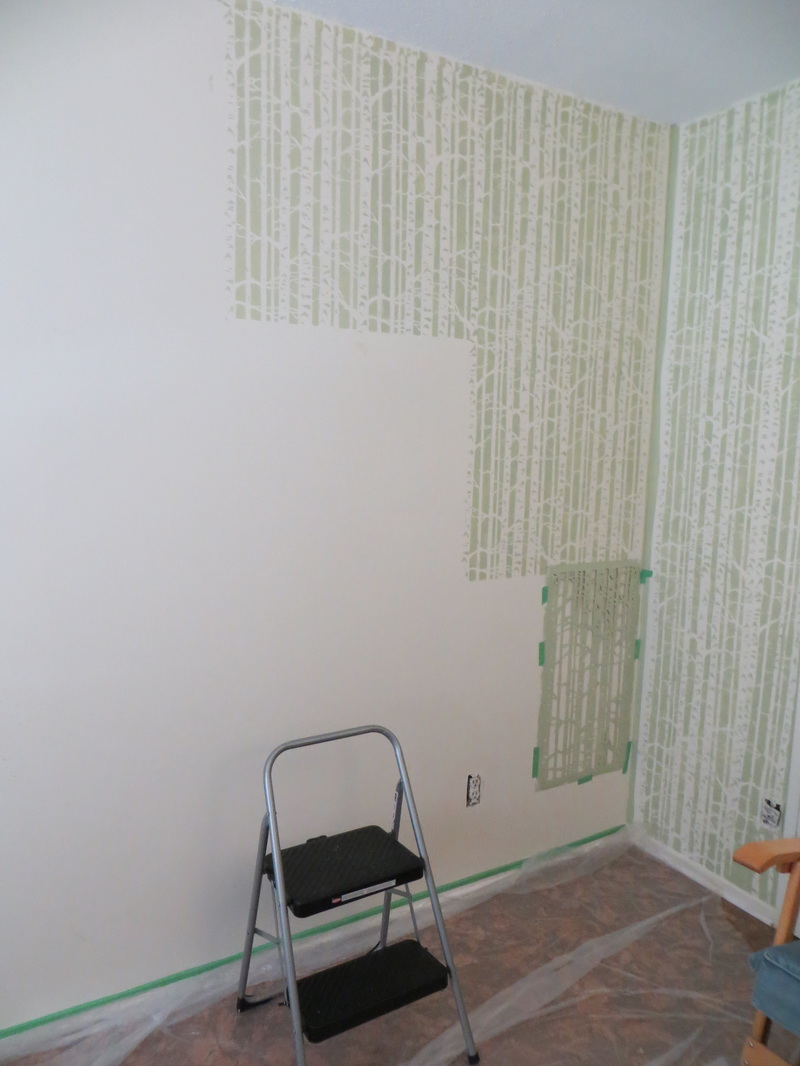
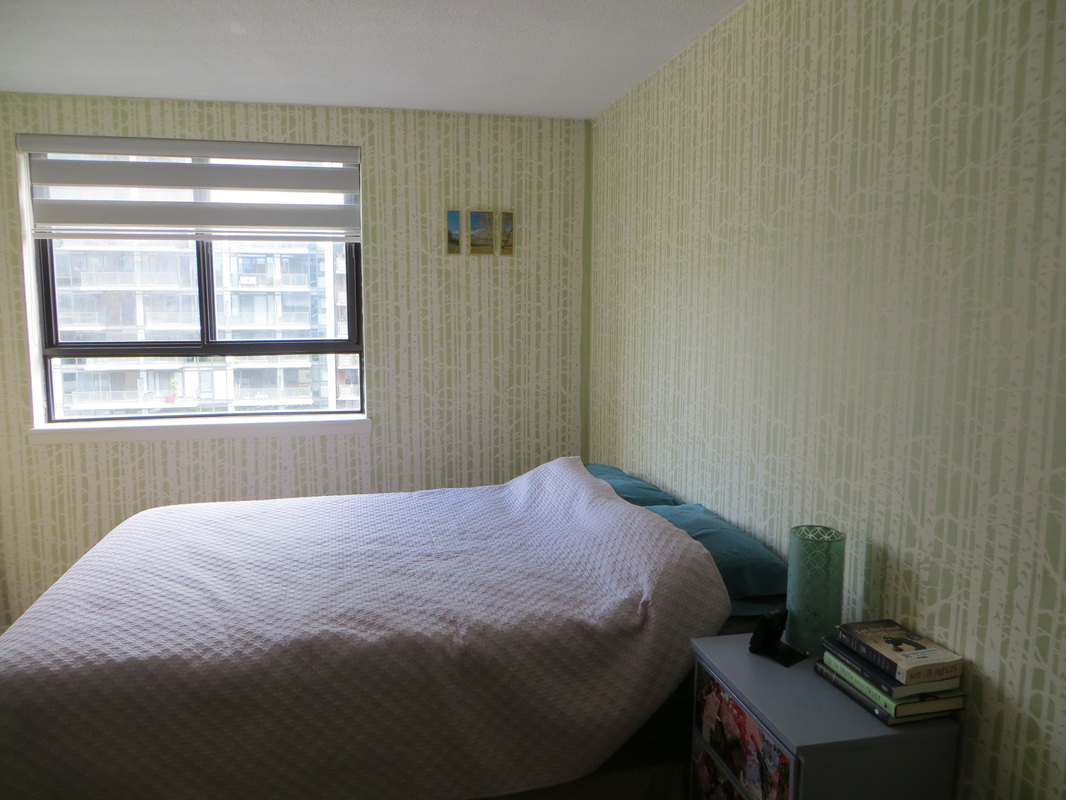
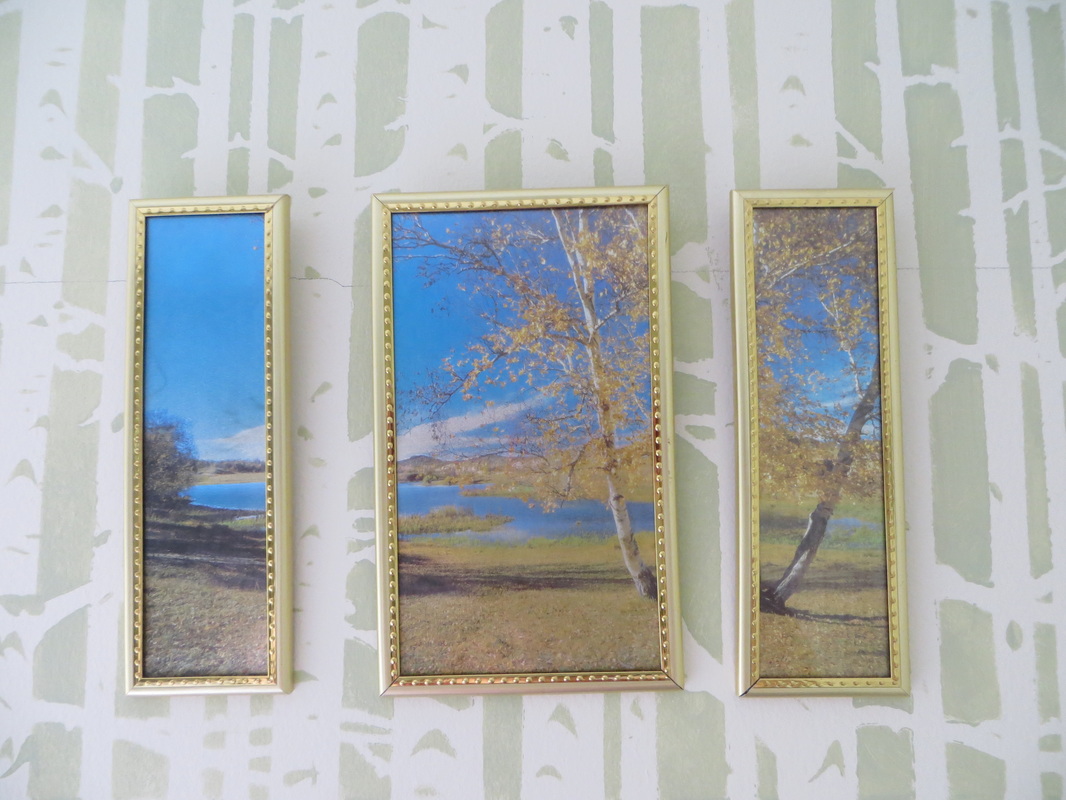
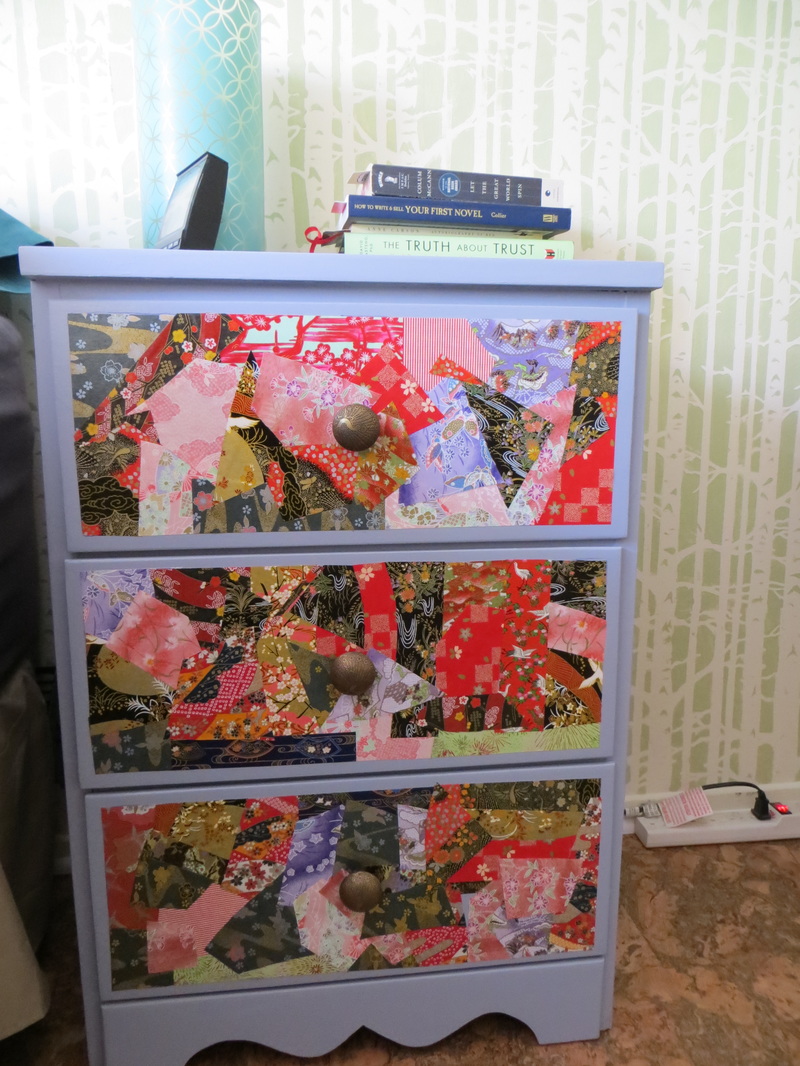
GUEST POST by AMY BARTLETT There is nothing like a blank wall to shrivel your spirit into a hollow nub of blah.... Time for some decoration! I love birch trees, and was originally thinking of putting up some cool birch wall paper or a photo mural in my bedroom. However, after spending WAY too much time looking at options, I soon realized that these options would cost many hundreds of dollars to execute.... not an economical option. Enter stage left: a cheap wall stencil bought online, some paint I had leftover from my bathroom painting experiment, and a whole lot of time. Stenciling walls like this is not a quick project, but it is a very cheap alternative and in my opinion has come out really well. PS: In a fit of painting inspiration, i also refinished and decoupaged my bedside table drawers with a random collage of ornate japanese papers I had leftover from another project--- see bonus pic at the end! Equipment/ Cost for the wall stenciling: 9$ for the wall stencil 0$ for paint (though originally cost about 15$--- I used about 2/3 of a small can) 4$ in painters tape 3$ for small paint brush (plus a small artist brush for touch ups as needed) 1$ for a plastic drop cloth from the dollar store 0$ in time (though it took about 15 hours in total for the three walls... eep) 0$ for a LOT of downloaded podcasts (I recommend Comedy Bang Bang, Dear Hank and John, Star Talk with Neil Degrass-Tyson and On Being with Krista Tippet) Lessons learned: - The stencil came with a small starter section to start off at the ceiling which was handy. I would recommend using this piece first across the top of your wall and then using that pattern as a guide to match up with the rest of the larger panels - I staggered the panels vertically (see pics) and painted from the leading edge/ outside to the inside of the stencil so that i could keep the painting process going without stopping--- for example, by the time i got a panel in row three done, the leading edge of row one had dried and i could easily put the stencil against the edge of the pattern without creating smudges #timemanagement - Use very little paint, an almost dry brush, and employ more of a rubbing or patting motion instead of your traditional up-and-down painting motion-- a dry, circular technique helps with the drying time and with getting into the small crevices of the pattern - I taped all around the walls, bottom trim and ceiling which allowed me to be a bit more casual with my stenciling at the edges. After so many hours of work, it is nice to have the extra insurance--- worth the time to do this taping, in my opinion I still have one more wall to paint (in a solid color) and to decorate the room more generally, but i am thrilled with the outcome, and to have banished those boring white walls with some organically-themed and cost effective color!
1 Comment
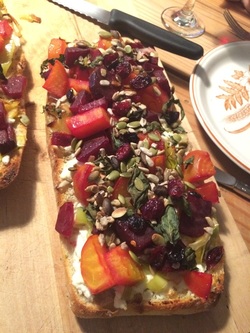 Who doesn't love beets!?! and leeks?!? The goal was a veggie-focused summer dish to share, serve along side BBQ fare. I love the flavours of beet, lemon and goat cheese - so just went forward with that in mind.
Beets Boil beets until they are tender. Drain and let cool. Peel and cut into cubes. Rind a lemon onto the beets, and squeeze the juice Pinch of salt and chilli peppers. Set aside. I used a mix of red and golden beets. Leeks Wash a leek and cut into thin slices. Cook with 1-2 teaspoons of butter on medium heat until soft. I did these two steps at home, put into containers and then put it together at the BBQ. Assembly Slide a baguette in half. Spread with a thick layer of goat cheese (I used one log of goat cheese per 1/2 of loaf). Cover with leeks and then with the beets. Heat up for 10-15 min in the oven until everything is warm and bread toasted. Before serving, sprinkle with pumpkin seeds, sunflower seeds, dried cranberries, and chopped herbs (I used mint and basil). Lessons Learned 1. I like the chunky look of the beet but they were too big, kept falling off when eating. When I make this again, I'll cut the beets into small cubes. One guest suggested to mash the beets - I'm not so sure.... 2. Do not put the seeds and cranberries until it's out of the oven. I put some on beforehand and they burned before everything was toasted. Whoops! I heated up some of the leftovers for breakfast - was good. Makes me think you could make it in advance and then just reheat when you want to serve. |

Author: Leah BartlettLover of projects, big and small! I try to not be intimidated by lack of experience/skill/know-how. Archives
September 2018
Categories
All
|
 RSS Feed
