|
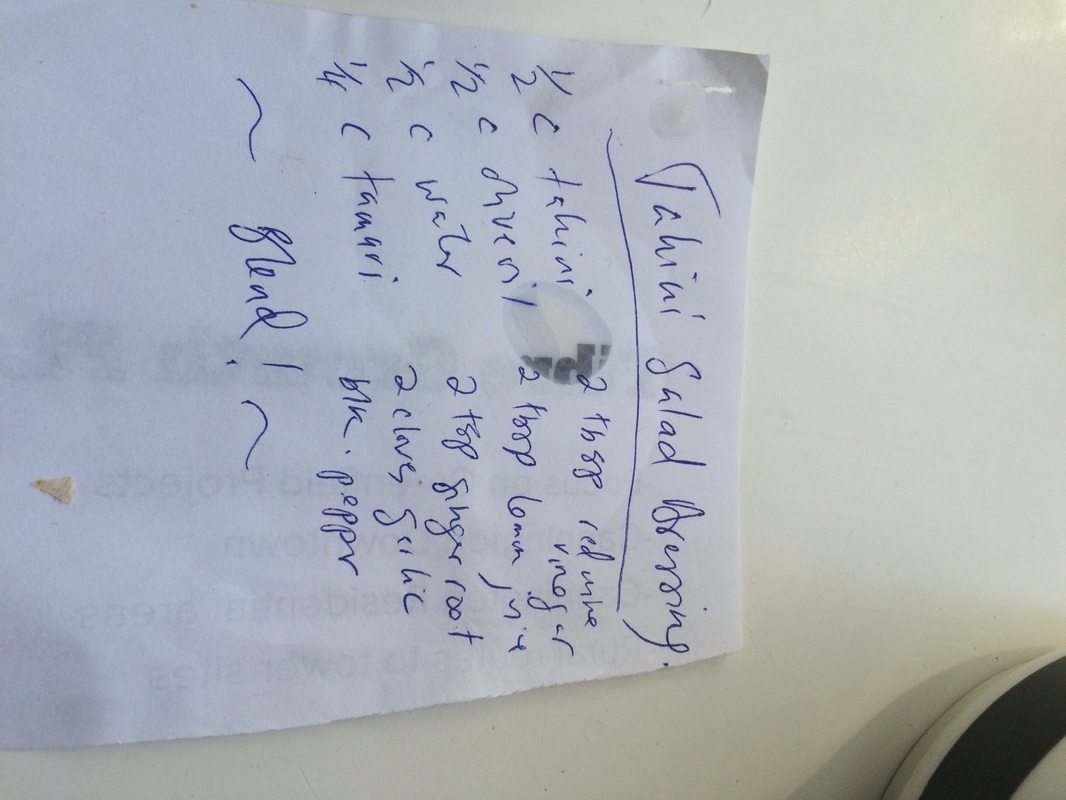
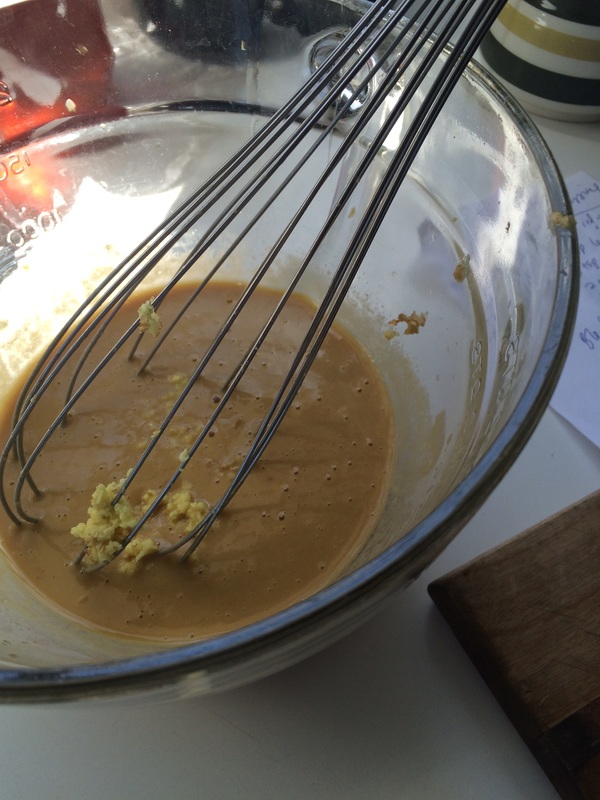
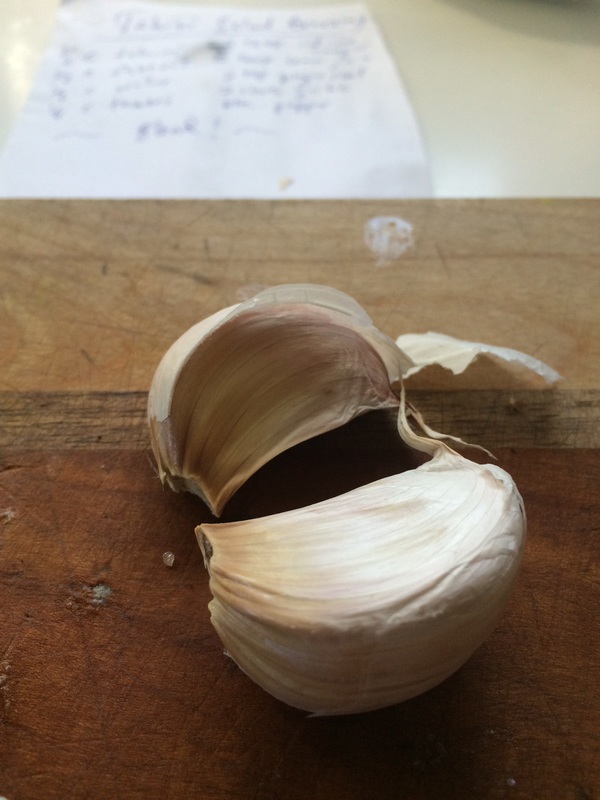
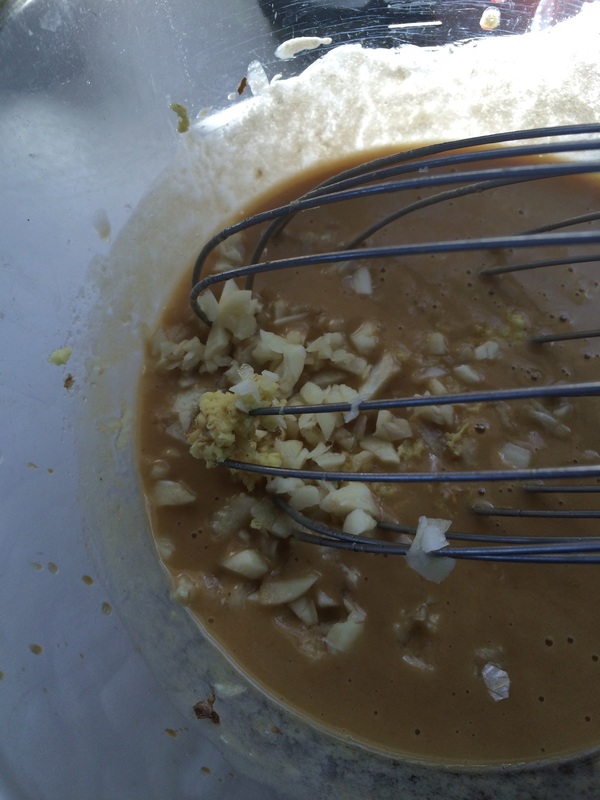
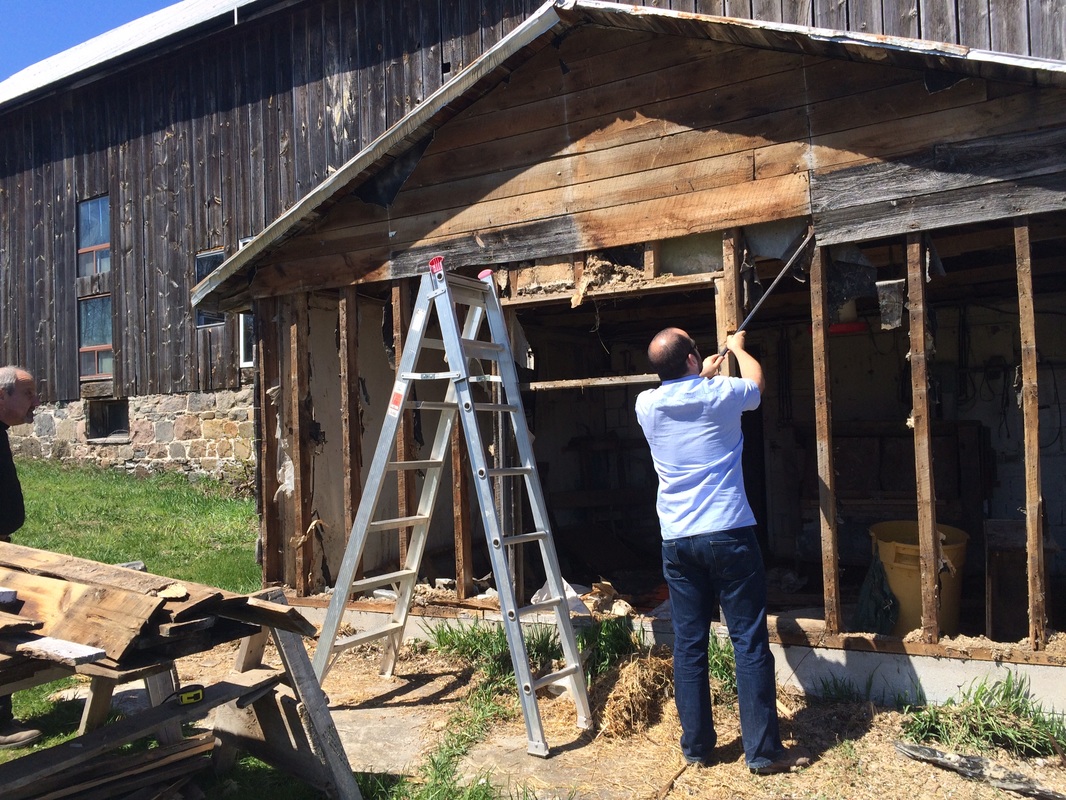
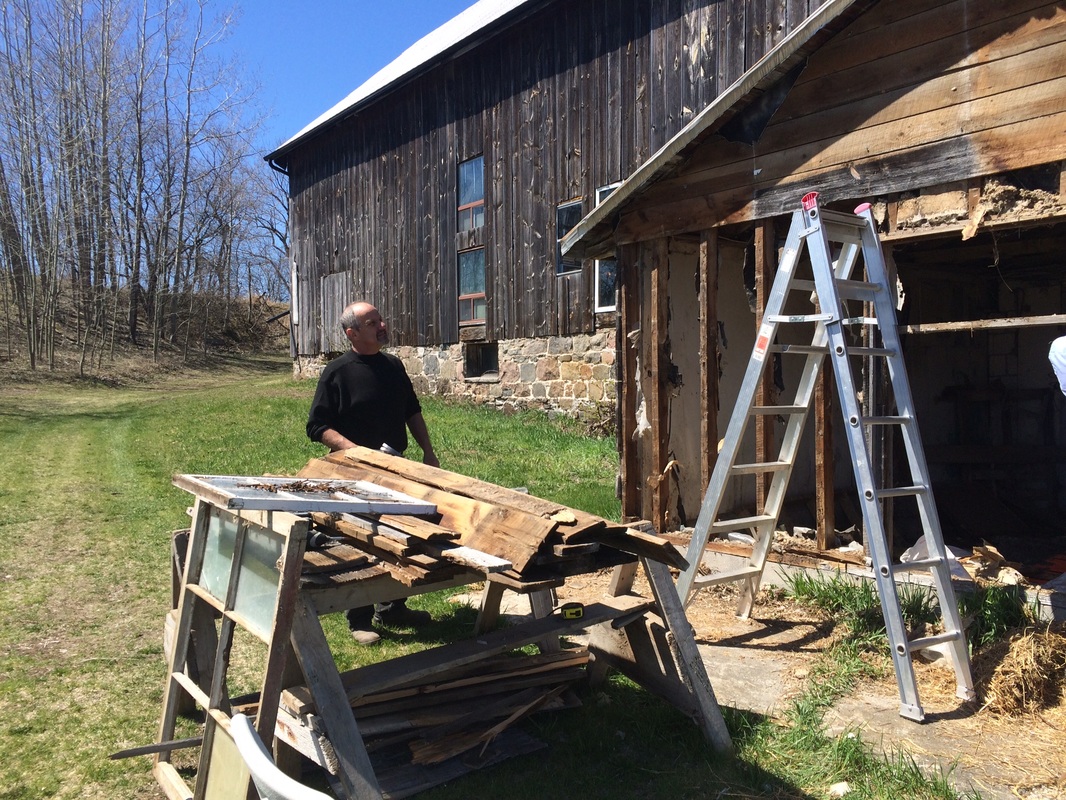
We had a lovely weekend up in Sunderland visiting the Greenspoon family for Passover. For the part of the meal, I made Cria's recipe for tahini salad dressing. We had it on a simple salad of greens - great vegan course. Cria's Tahini Salad Dressing 1/2 cup tahini 1/2 cup olive oil 1/2 cup water 1/4 cup soya sauce 2 T balsamic/red wine vinegar 2 T lemon juice 2 t grated ginger root 2 cloves garlic, minced salt and pepper I thought it was really good dressing and it made substantial amount, enough for a few days of salads. The only adjustment I would make is to add a small pinch of chilis to give it some heat. The farm is on a beautiful piece of land so spent a fair amount of time walking around outside. During the trip, I got a few very fun future projects to work on from Lloyd - stay tuned. Very exciting! Lloyd is the king of projects whose proliferation of works I can only aspire to. I have included pictures of his current work, transforming a chicken coop into a greenhouse
0 Comments
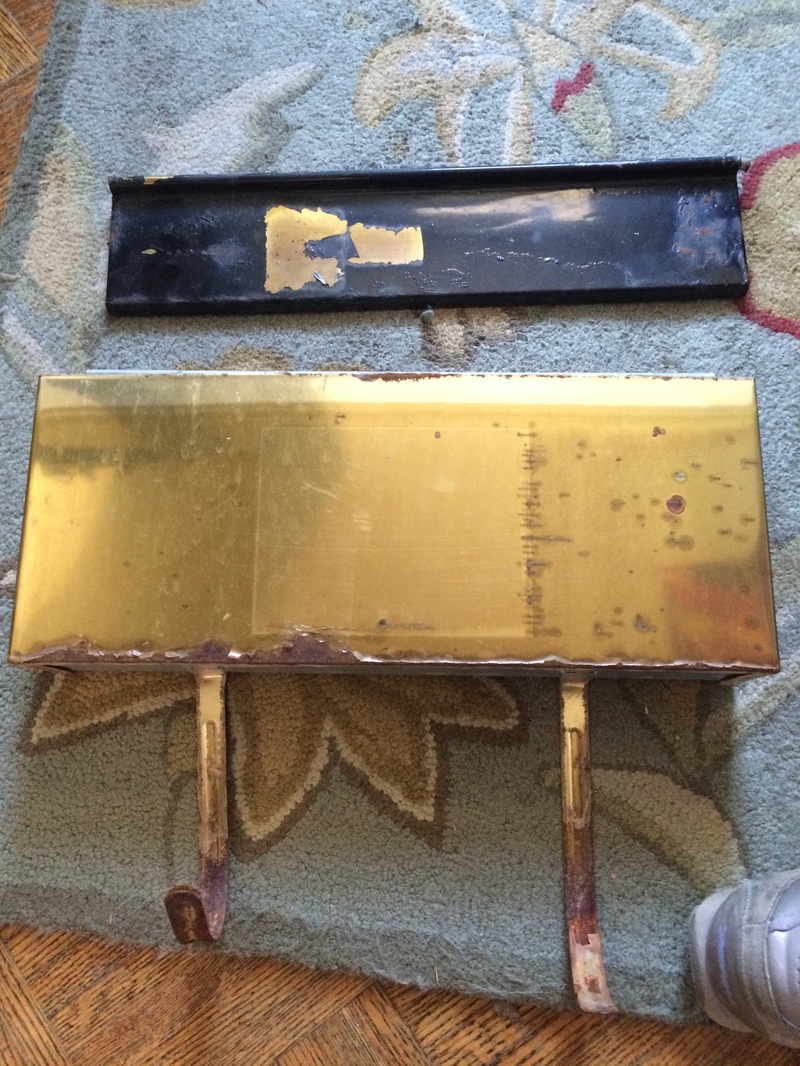
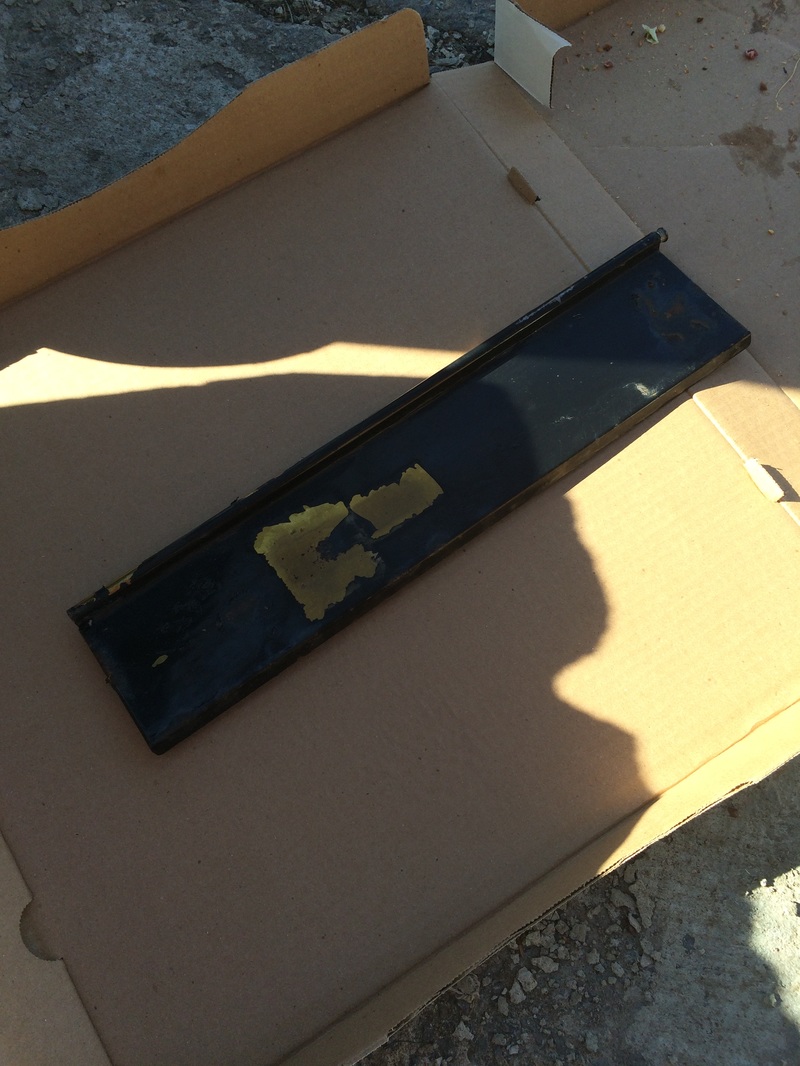
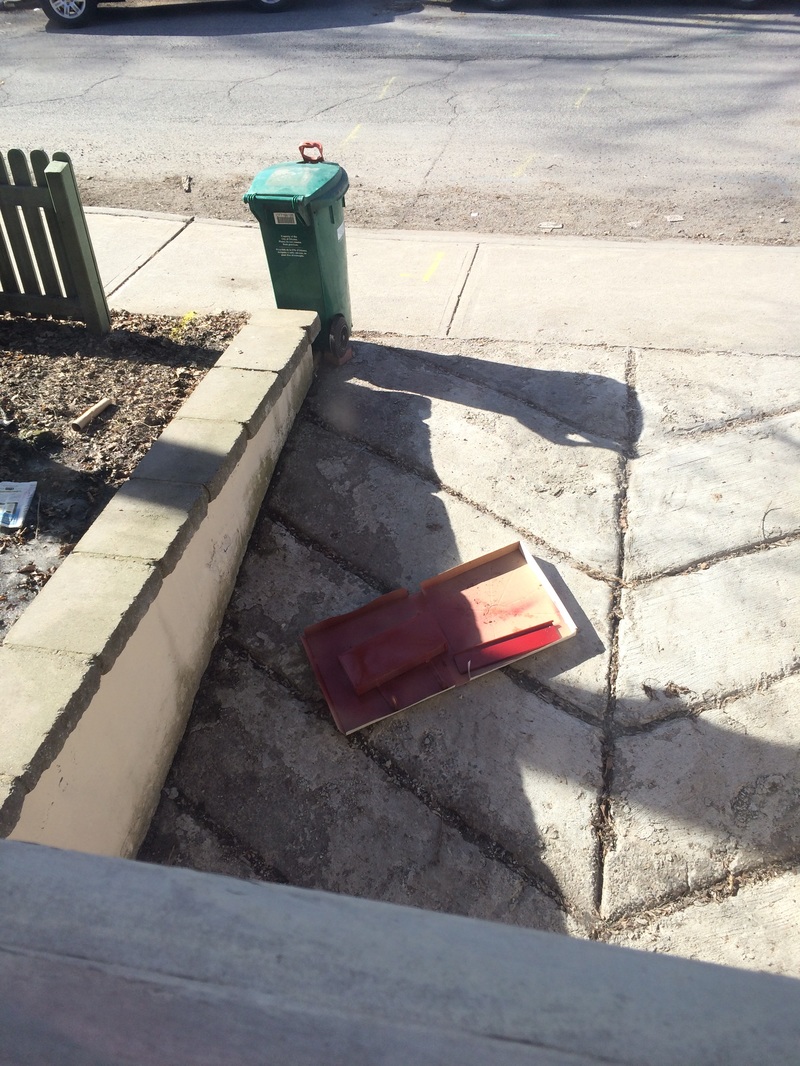
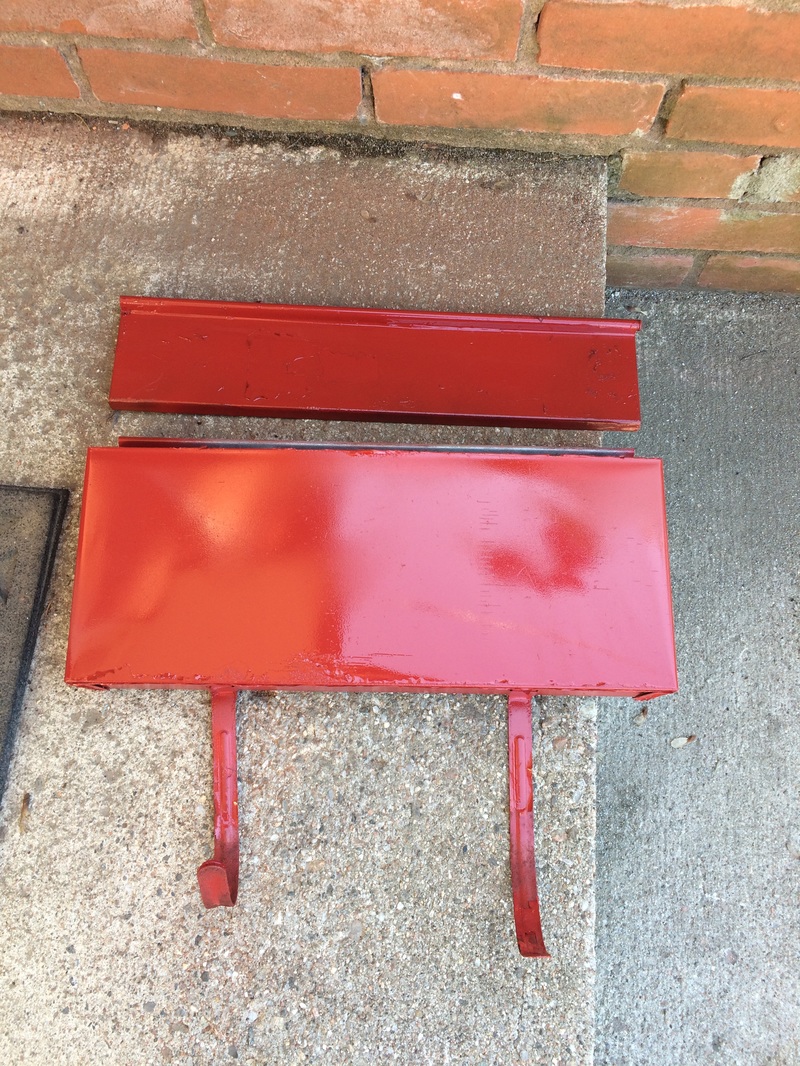
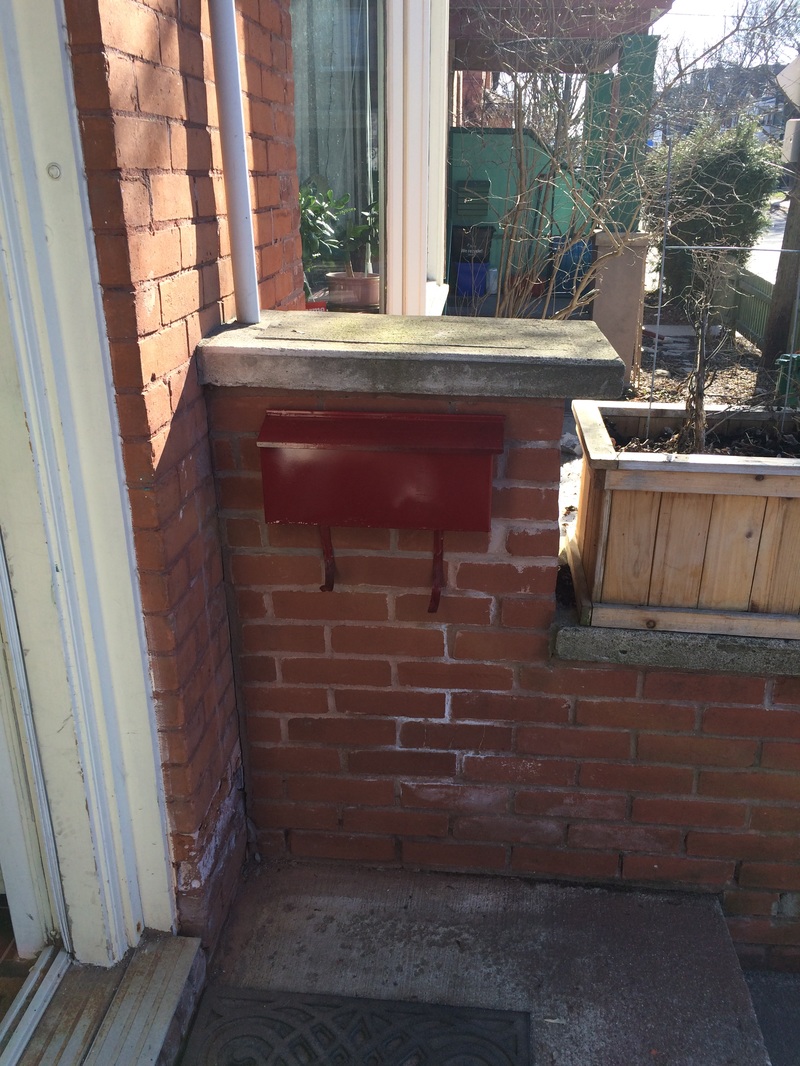
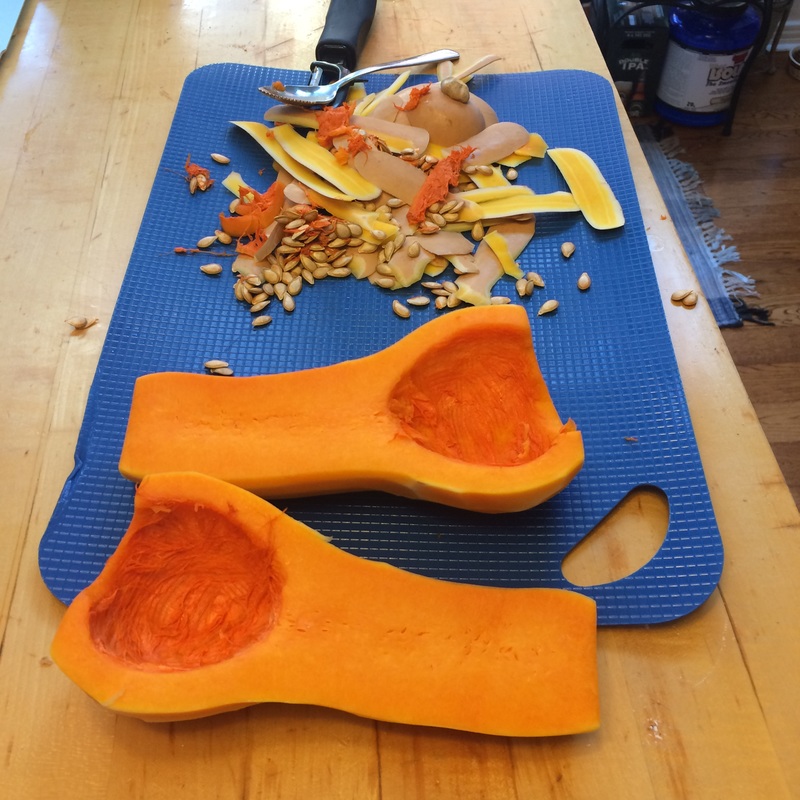
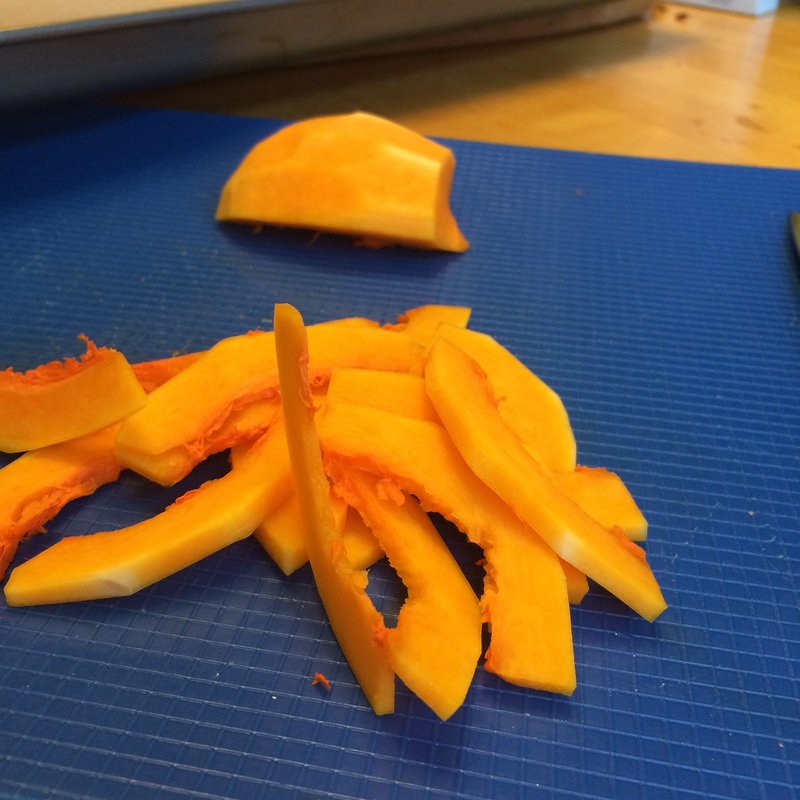
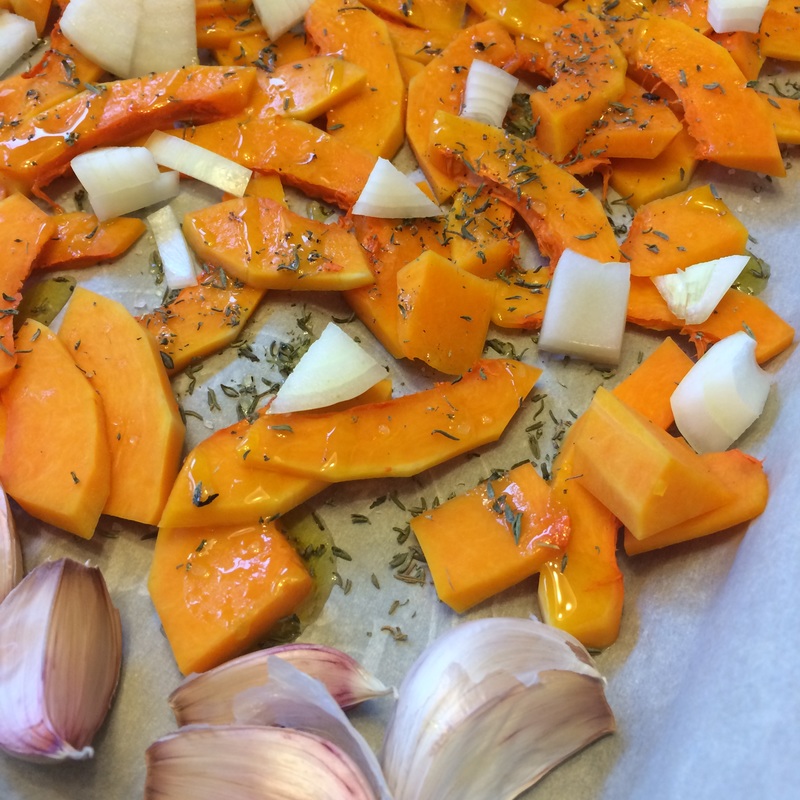
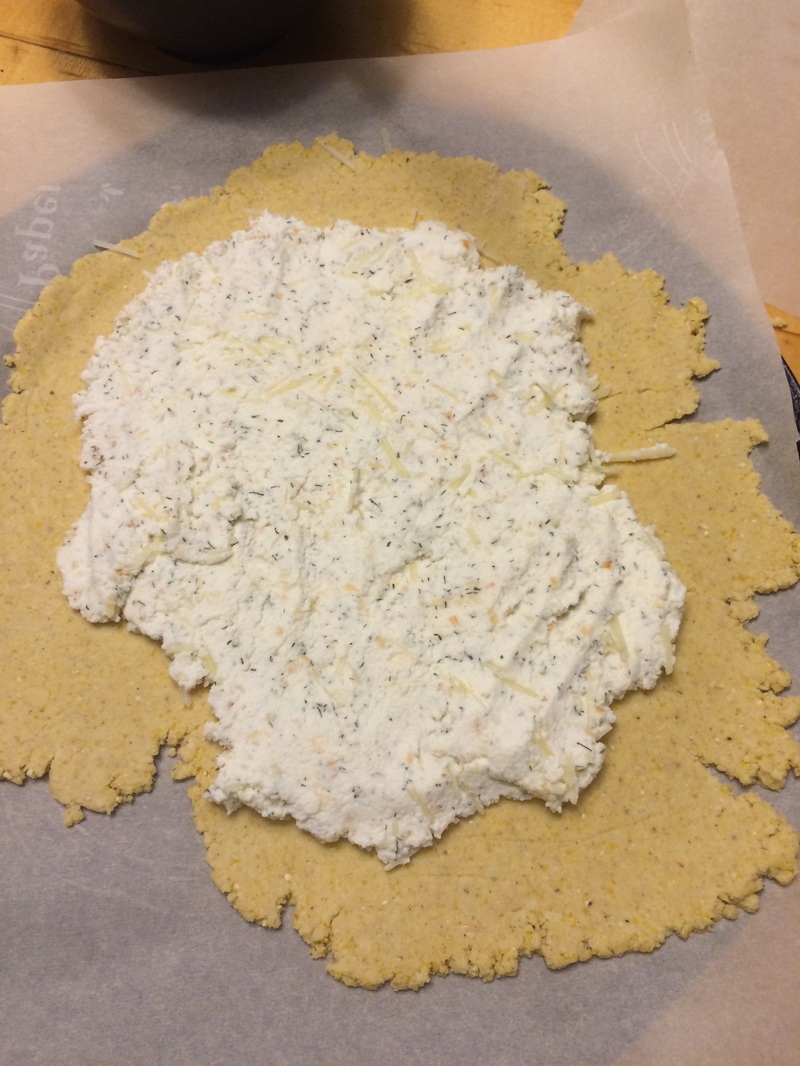
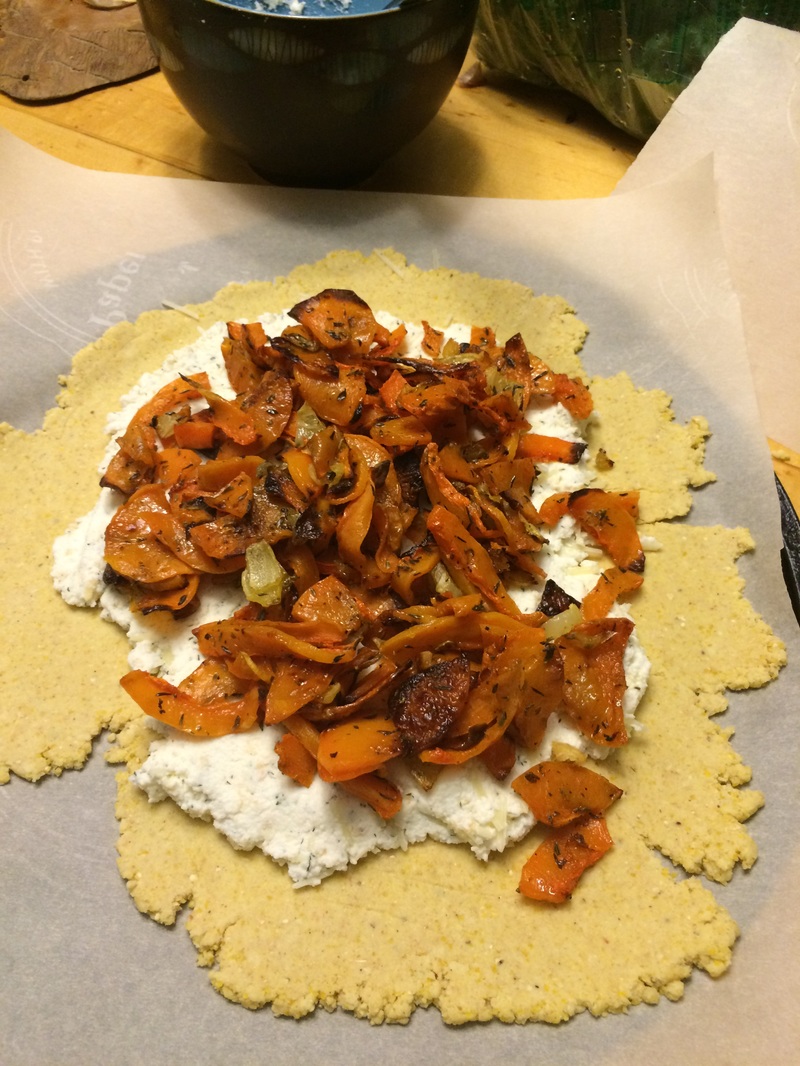
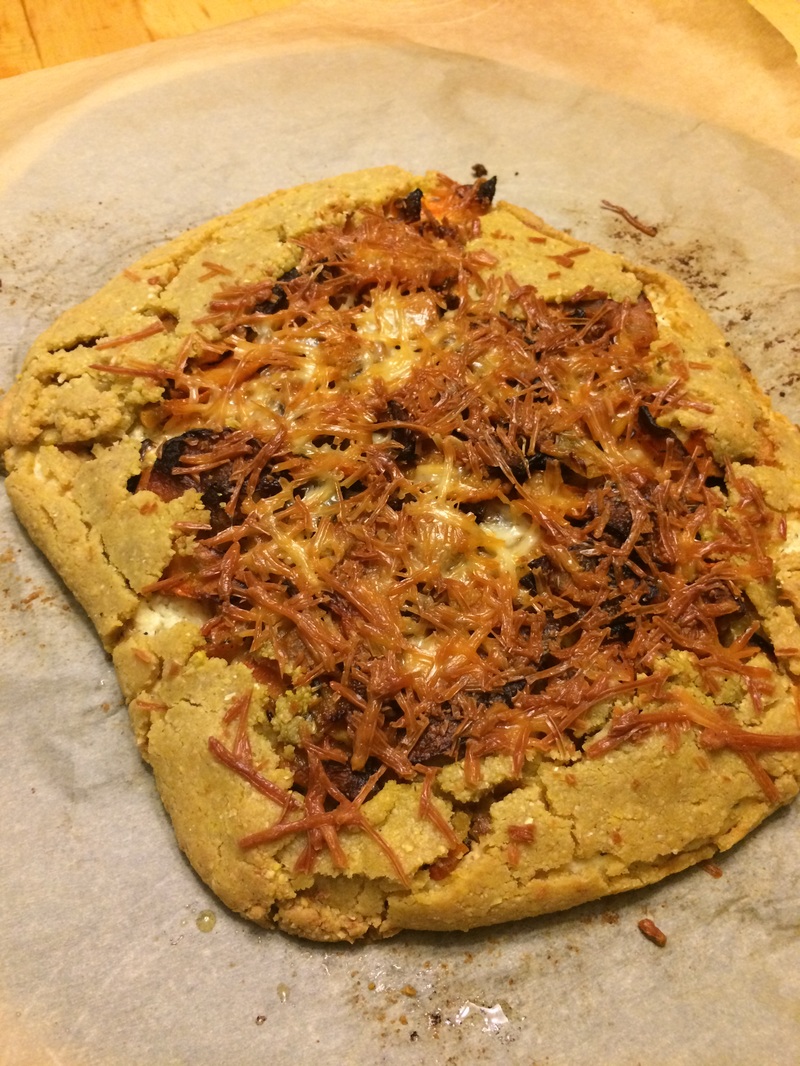
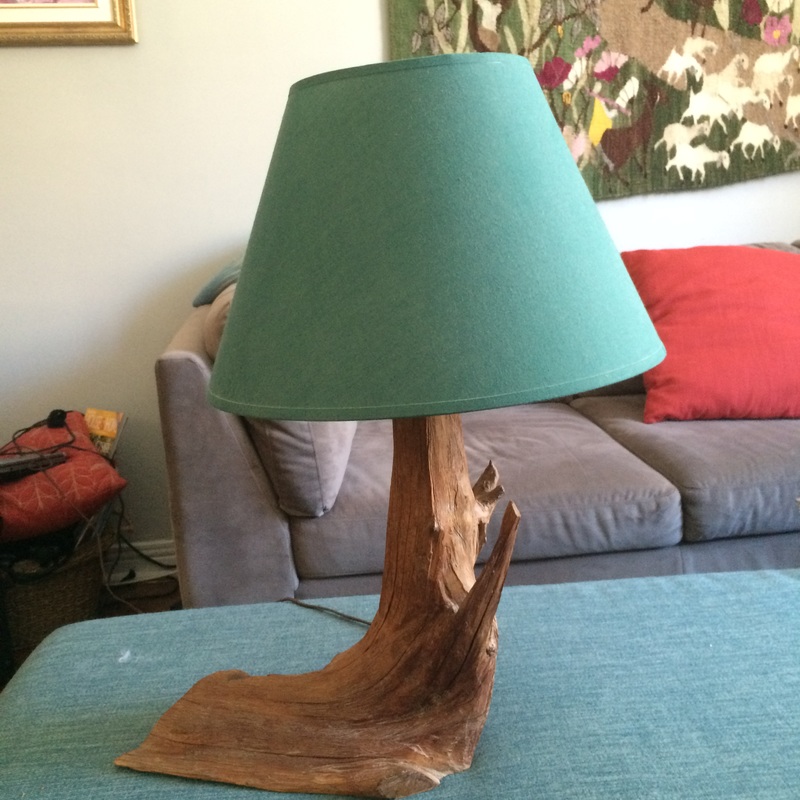
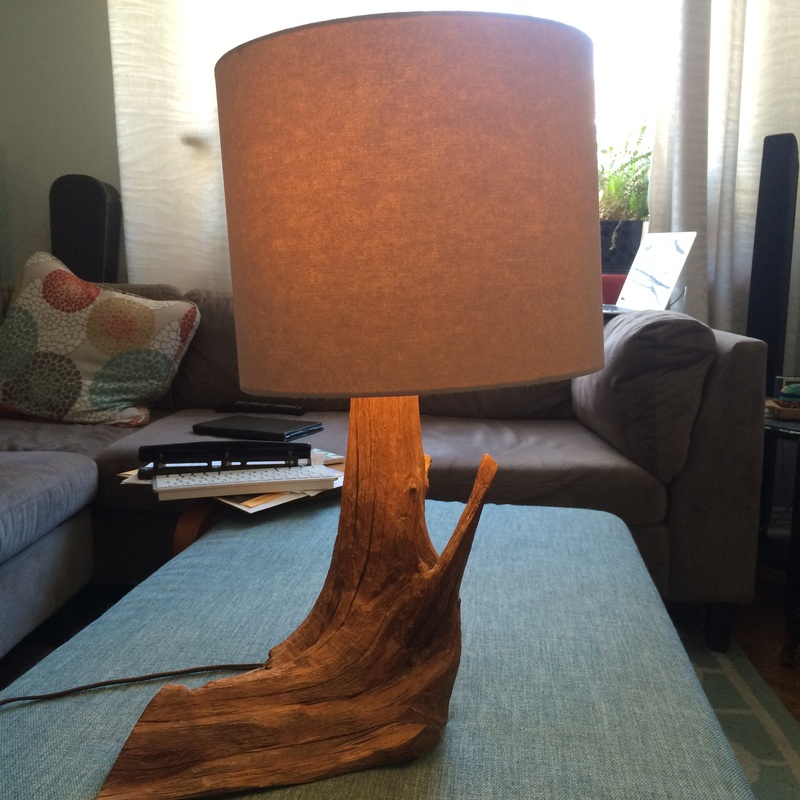
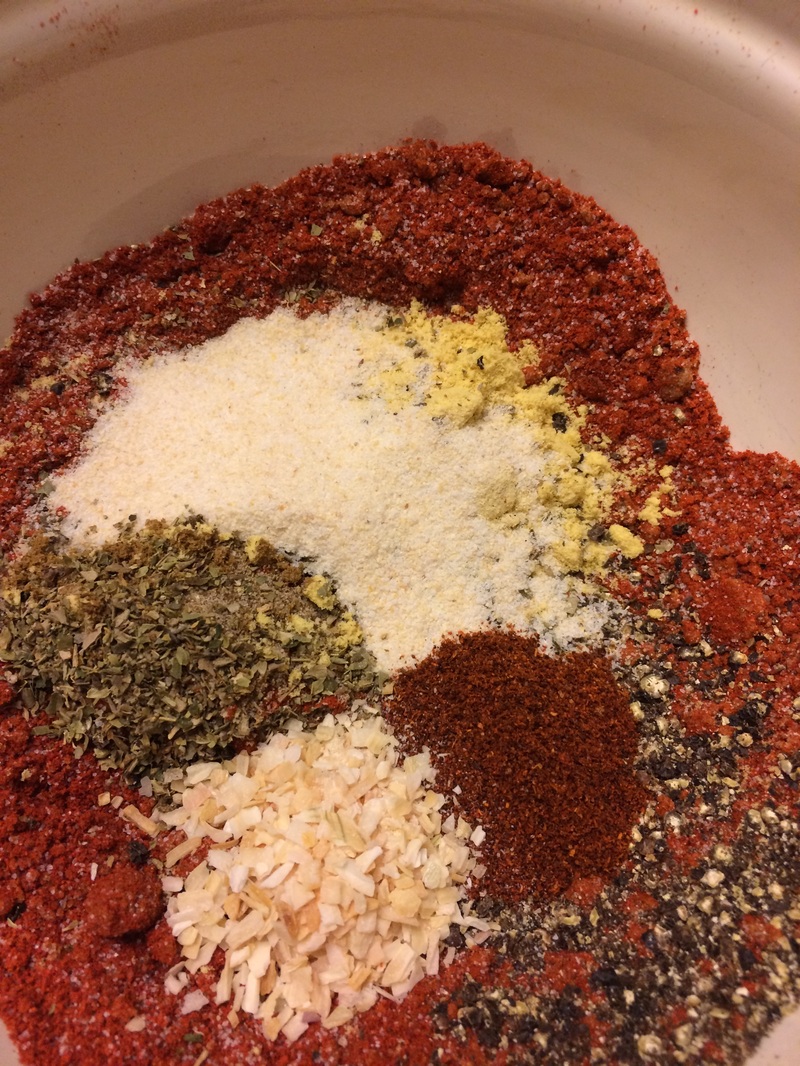
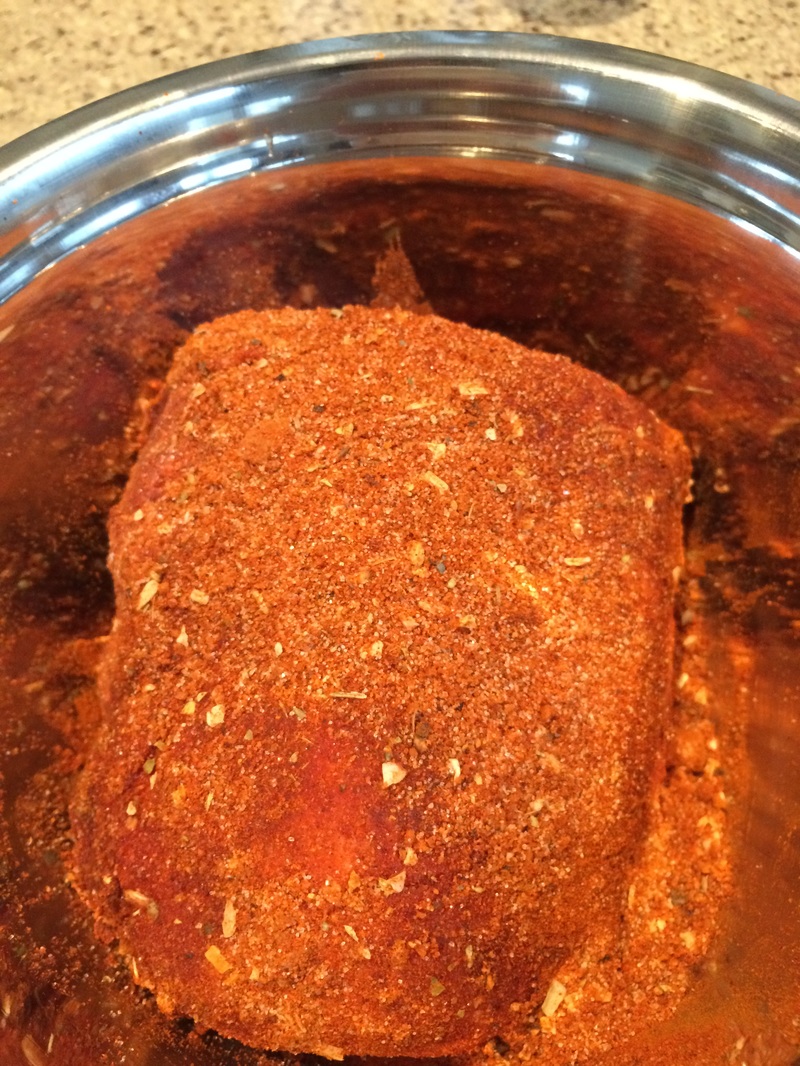
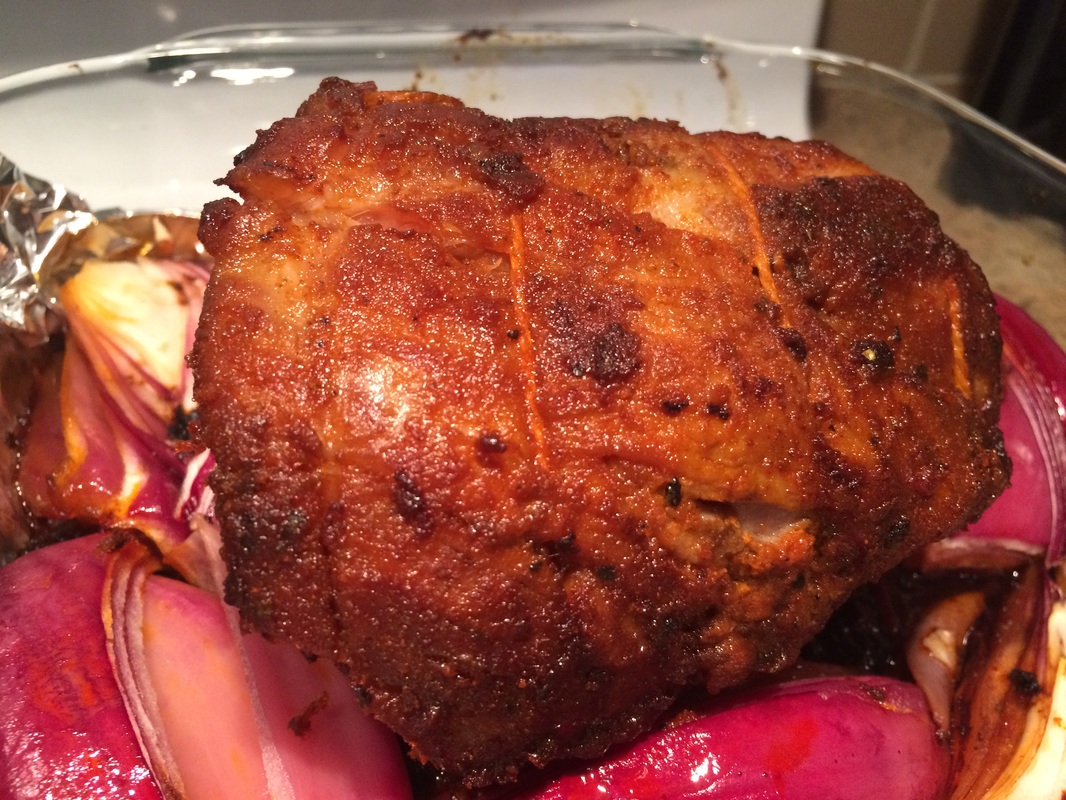
What a beautiful day here in Ottawa. The sun is shining, my nose is slightly burnt, baseball on in the background: life is good. #GoJays I decided to update our mailbox, as it got quite rusty over the winter. Project! This was a quick effort, under $10 and less than 5 minutes of work overall. I took down the mailbox, used on old pizza box to contain the paint and went to work. I did a few light coats of spray paint , let it dry and put it back up. Just like new! Kind of... The paint did not hide the deteriorating outside texture, but who cares when it is shiny and red.!?! Might have it been smarter to spend the funds on a new mailbox? Maybe, but less fun. PS If anyone wants to turn something red, let me know. I have a 4/5 can of spray paint and a trigger finger. Looking for some vegetarian supper ideas, I came across this recipe on food52 for Squash and Roasted Garlic Galette. Lots of steps involved but a relaxing way to spend a Sunday afternoon. I made some tweaks... For the pastry, I used 1/2 cup corn flour, 1/4 cup corn meal and 1/4 cup oat flour. I also added an onion to the roasting plan of squash. Oh, and i doubled the ricotta, added dill, and topped it with the rest of the parmesan cheese (didn't have fontana cheese on hand). So, the galette was pretty good. I think it is a good base recipe, easy to think of lots of ways to adjust to seasonal vegetables etc. Lesson's Learned 1. The crust with my changes tasted a bit 'healthy', if you know what mean, and was pretty crumbly. The original recipe is probably better. 2. I loved the onions and extra ricotta cheese. I thought the dill was great. 3. The parmesan browned weirdly, though i think i had weird cheese. I think it would be better with sharp cheddar or mozzarella cheese as a topping instead. 4. I didn't wrap the garlic in foil - and a bunch of it burnt. Spring has sprung. Almost. Once it stops snowing and being cold. I found a neat lamp on kijiji, where the base was a tree branch. The forest green lamp shade was not the kind of retro that turns my crank. FYI I bought the lamp from a hipster so forest green might be the next big trend you don't care about. Or it could also be that my lamp isn't hip. #Don'tCare I picked up a cheap lamp shade at Home Sense for $15. One minute later, my branch lamp looks a little more modern. Originally I thought I could turn it into a wall sconce, but I like it as is. Onto the next project! Our weekend vacation continues. Sun is out today, heading out soon to Tremblant. Last night we had a chance to sample the Memphis rub "millennial style" (served as tacos). Like many things, it was fine but not fabulous. I think a bit more sugar and salt would be good. I added chunks of red onion for the last hour of cooking with the pork - the onion with the rub was delicious. Memphis Rub 1/4 c sweet paprika 1 T sugar, 1 T br sugar 2 t salt 1t celery salt, black pepper, chill powder, dry mustard, garlic powder, onion powder, cumin, oregano Combine the ingredients. You are done! I tested the rub on a small pork shoulder, applied 24 hours before slow cooking for a few hours. Big chunks of onion in the final hour. Lessons Learned 1. I bought the spices at the MidEast Centre, saved a lot of money. Apparently bulk barn also has cheap spices. 2. Some of the recipes i reviewed included vinegar, which i did not add. I might in the future, might help pull the flavour into the meat more. 3. Main change to the recipe I would make is to include more salt. 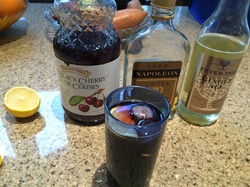 Amy and I are in rural Quebec for a few days of relaxing and crafting/painting.
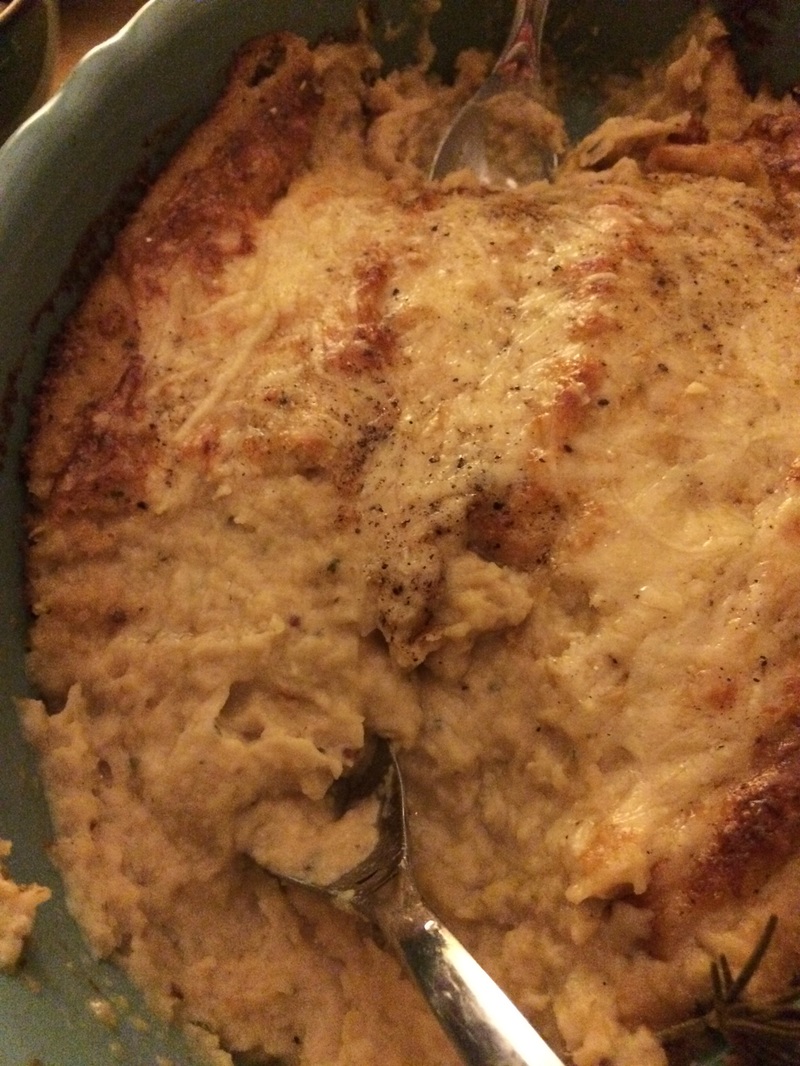
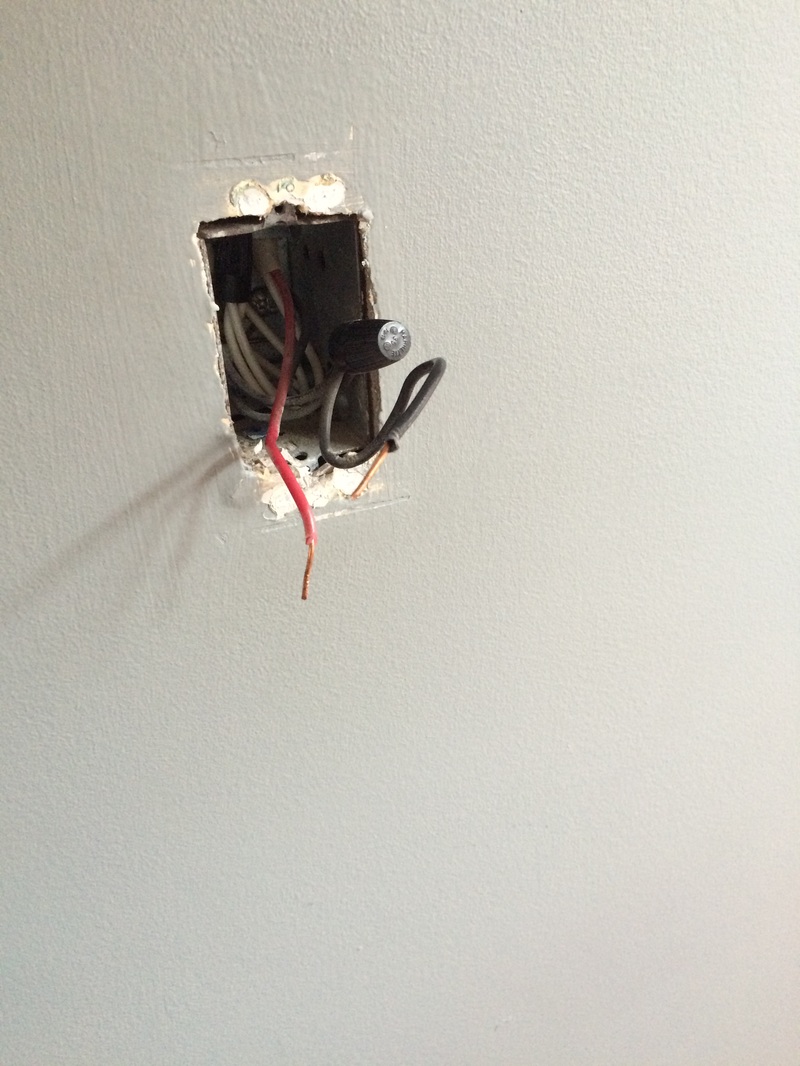
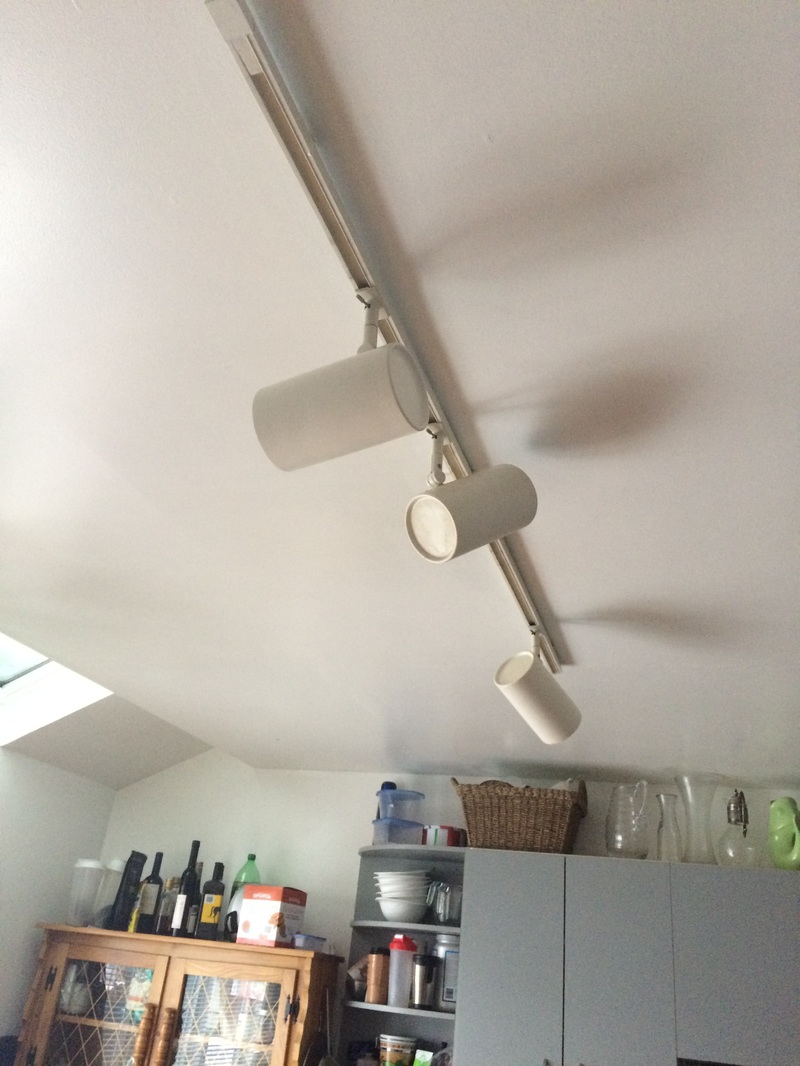
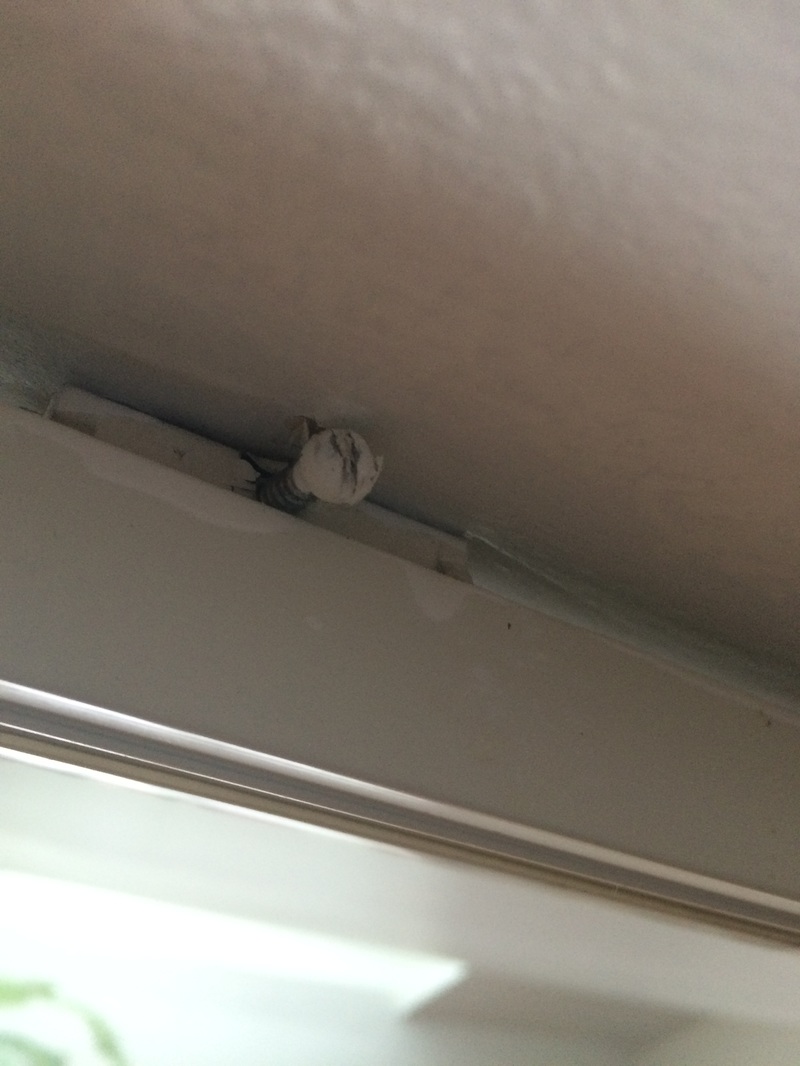
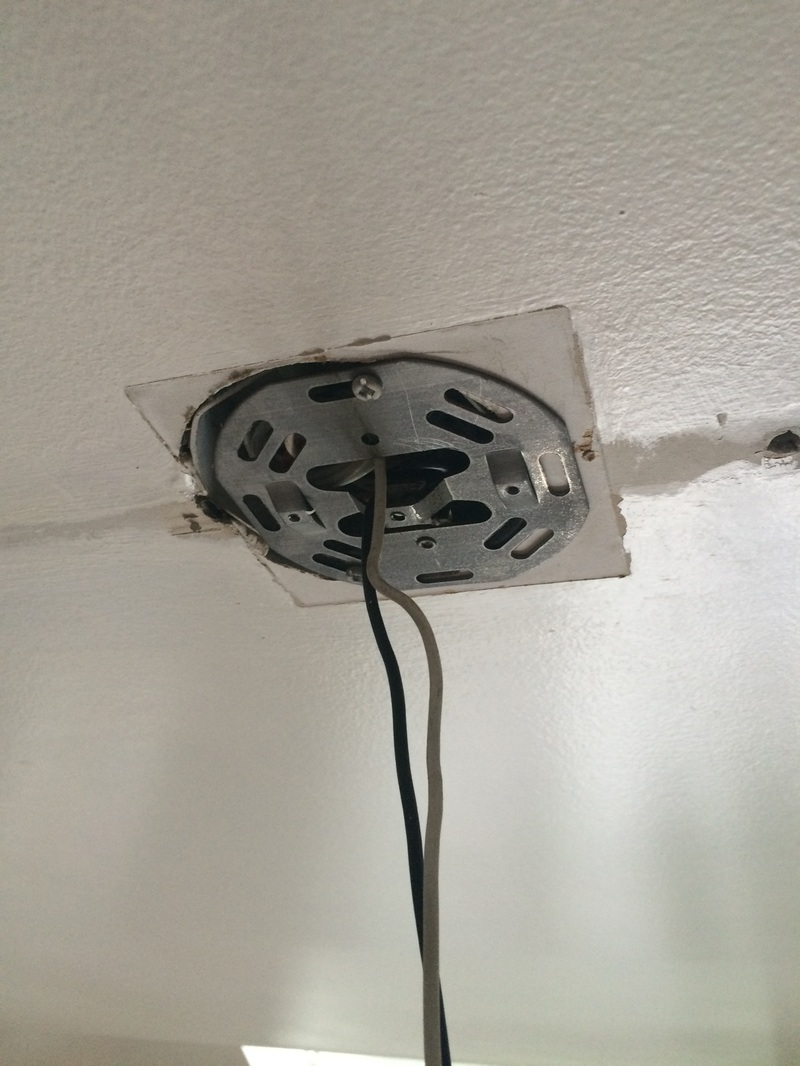
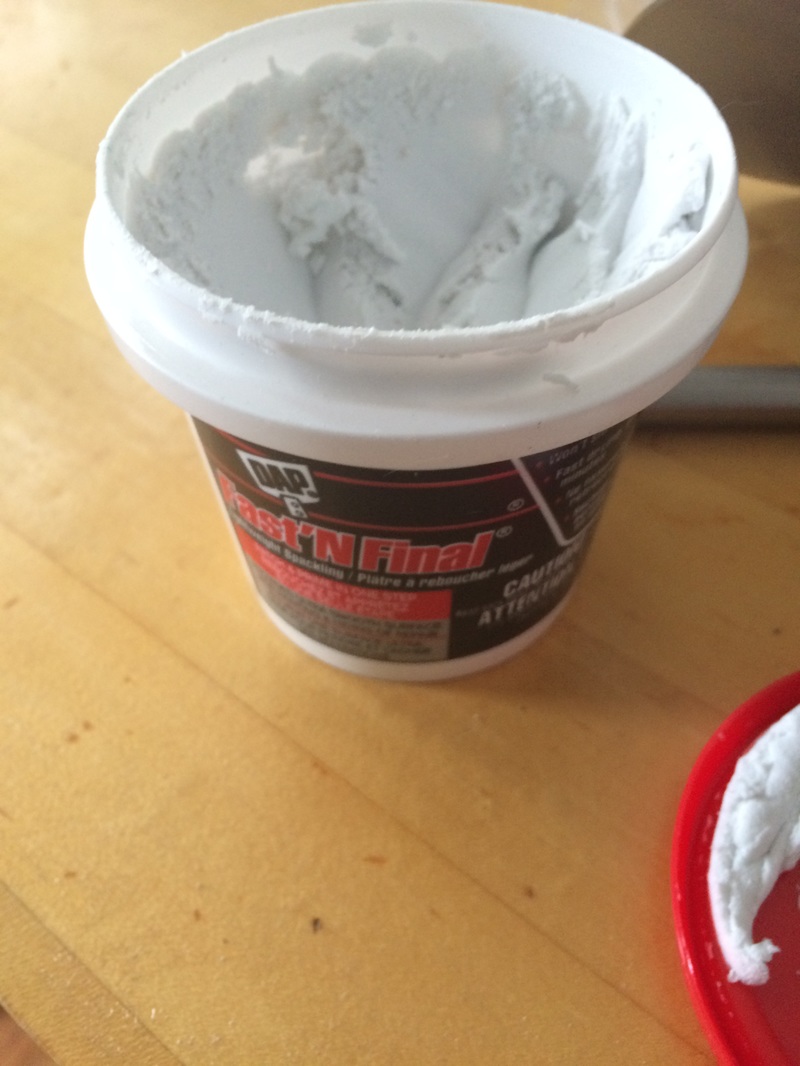
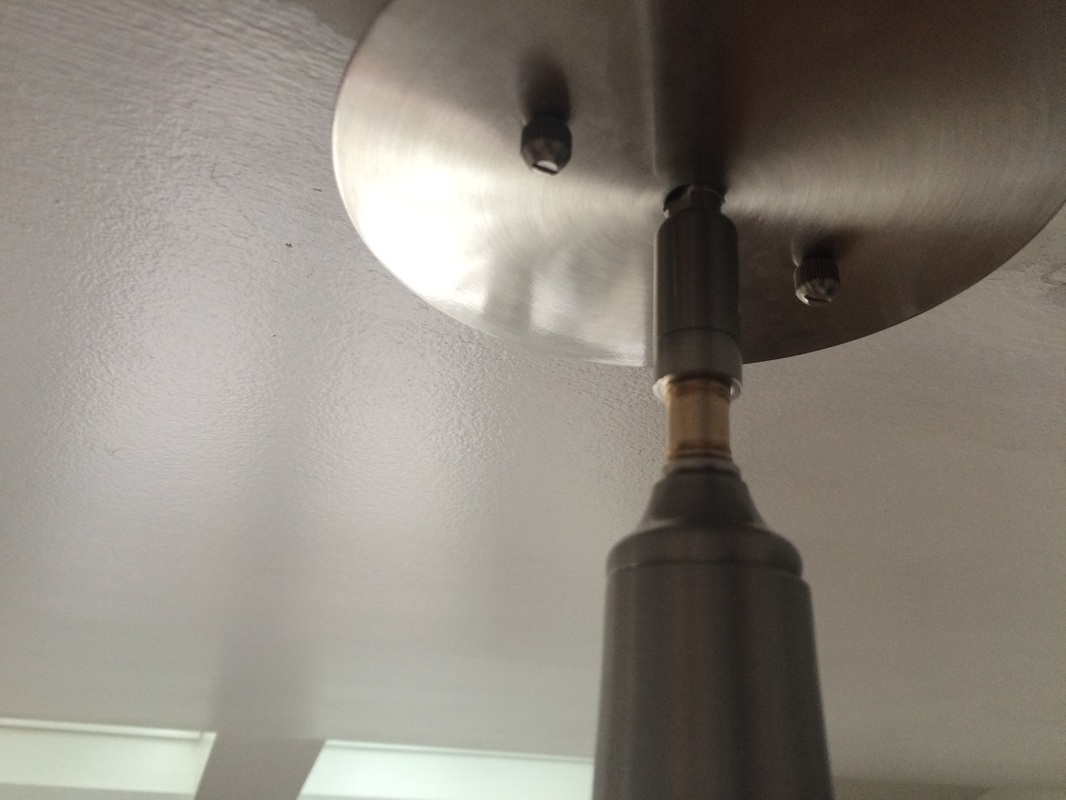
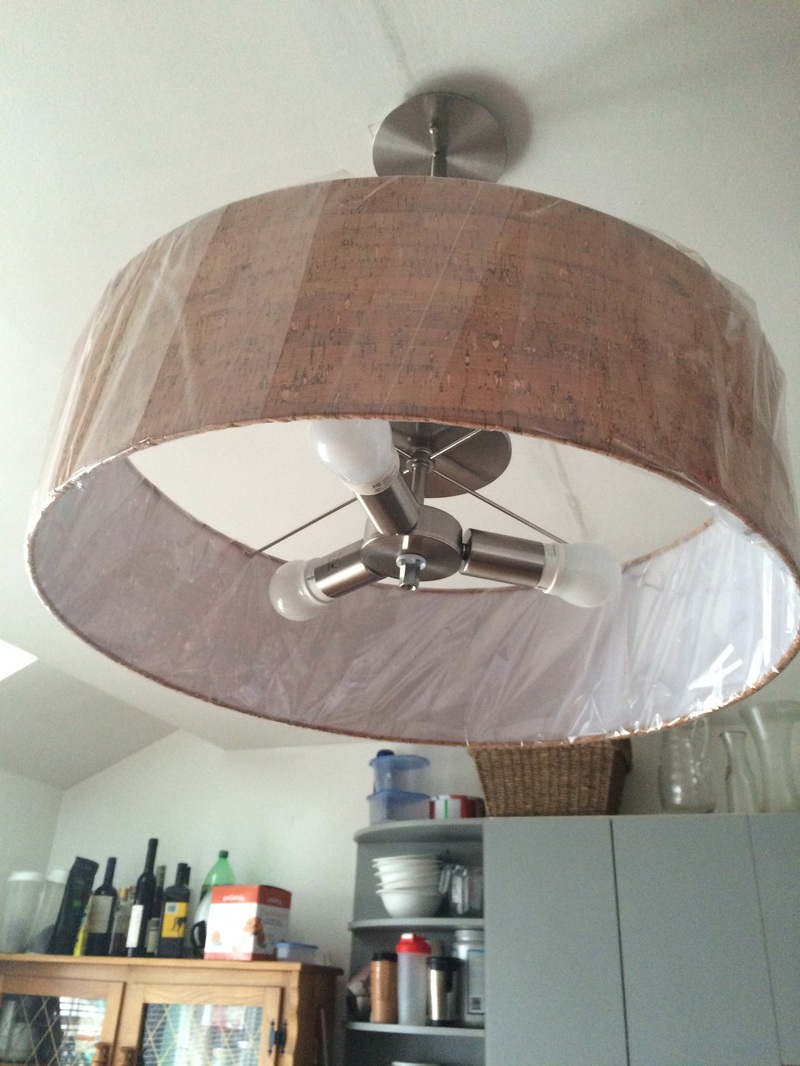
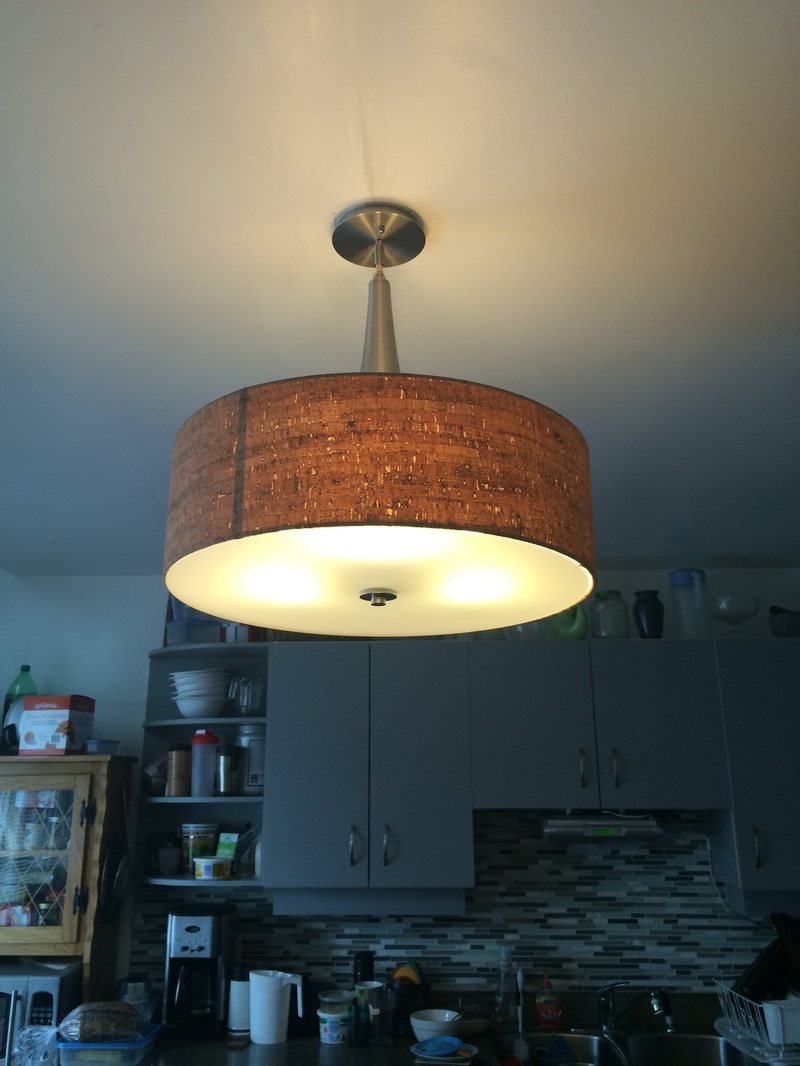
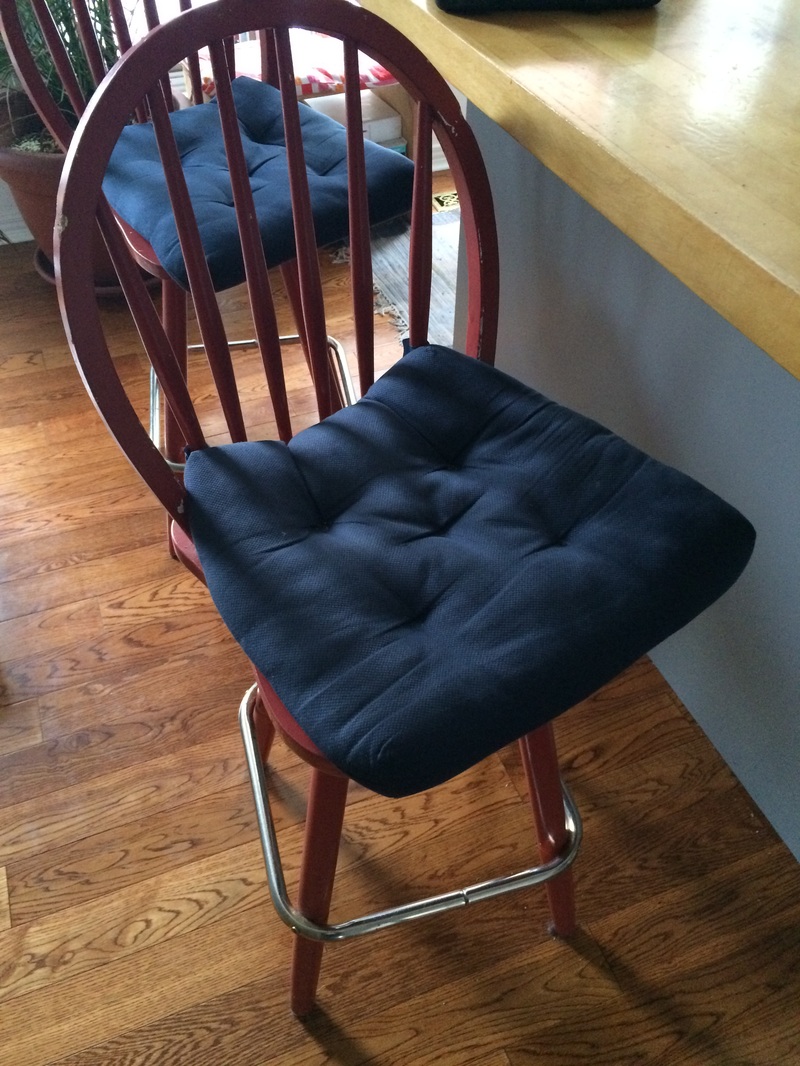
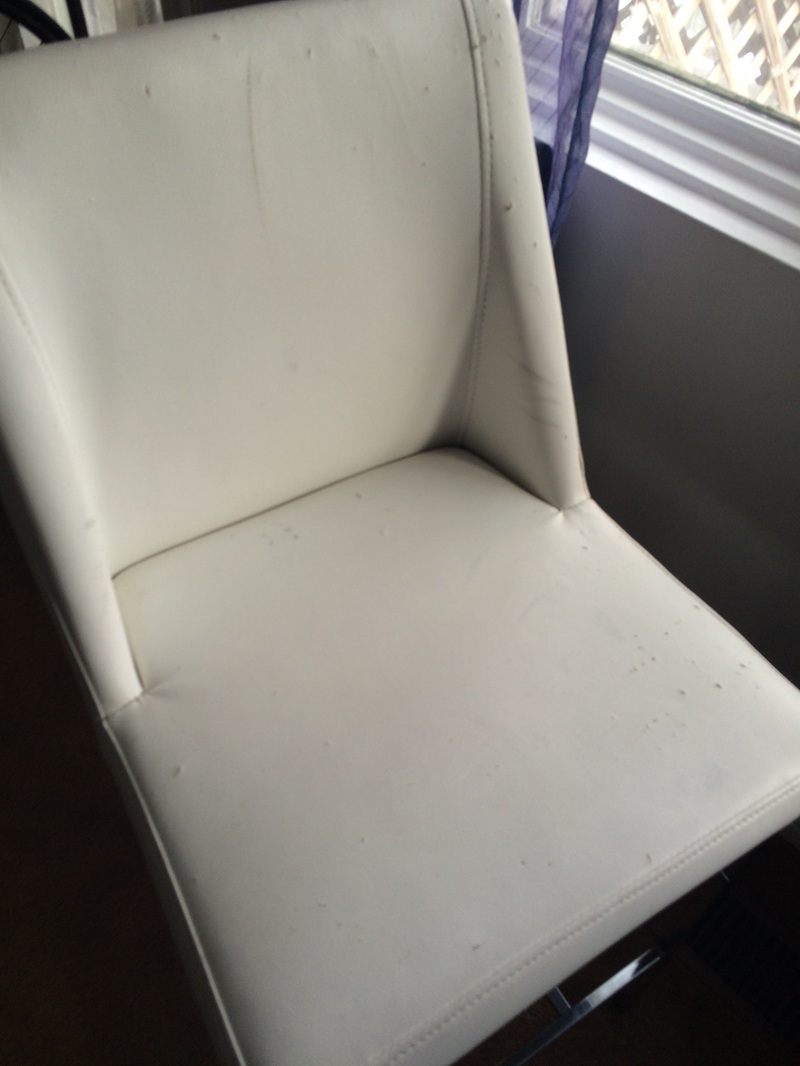
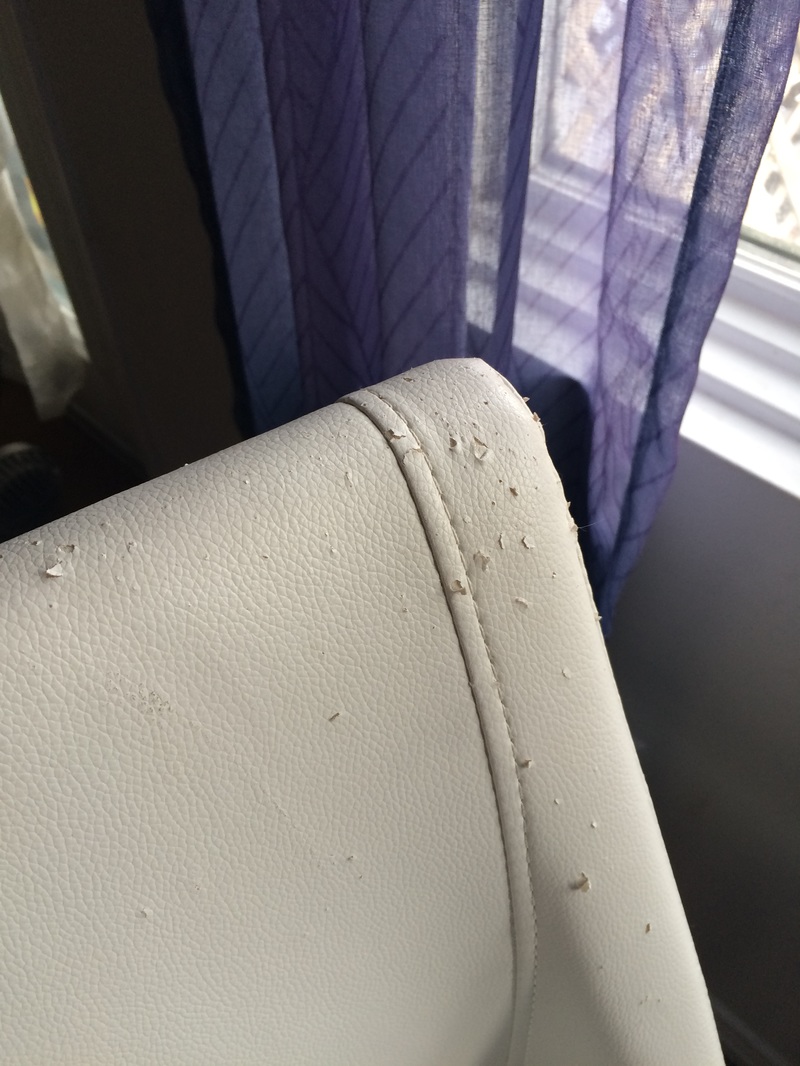
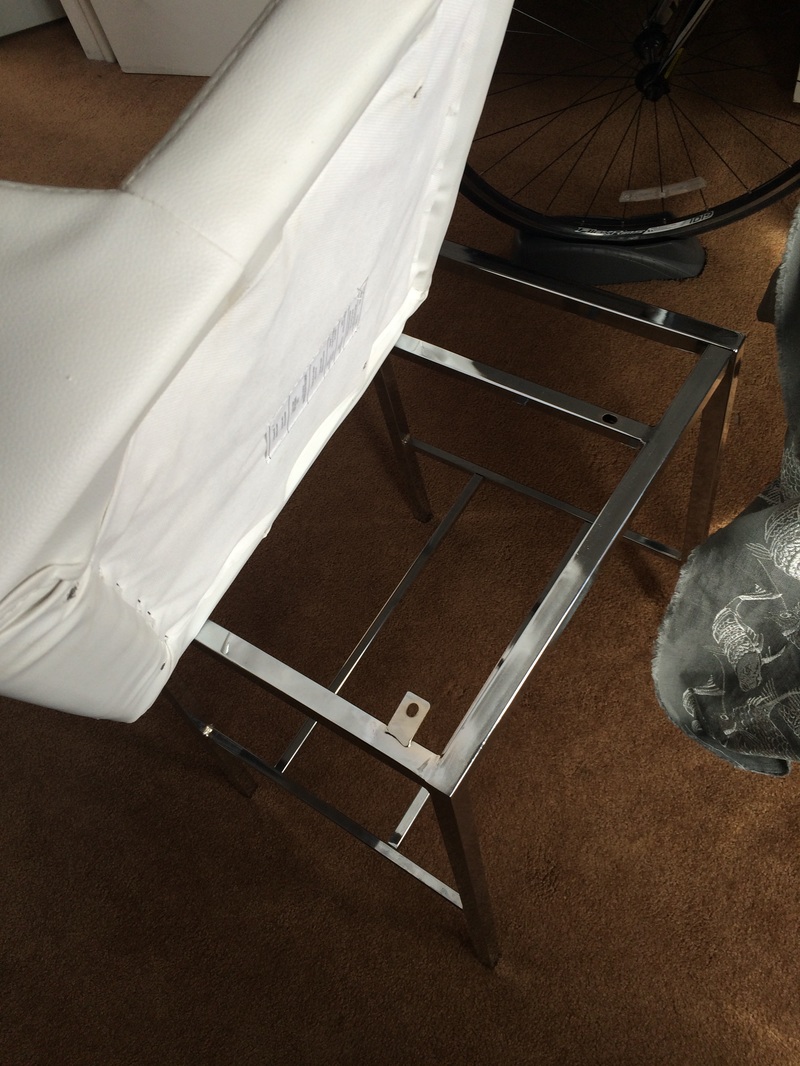
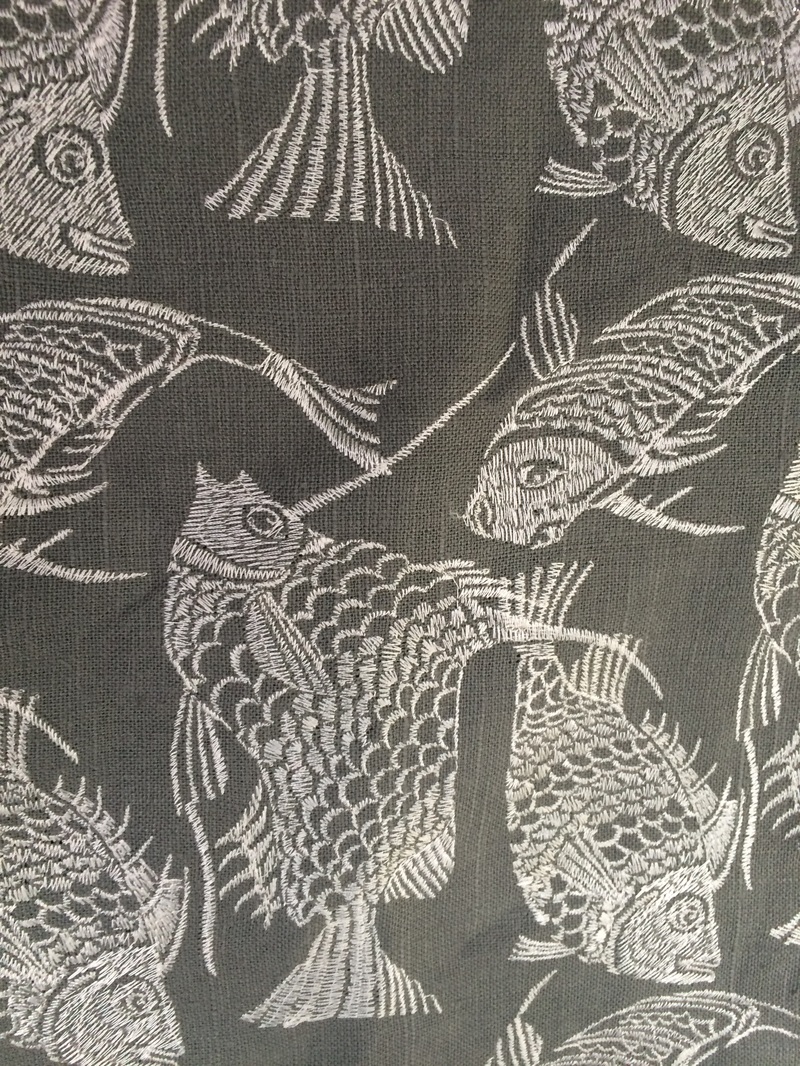
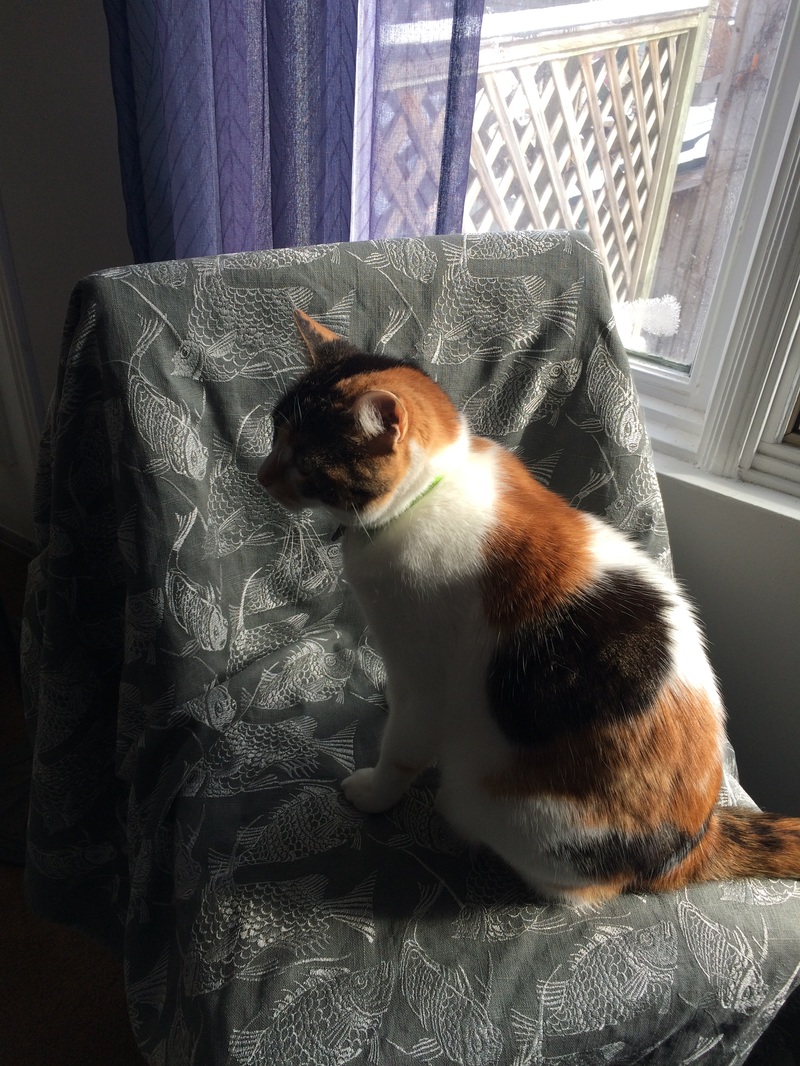
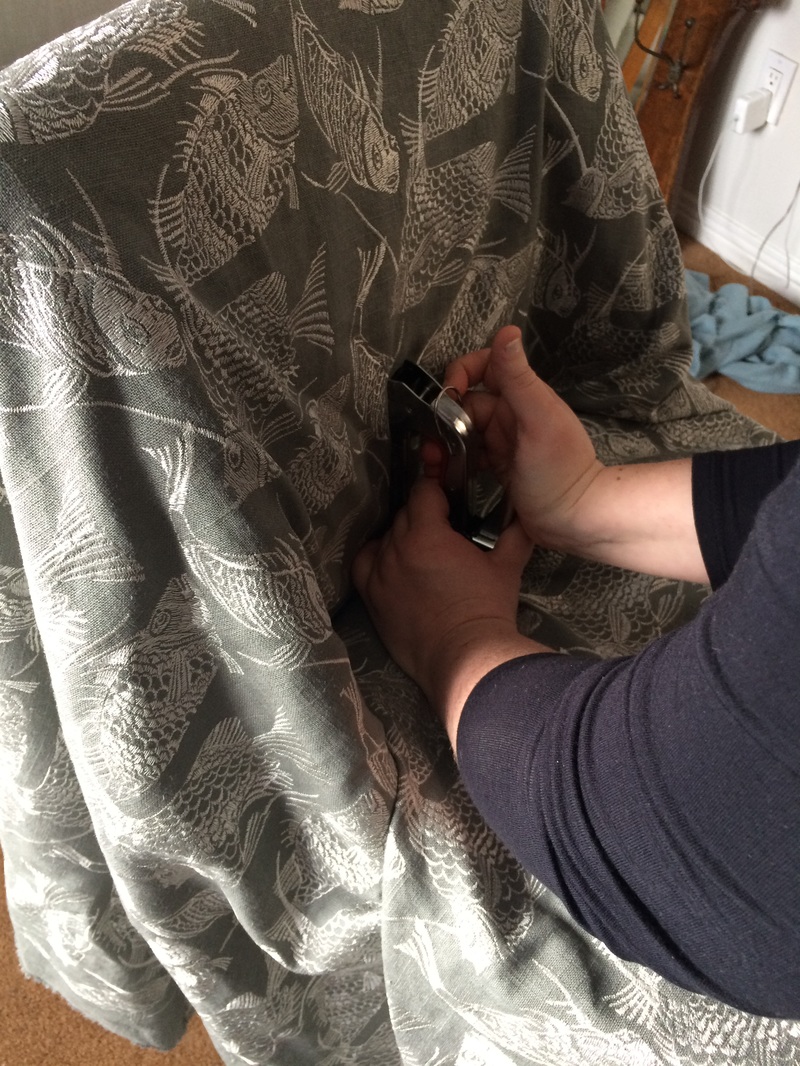
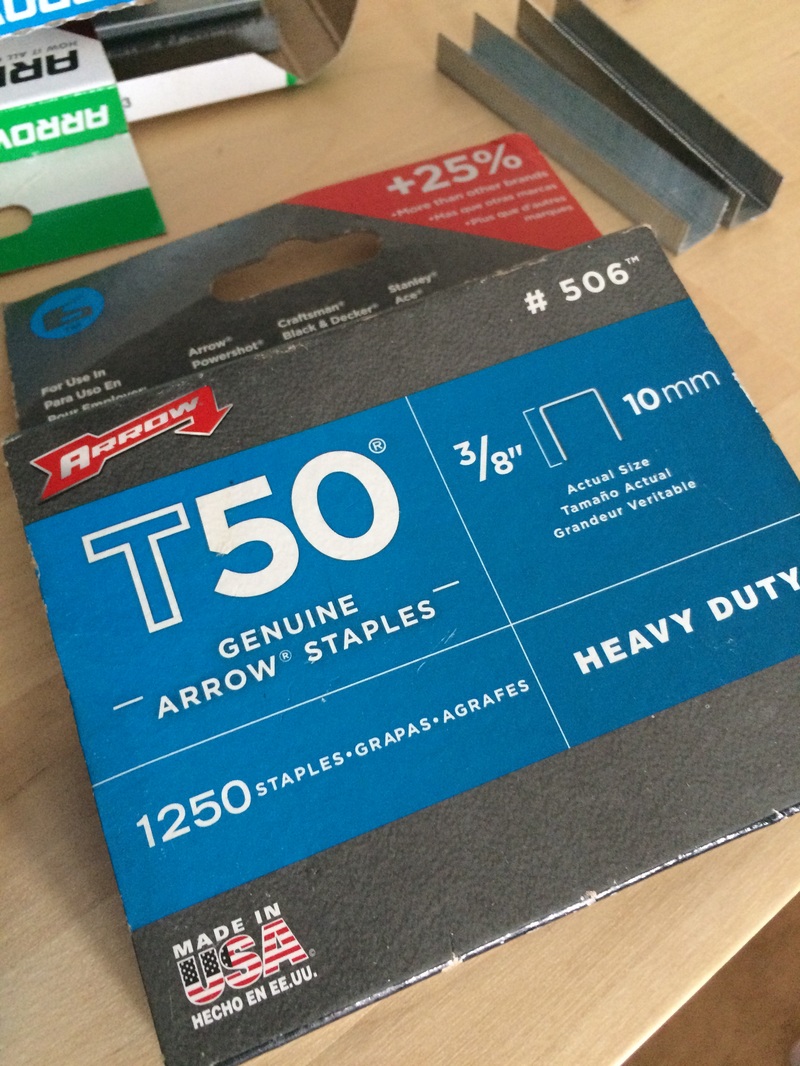
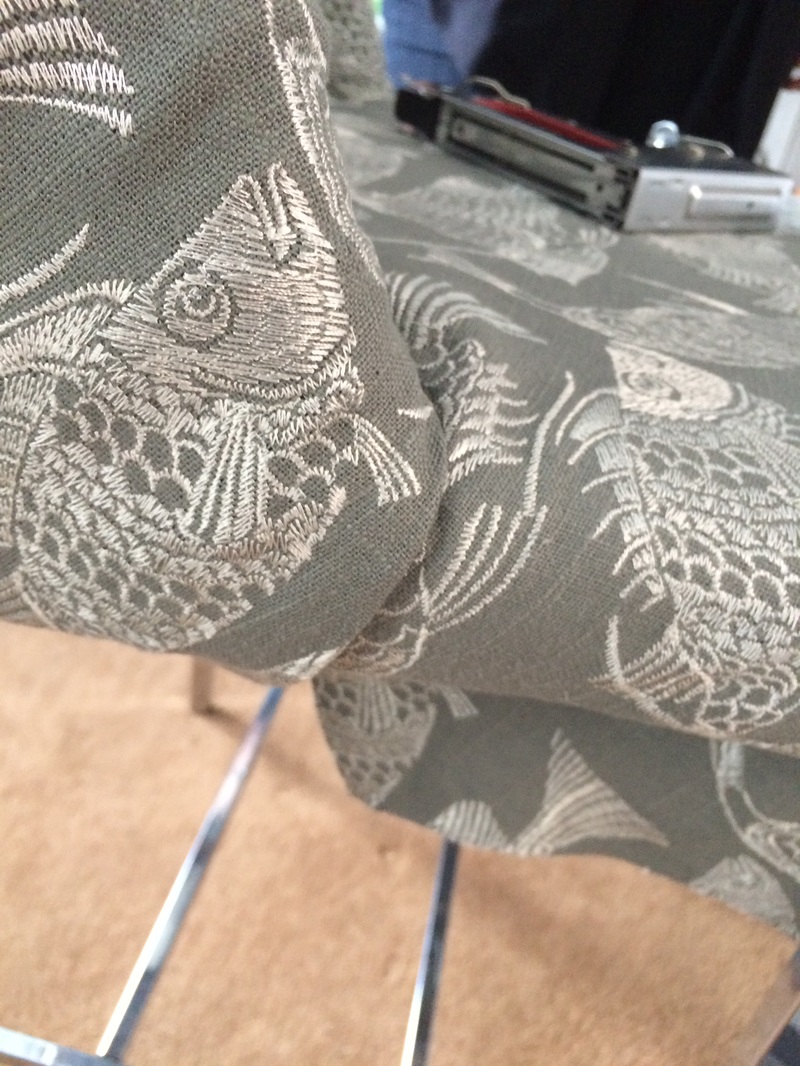
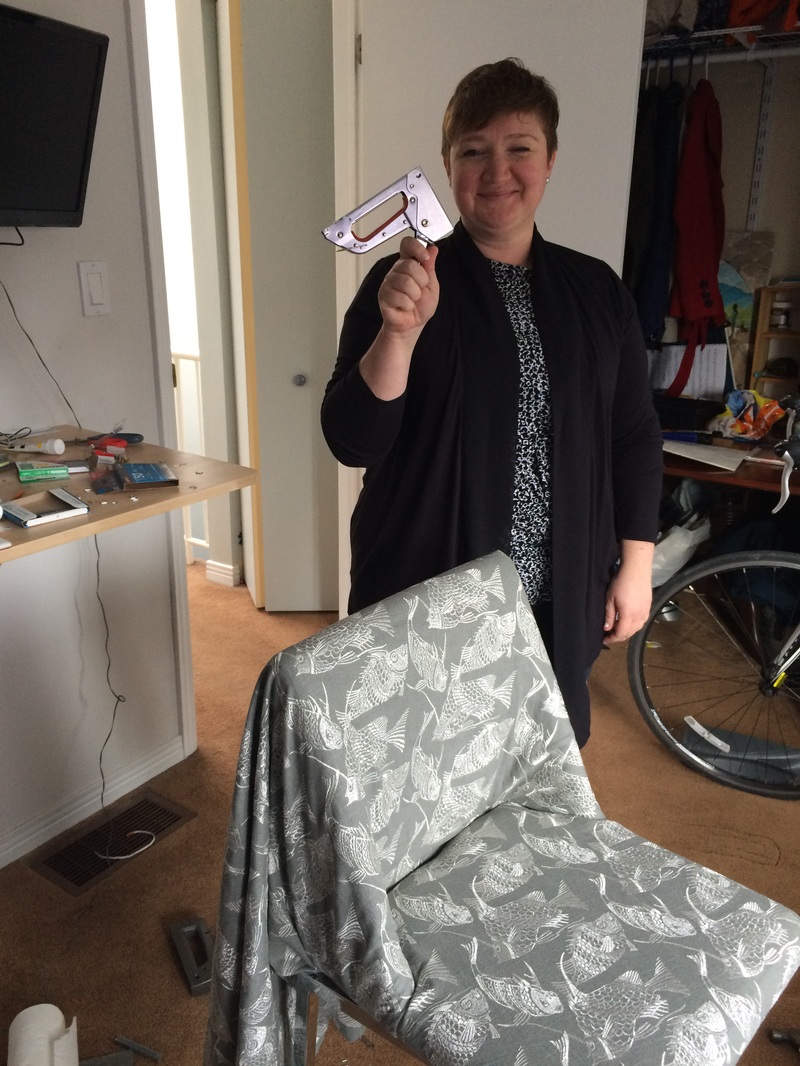
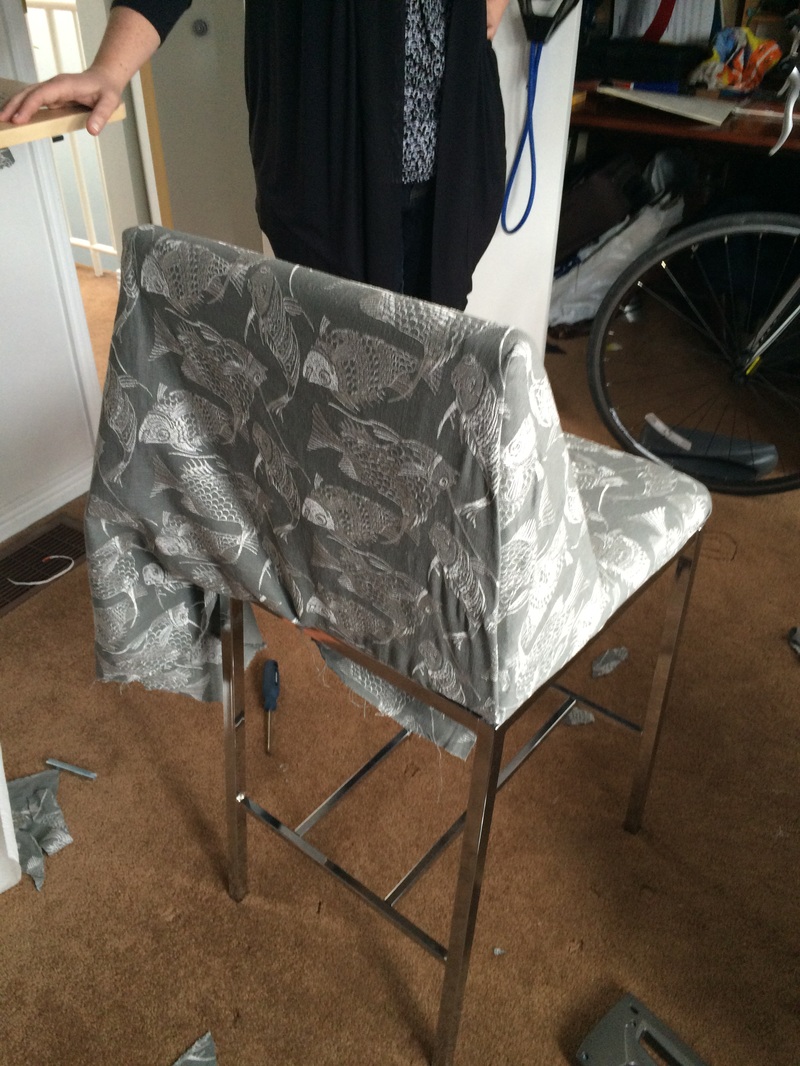
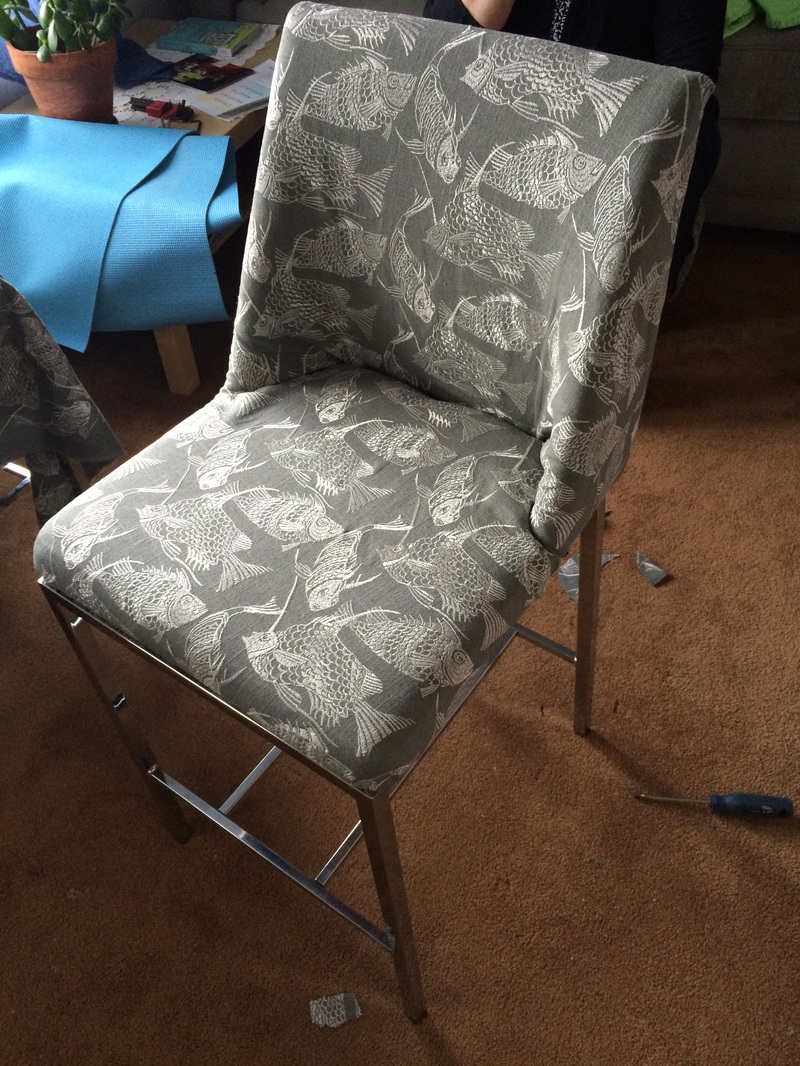
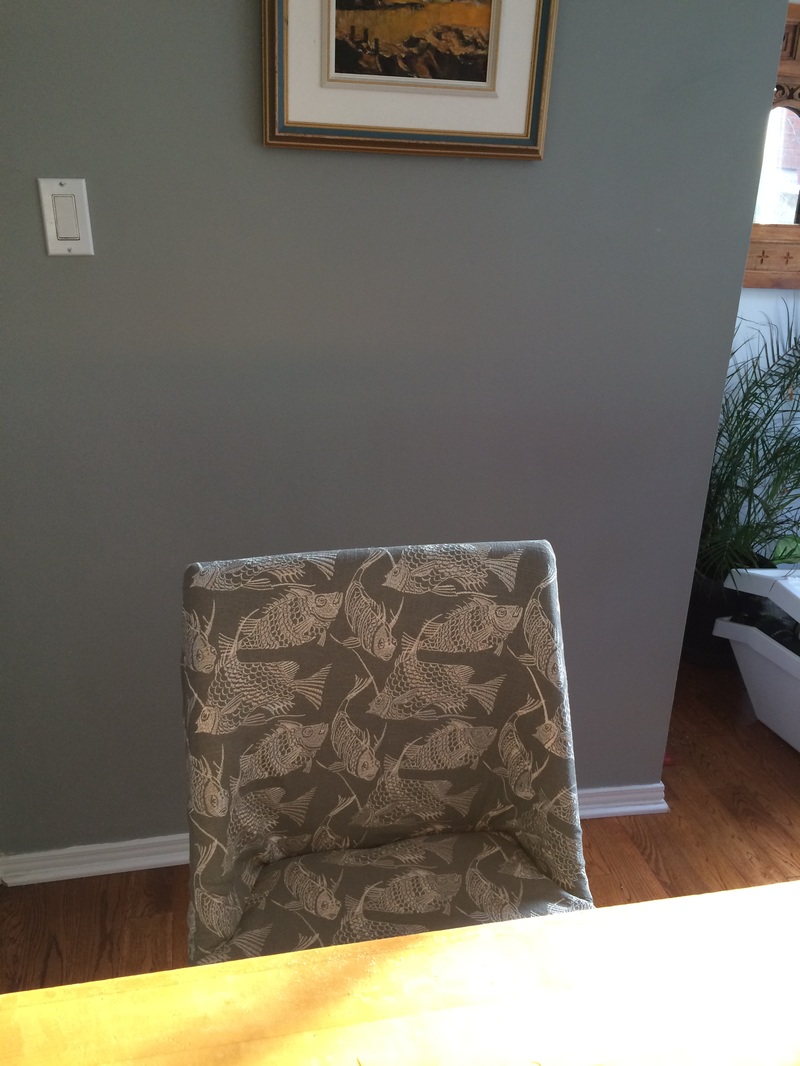
Two projects for the weekend 1.Creat an awesome cocktail: the BartSis 2.Test a Memphis rub. The rub is made, on the pork and marinating. I'll report back on that tomorrow, after we give the final project a taste. The cocktail the 'BartSis" has had a taste and gets two Bartlett thumbs up! The BartSis 2 ounce black cherry juice (unsweetened) 2 ounces spicy ginger ale 1 ounce brandy 1/2 lemon slice Mix, squeeze the lemon as you add, serve on ice, enjoy! Garnish with basil leaves. Repeat! It was a golf clap kind of weekend, as far as projects are concerned. Firstly I wanted to install the dimmer switch in the kitchen. Done it before, should have taken less than 30 minutes. Took all necessary safety precautions but the wiring was a bit different. When I switched back on the power, the outlet was making a loud buzzing sound (loose connection) and the dimmer switch made the lights flicker. Fail. Damn. I could not fix the buzzing. I turned off the power and reversed efforts, putting the old switch back. No buzzing. Safe electrical outweigh desire for slightly less bright lighting. Secondly, we were a group of six on Saturday for some boardgames, so figured I'd make some snacks. I had read this recipe on Food52 and remembered it, mostly as the reviews were so plentiful and positive. Roasted Fennel and white bean dip. It was a beautiful day for a walk so no issue with the special stroll to the Glebe for fennel bulbs and I enjoy our pit stop pint along the way. I didn't mind working away through the recipe steps (roast fennel, roast garlic, flavour olive oil for white beans, blend, bake ), thinking the dip would be fabulous. For all the steps and details, it was pretty bland. We ate it, but the dip inspired talked about all the ways it could be better - fewer beans, more lemon, more garlic, more cheese. I might try it one more time with adjustments, but probably not. My first and perhaps last foray into the culinary wonder of hot dip. Until next time! I've been making this recipe for 10+ years. I found it online many years ago, a son posted his mothers recipe (called it hong kong chicken). Wait for chicken thighs to go on sale, buy a bag of onions and you are golden. It is one of those recipes where you throw it together, put it in the oven for a few hours and then get a delicious meal. Level of Difficulty: 1/5 Costs: Low 3 pounds chicken (pref thighs) 1 ½ T oil 2 T balsamic vinegar or red wine 4 cups sliced onions 3 T dark soy sauce 1 thinly sliced red pepper 1 T sesame oil thinly sliced carrots 1T rice wine vinegar 1 ½ t salt 1 ½ T sugar or molasses 1 t ginger powder 4 cloves garlic, thinly sliced Combine first column and let the chicken marinade for at least 30 minutes. Addition of some thinly sliced red pepper is very nice, as is a few tablespoons of hoisin sauce. Set aside. Saute the oil and onion until the onion is cooked and transparent. Spoon cooked onions in and around the chicken in a roasting pan. Roast at 30 minutes at 425 degrees. Turn chicken, lower heat to 350, and continue cooking for around 1-3 hours, or until the chicken is very tender and onions have started to break down. I often cover with foil for an hour or so if things get too brown. The onions will melt and form a sauce. Lessons Learned 1.Low slow cooking is delicious. Chicken thighs get super tender, fall off the bone. 2. It is good served with roasted sweet potato. 3. Don't double the red peppers, impacts the texture in a bad way. 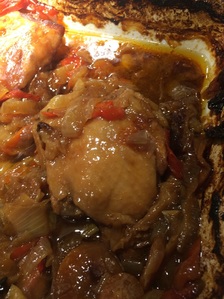 Another day, another project! Our 1980's track lighting in the kitchen was falling apart, needed a refresh. We finally choose a new fixture, having very different ideas about budget and style. I found a company in Alberta that sells light fixture etc and found this one on sale. I was looking for something with warm light, where you don't look up and see the lightbulbs. Level of difficulty: 2/5 Costs: light fixture $250 connector thingy $1.59 Tools: volt checker screw drivers putty and knife First turn off the power! It took me a while to take down the old fixture, which also showed a 1980's paint job underneath and a few holes. I patched the holes but will have to paint the ceiling another day (new project!) I've installed few lights so had no issues with the electrical side of things. However.... I needed to shorten the light arm, as it hung too fair down from the ceiling. There were different arm lengths but all too long I found a piece at a hardware store that let me join the light to the ceiling bracket- score! My sister Amy helped me out - there is a part with installing (connecting the wires) where it helps if someone is holding up the fixture. Thanks Amy! Lessons Learned 1. Measure all directions. If i hadn't of found that connector piece, the light would not have been functional. 2. One project can lead to other projects. That is fine by me, but now i have to paint, install a dimmer switch, etc. 3. We love the light but may move it to the dining room. Not sure. Going to try it out for a few weeks. So not a total success, but so it goes. The previous house owners left behind two bar stool in the kitchen, which nicely matched the 1980's decor. Over time, my stool became very unstable, wobbly. I had trouble convincing Abe that this was an issue (Abe: "It's fine"), so I switched our stools (Abe: "Hey, this is wobbly")- and then got support to move ahead with new ones. Yippee! New stools are, like most things, so damn expensive. I decided to hunt on kijiji for replacements, spent months looking. Finally I found two white stools for $20 - Score! The white fabric was a bit old and scratched - perfect for a project! Luckily the weekend we went looking for fabric, the whole store was 40% off. Project stars are aligned. I pulled in my sister Amy to assist, as we were discussing sewing slip covers. My take on slip covers:Too slow! Grab the T50s and get to work! We started with stapling down the fabric to where the seat meets the back and went from there. Lots of discussion on technique #sisterdebate: Amy's desire to save fabric scraps for a runner clashed with my desire to plough on through. Level of difficulty: 3/5 (Curvy chair back was a pain) Costs: 2 stools ($20) 3 yards fish material ($50) - I love the fabric! T50 and J20 staples ($4) Tools: heavy duty stapler allen key (to remove seat from the chair base) scissors broadway playlist (this was for Amy, keep her cheerful while we work) Time: 2 hours per stool Wobbly no more, with a splash of fish! Lessons Learned 1. Don't need to sew to cover, though might have been more polish-looking. 2. It is very hard to staple into a metal frame..(duh). Thought it was all wood, was wrong and it made things a bit difficult. 3. Get the longest staples you can find, as it can be challenging to attached through the stuffing. 4. The project would have been easier if the back didn't have the curve to it. We figured it out, but the job would be cleaner and quicker if the chair design was simpler. It is much easier to cover ottomans, etc. |

Author: Leah BartlettLover of projects, big and small! I try to not be intimidated by lack of experience/skill/know-how. Archives
September 2018
Categories
All
|


 RSS Feed
