|
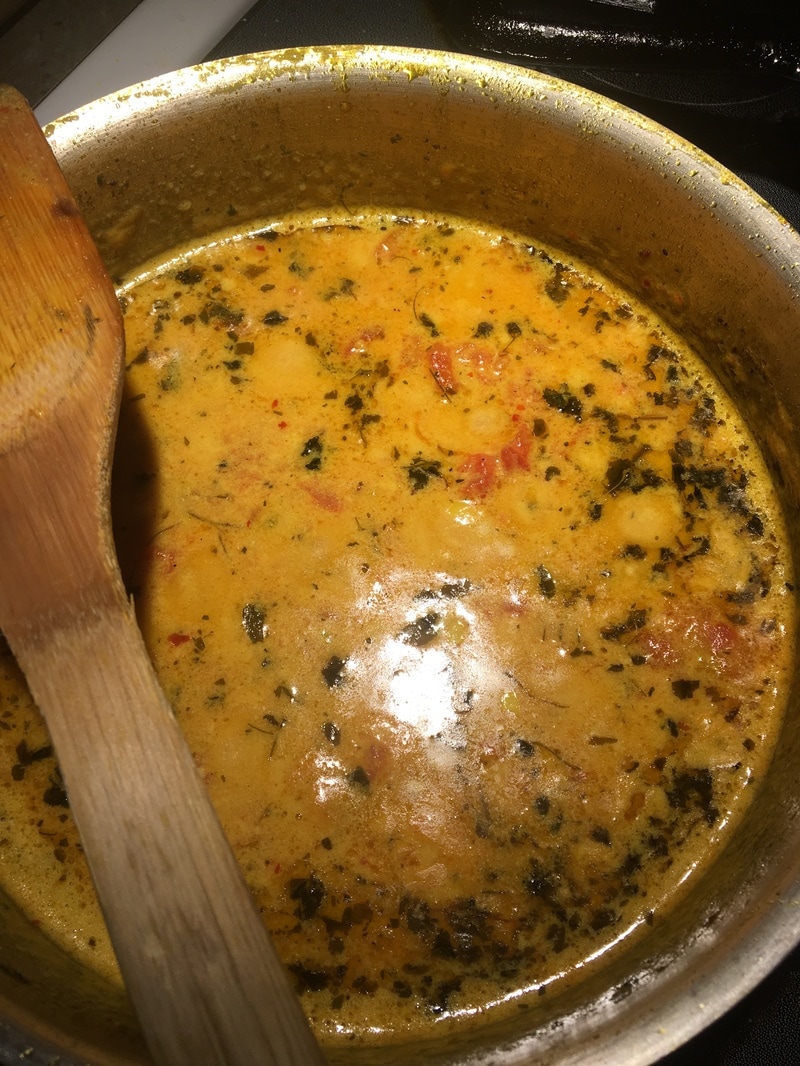
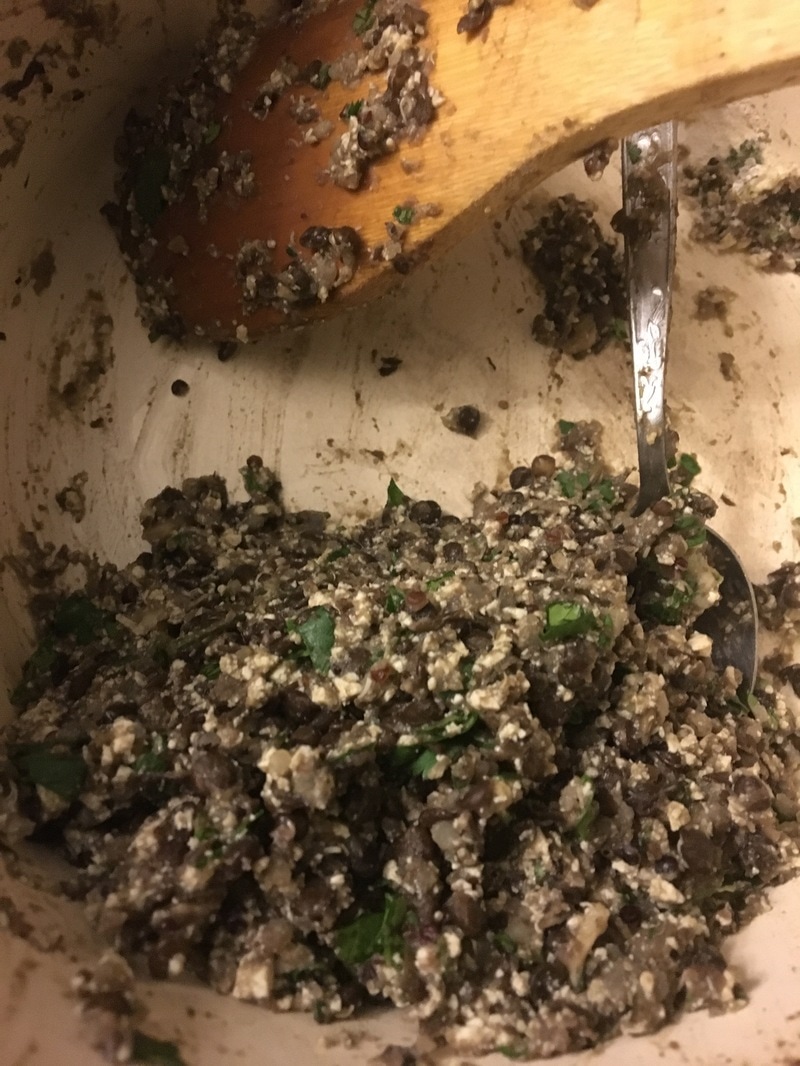
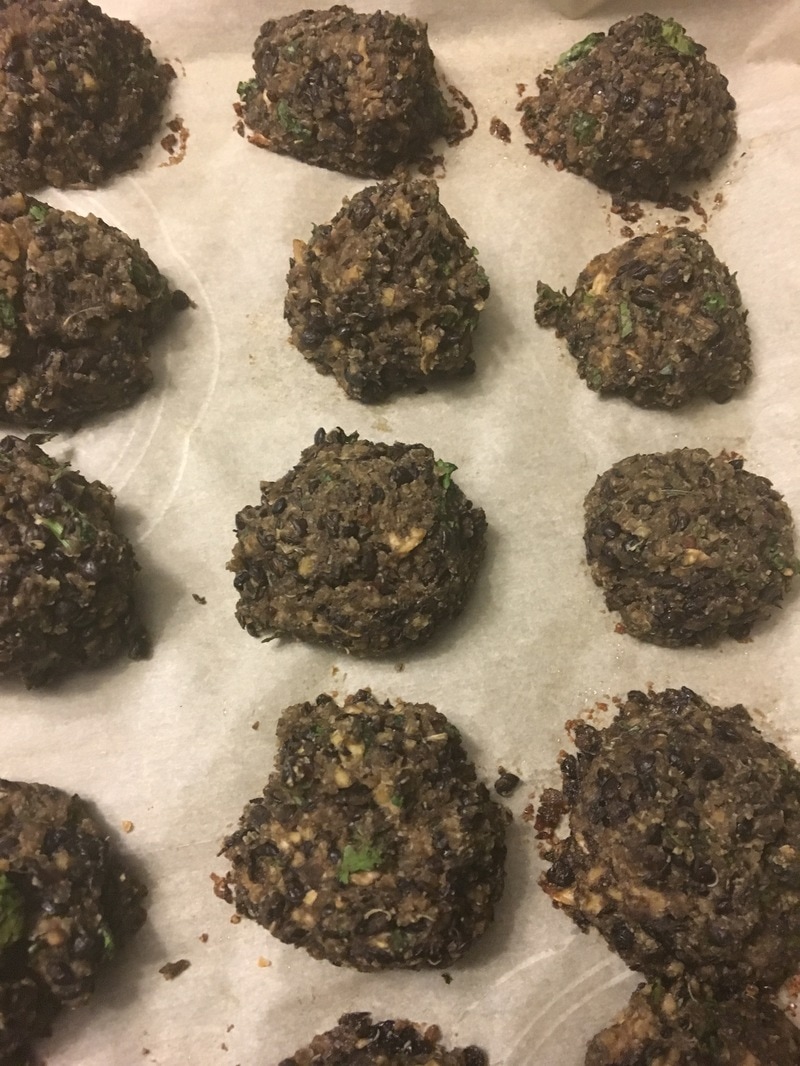
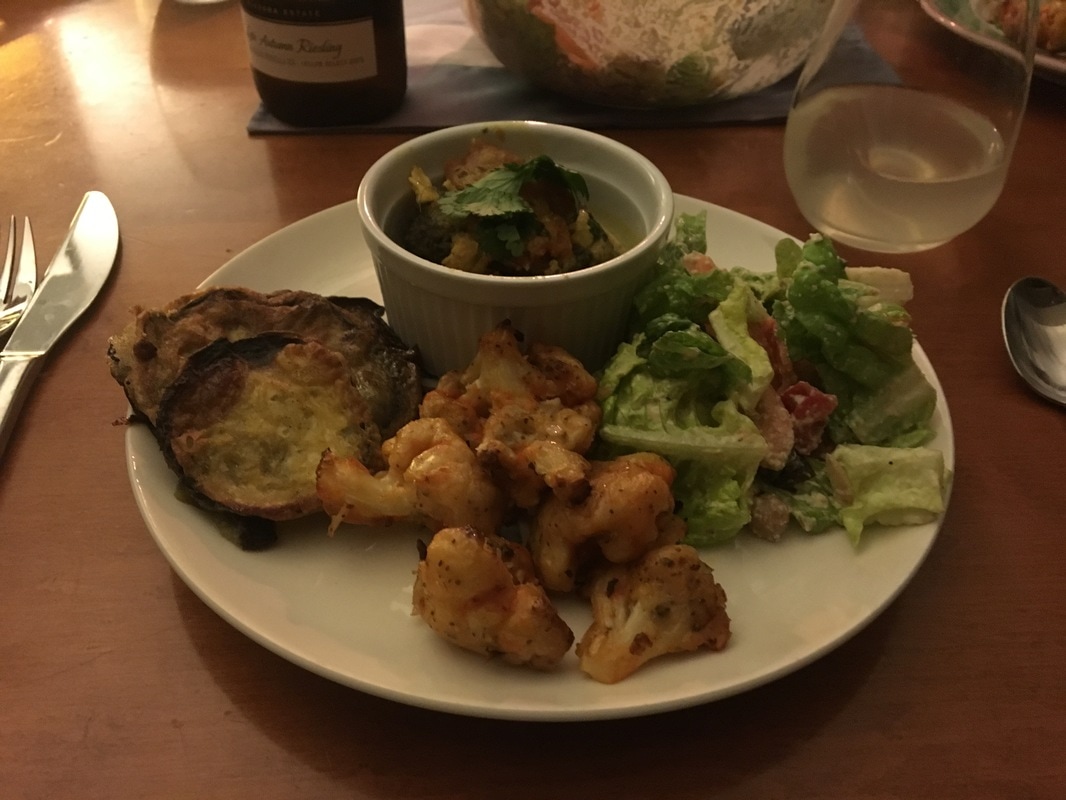
We had a few lovely house guests this past warm winter weekend. Between walks to the market and not skating on the canal (so warm!), we managed to pull together a pretty tasty vegan feast. For my contribution to the meal, I tried out this recipe from Food52 for lentil meatballs with Indian Fenugreek sauce. The lentils balls were too soft and not really worth the effort, but the sauce was delicious. I would make this sauce again in a heart beat, so good, and we had all the ingredients on hand. You could serve this on steamed cauliflower, haddock, grilled chicken, tofu, chickpeas. I would also consider serving it as a soup, thinned out with some broth and add some extra veggies maybe. I got the fenugreek leaves at a mideast store a while ago- but if you read the comments, it says you can replace with bay leaves. I also threw in a few dried curry leaves and topped the sauce with cilantro. I think thai basil would also taste great. Coconut Fenugreek Sauce (by feastingathome) 6 cloves garlic, minced 1 tablespoon ginger, minced <I smashed the garlic and ginger together with a mortar and pestle> 1/2 teaspoon ground turmeric 1 1/2 tablespoon olive oil 1 large tomato, diced <I used canned plum tomatoes> 1 tablespoon dried fenugreek leaves 1 13.5-ounce can coconut milk (not light) 1 tablespoon lime juice <I used a fresh lime> 1 teaspoon brown sugar <I used white sugar, for no particular reason> 1/2 teaspoon salt, plus more to taste 1/4 teaspoon cayenne, cracked pepper. Make the sauce: In a skillet or medium pot, sauté the garlic and ginger in olive oil over medium heat until just golden, stirring often to prevent burning. Add turmeric (fresh or dried) and sauté 1 more minute. Add diced <canned> tomato and sauté until most of the juices evaporate, about 5 to 8 minutes. Stir in coconut milk, fenugreek leaves, <curry leaves>, lime juice, brown sugar, salt, cayenne, and pepper. Taste and adjust seasoning. Bring to a simmer, then turn off the heat until ready to serve. <I simmered the sauce for around 20 minutes, as it was pretty soupy. >
3 Comments
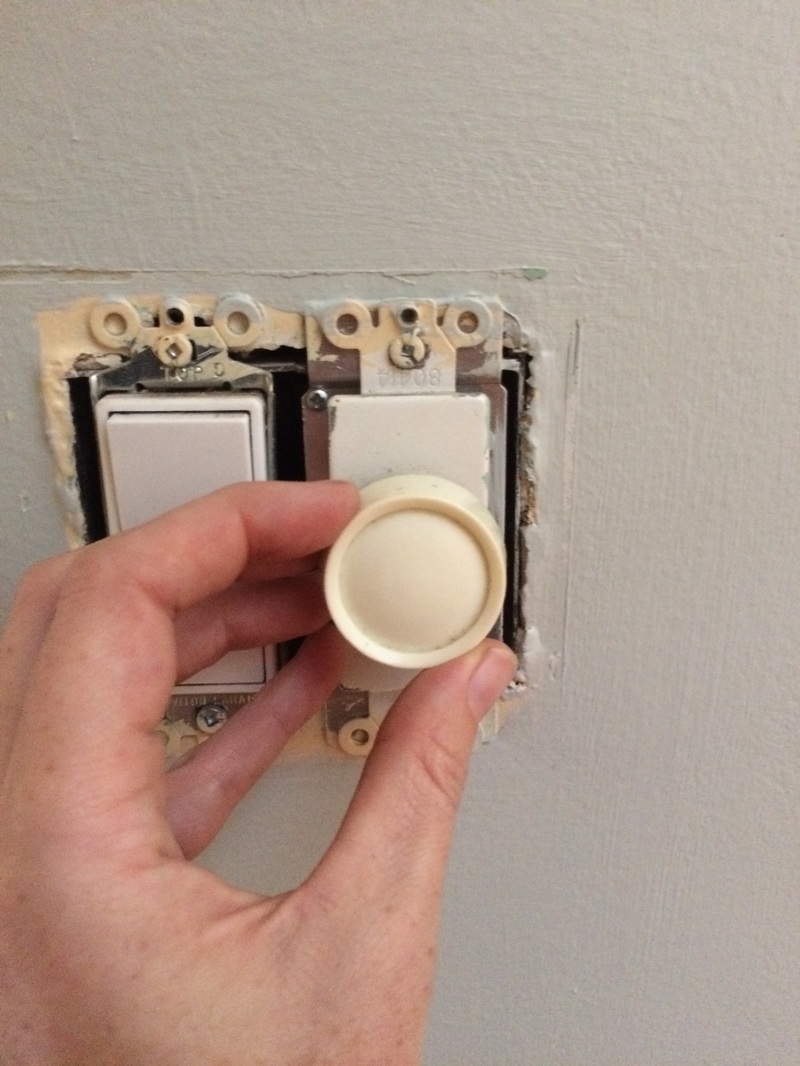
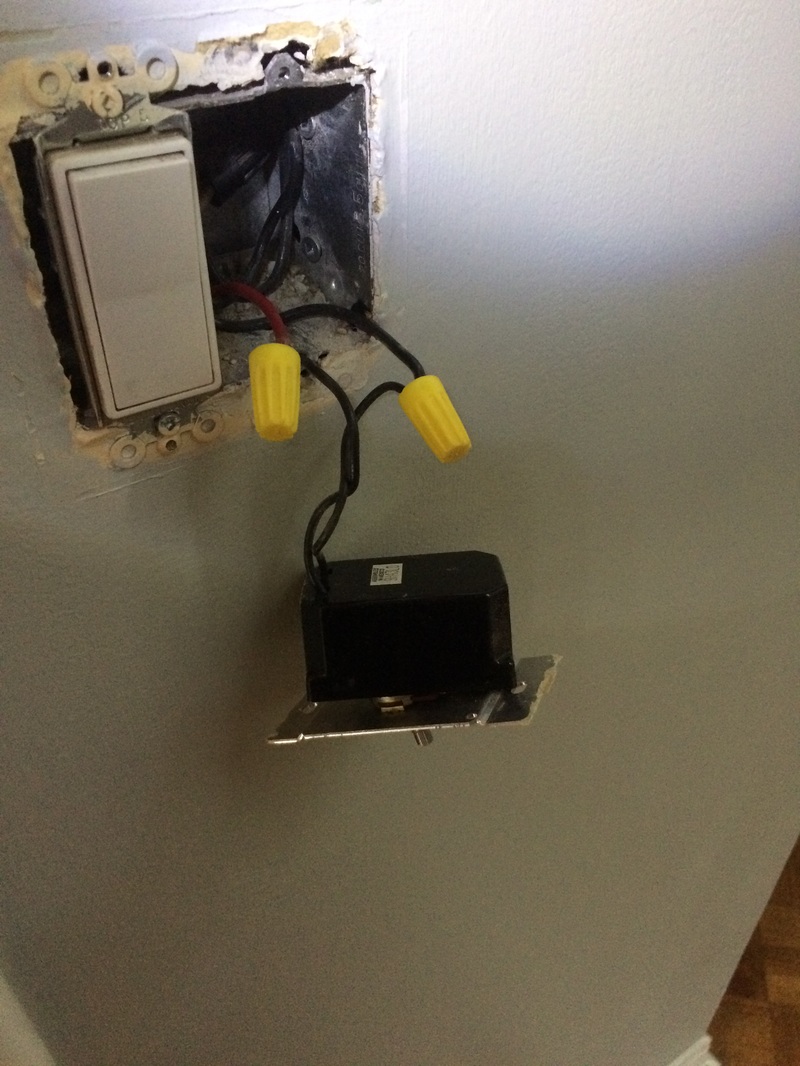
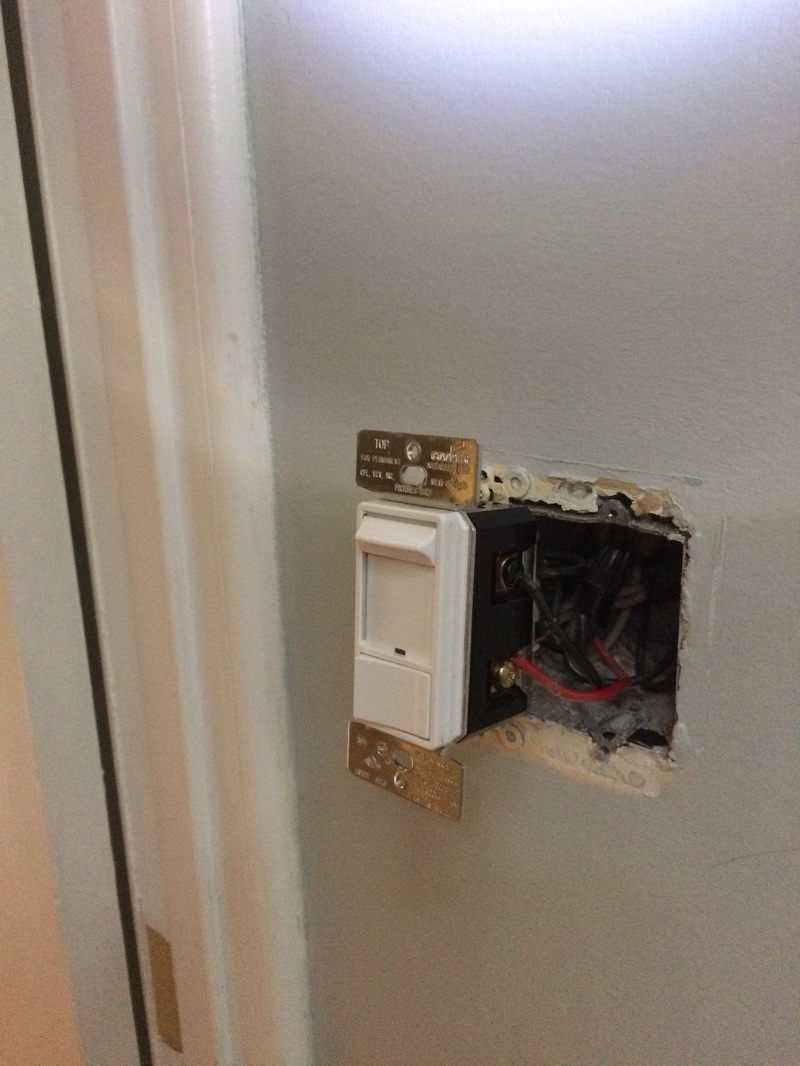
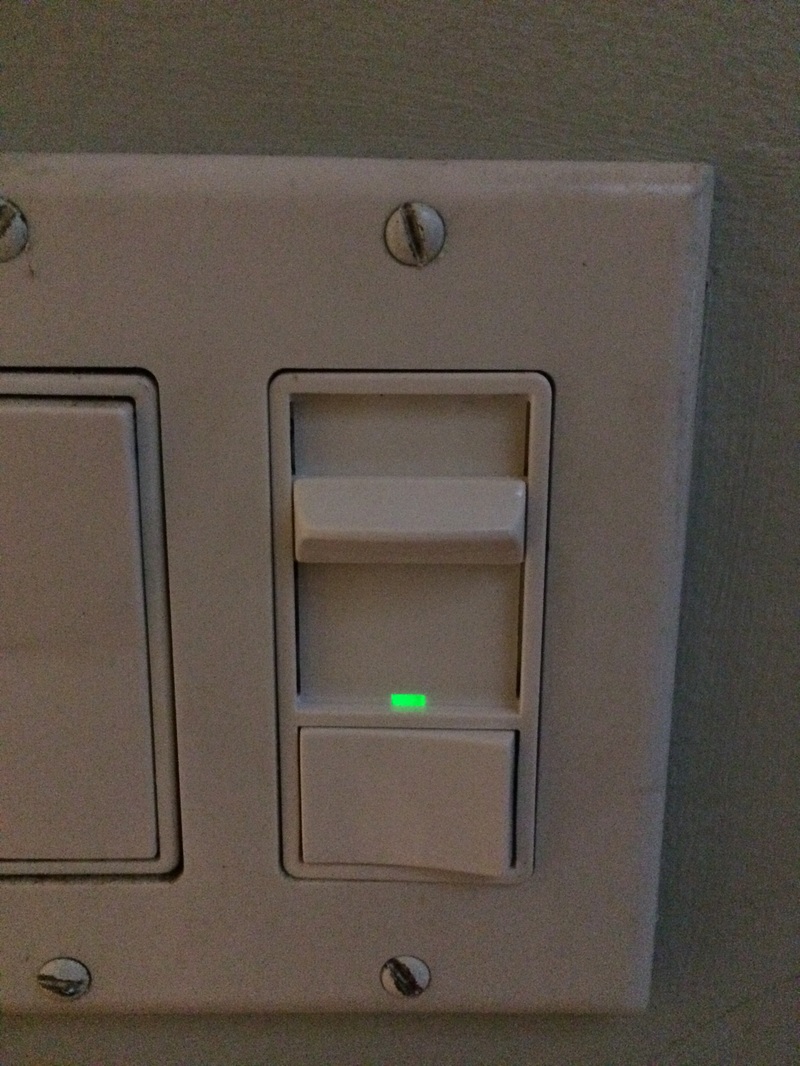
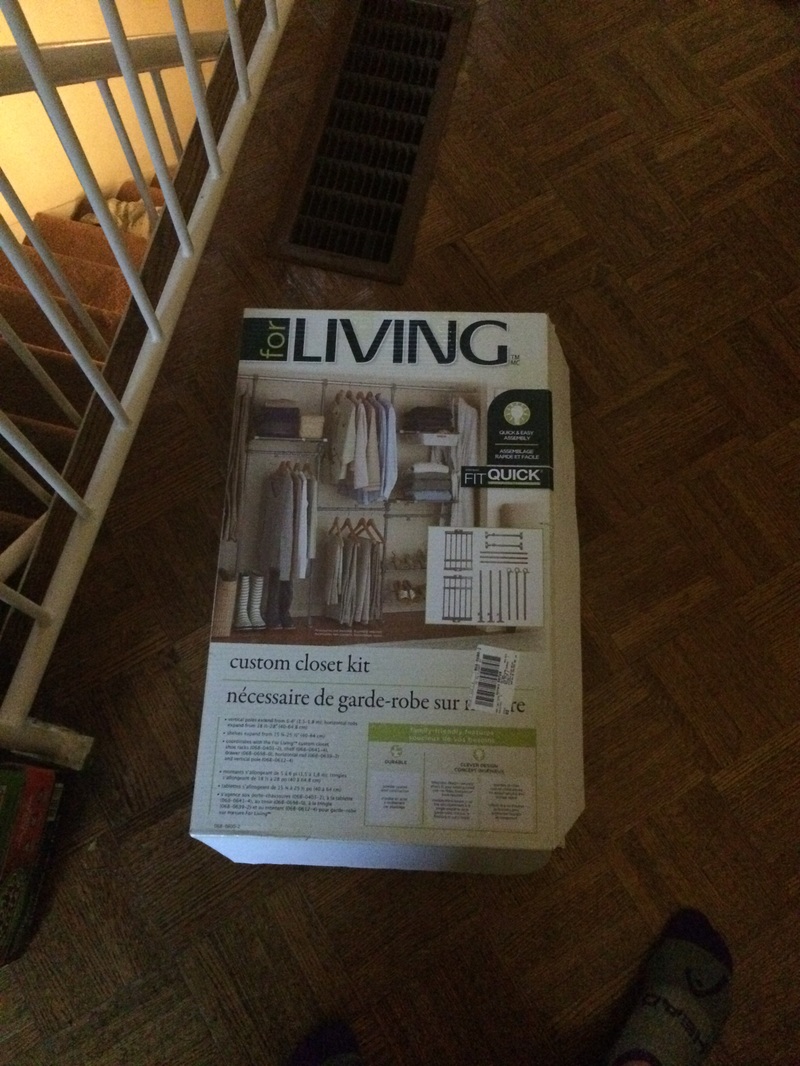
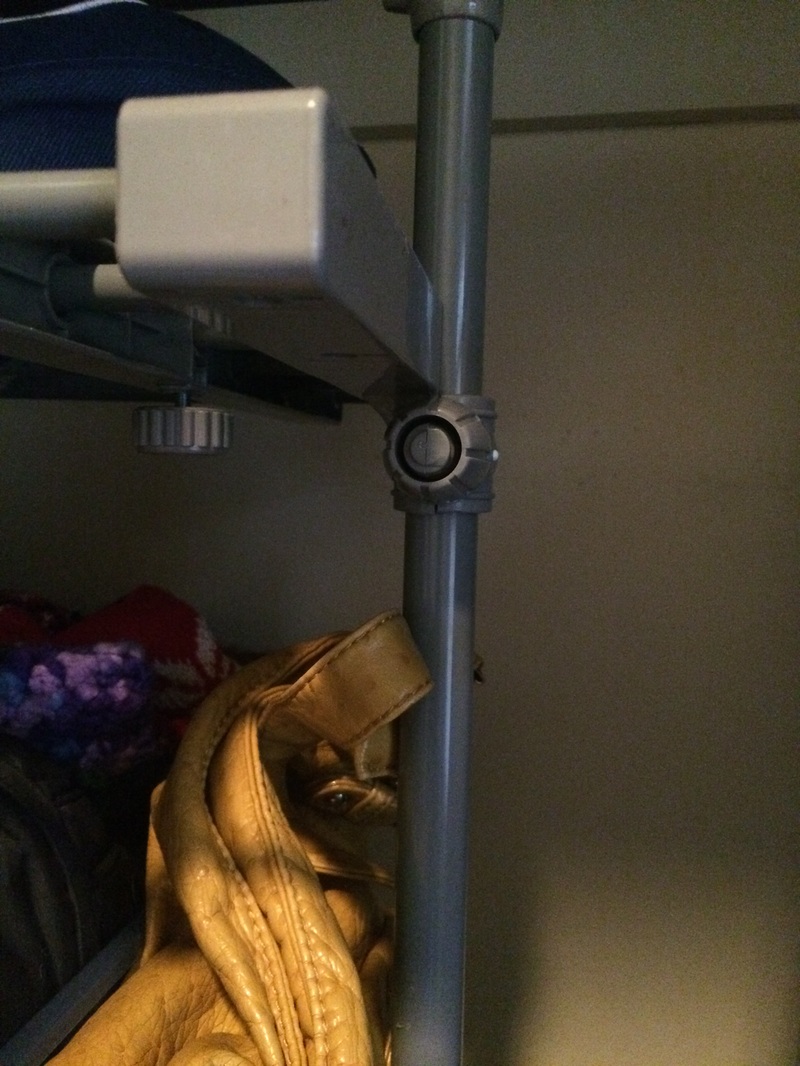
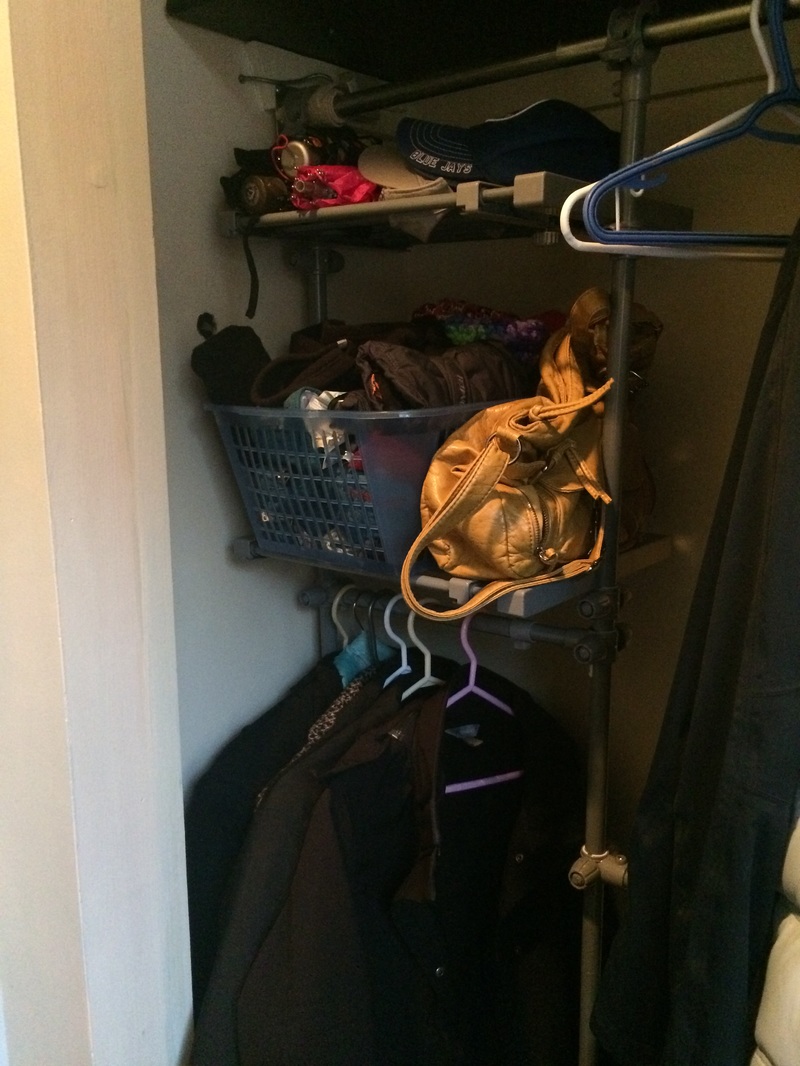
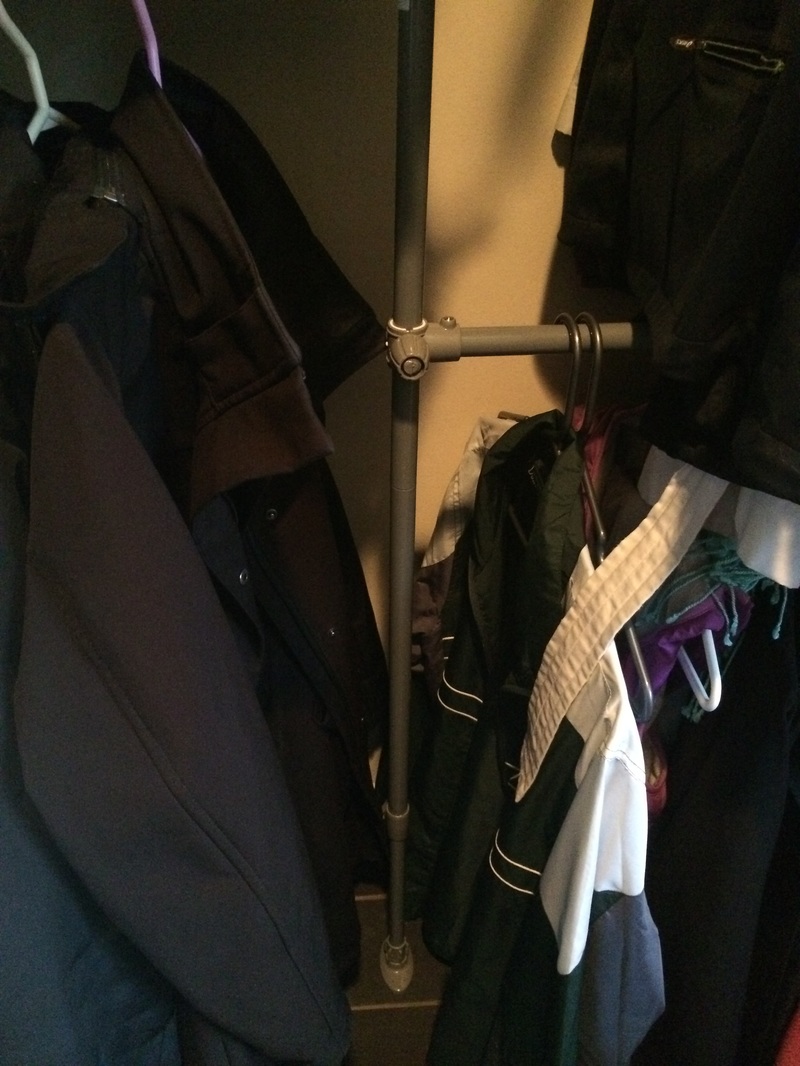
Days are getting shorter but still nice and warm - lots of time for projects! I recently tackled two projects that have been on my to do list.... (I love AnyList to help not forget my list) Firstly, I did a take-two of the dimmer switch installation, this time replaced the old unit for the dining room light #1980switch4vr. The step by step was the same as my previous post, but this time no buzzing! Part deus success! One project tip is to wear your camping headlamp when doing electrical work - yes, you look a bit ridiculous. Who cares!?! You are working on your project. Ignore the naysayers and negative nellies! Secondly, our front door closet needed some improvements - project time! The old mirror door was very hard to open and close, which resulting in us storing our jackets on the staircase #ClosetFail. We've ordered a new sliding door to install later this week, but before it's in place, I wanted to get more function out of the space. The closet is less than 4 feet wide so most closet organizing kits are too big. I found a very flexible closet kit at Canadian tire - and on sale to boot #PriceWin! The kit is essentially three tall vertical poles, with two shelves and two side horizontal rods. All in all, it probably took me 20 minutes to install - which is 1/5 the time it took me to remove everything from the closet prior to installation. Based on what I learned during this project, I may need to stage an intervention with Abe to stop the purchasing of the same generic black athletic jacket #SevenIsTooMany. Project Difficulty: 1/5 Lessons Learned 1. Use a level- it is important to have the vertical bars levels before you install the rest. 2. Extra level of hanging and two shelves- small thing but bit impact on what can be stored. 3. Edit. I went through the items and moved a lot of stuff/put it in the donate pile. Moved rarely worn items to less prominent closet. There is now space for guest to hang their jackets too! Until my next project!  What do you make when you have a huge bag of wheat germ? Muffins!
Abe bought a pile of wheat germ for his sour dough bread. I have many childhood memories of wheat germ muffins, wheat germ cookies, wheat germ everything #80snutrition. I basically followed a recipe (link below) with a few changes - swapped in whole wheat flour, reduced the sugar, increased the spices. I had most everything on hand, except for the applesauce. The batter is pretty thick but the resulting muffins are terrific. I like them toasted with a slice of old cheddar. Wheat Germ Applesauce Muffins (source: link)
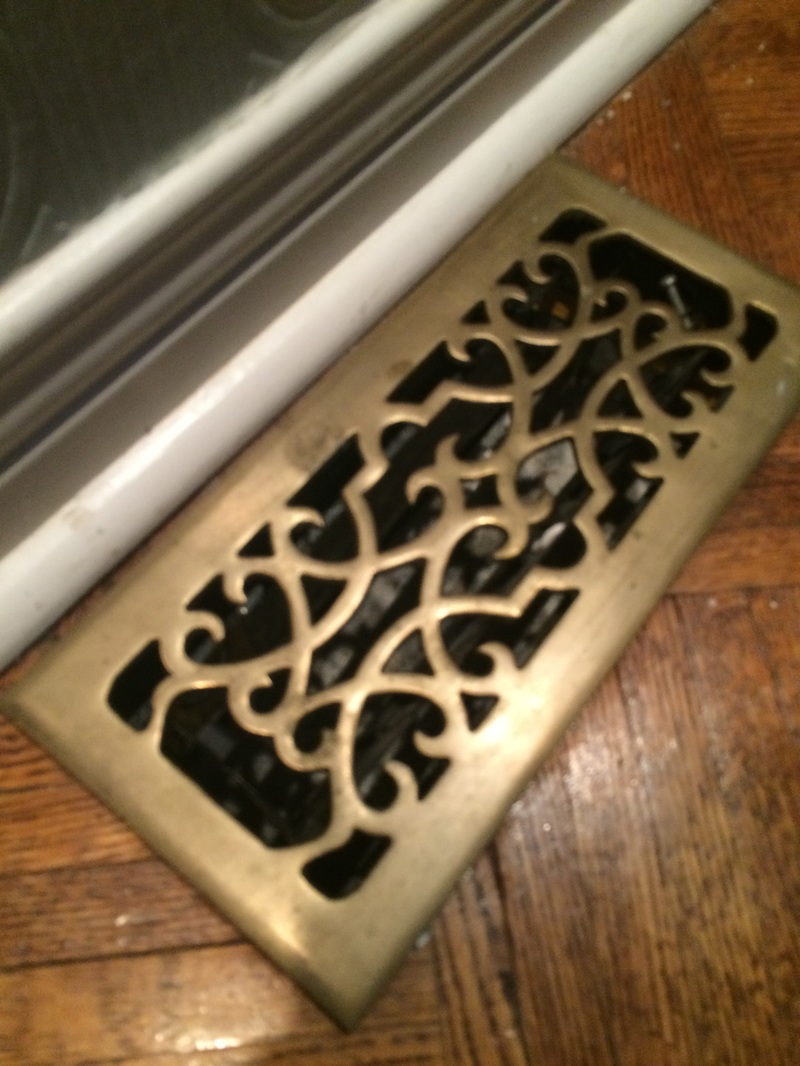
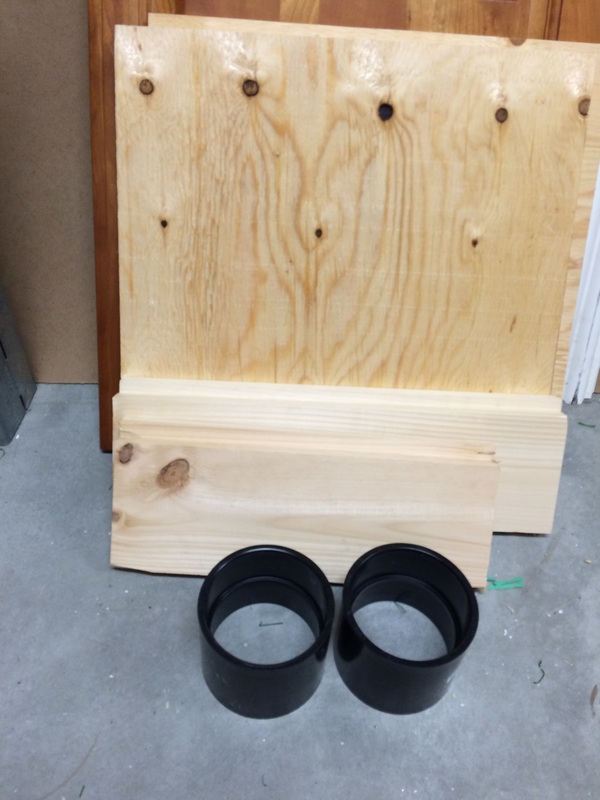
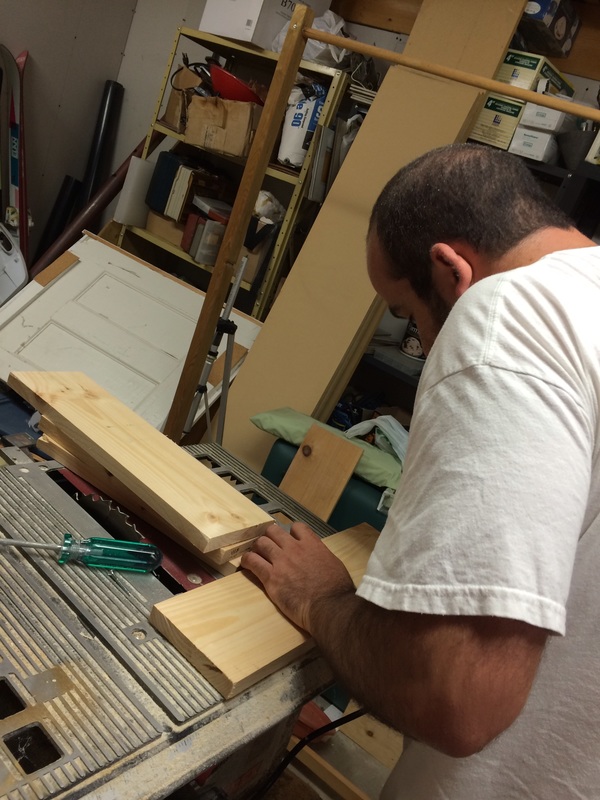
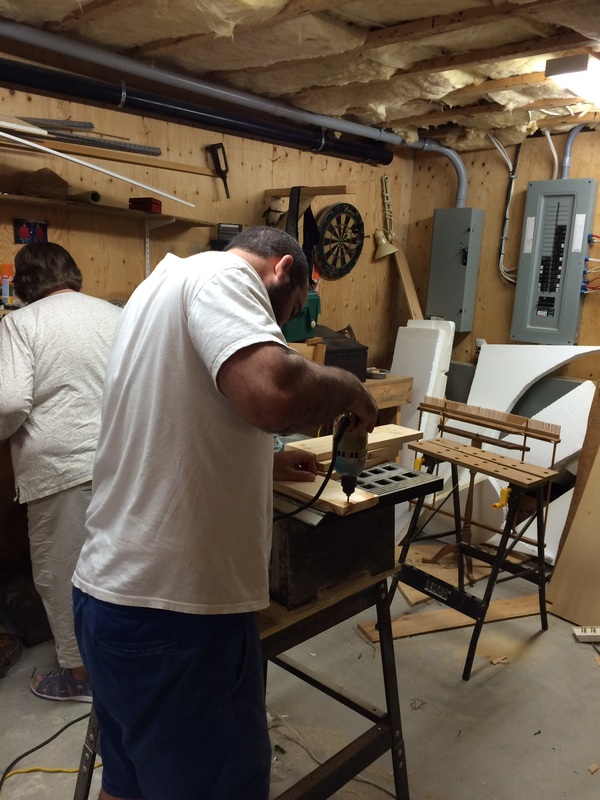
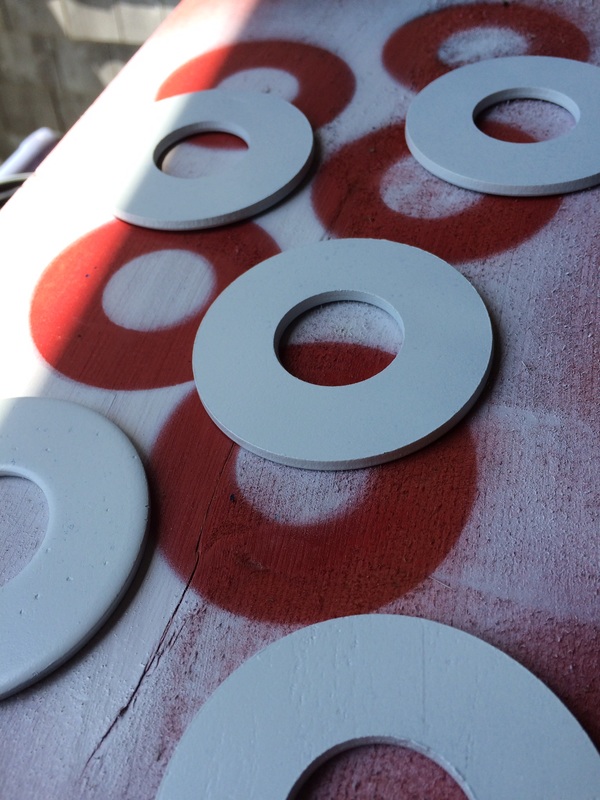
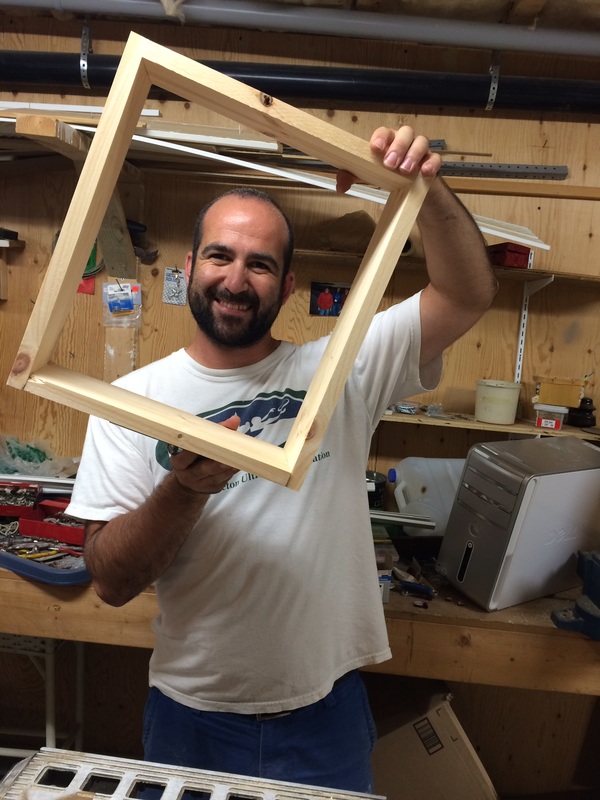
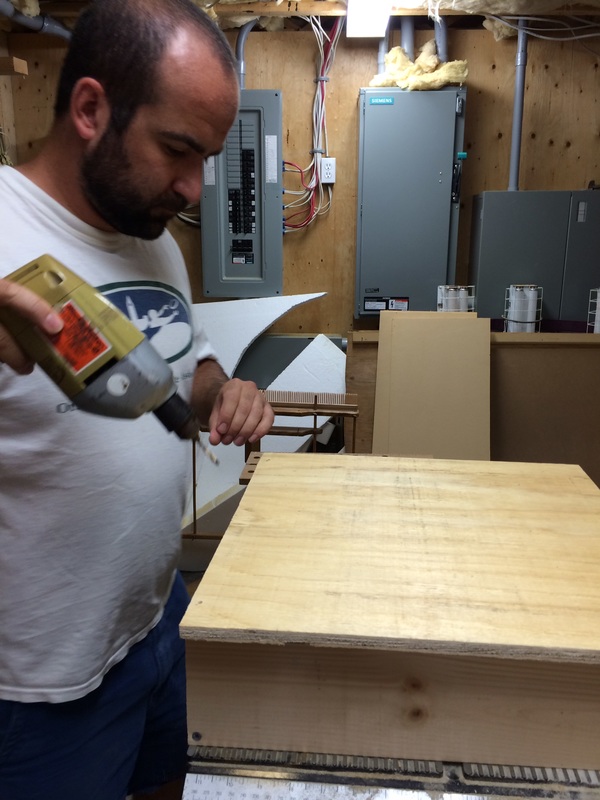
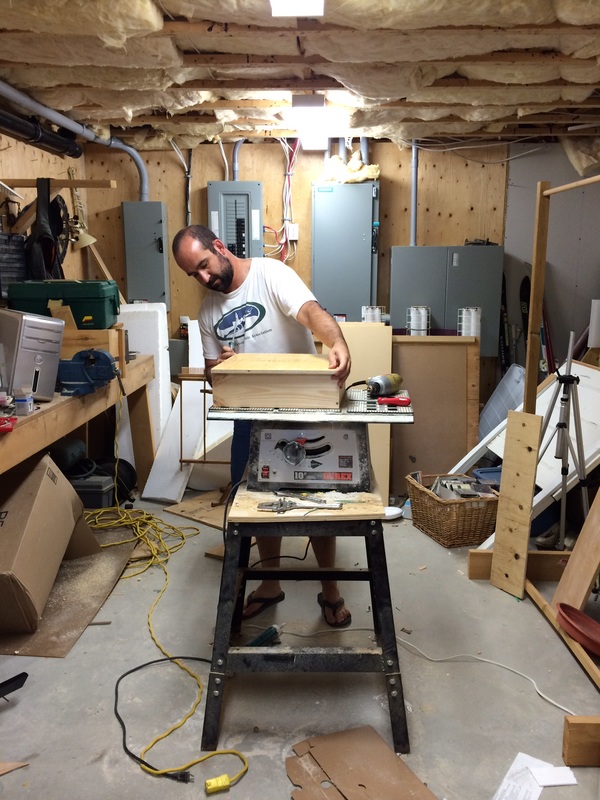
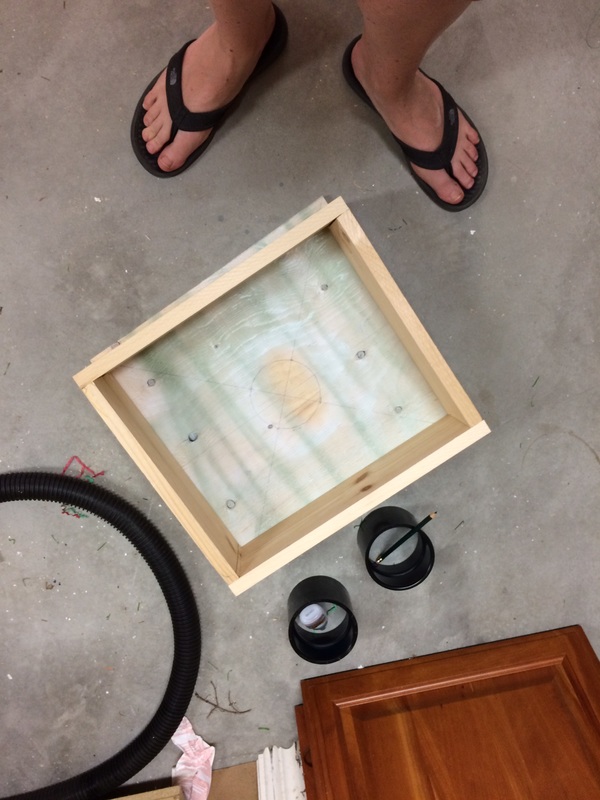
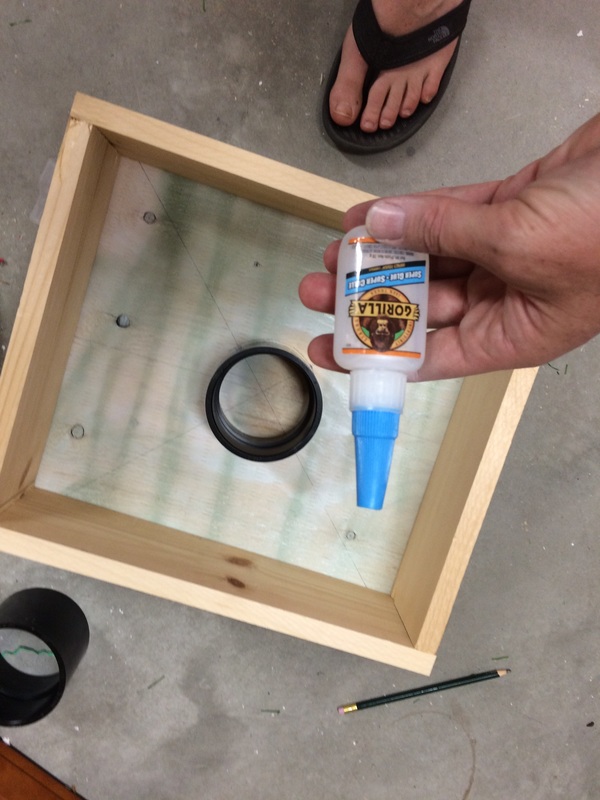
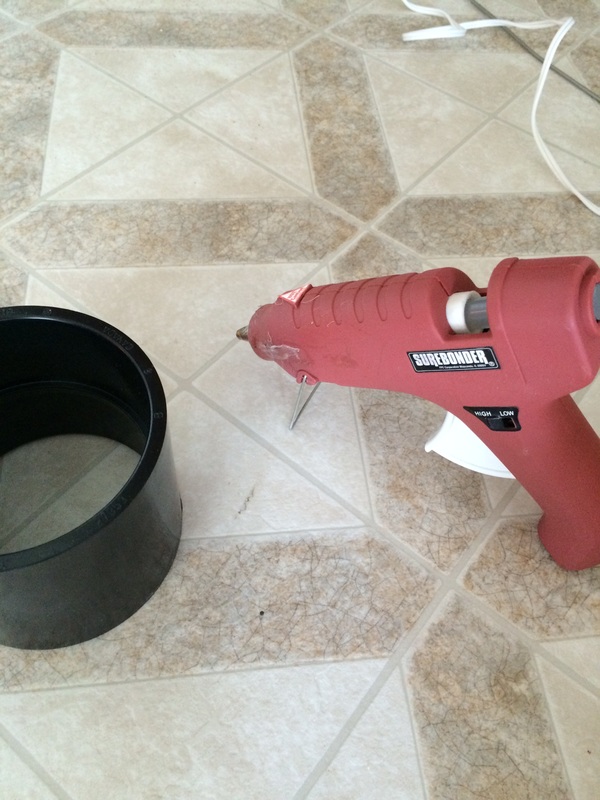
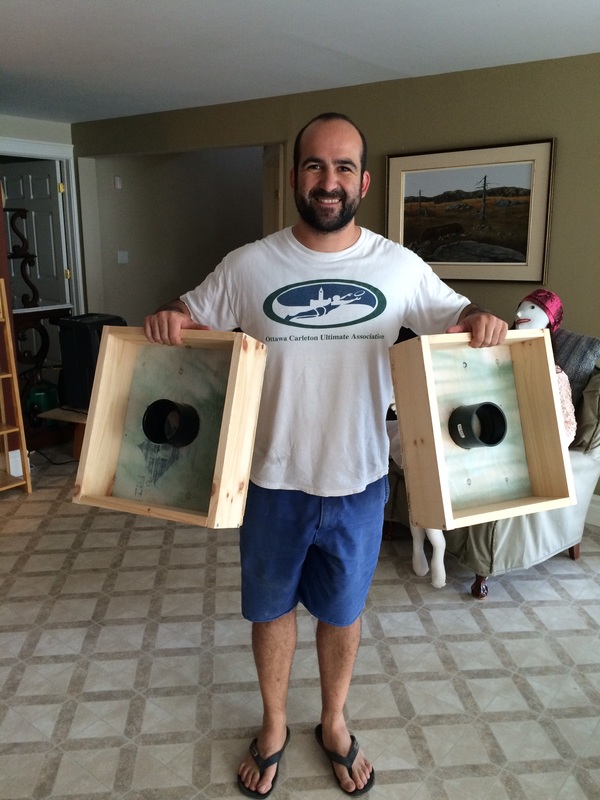
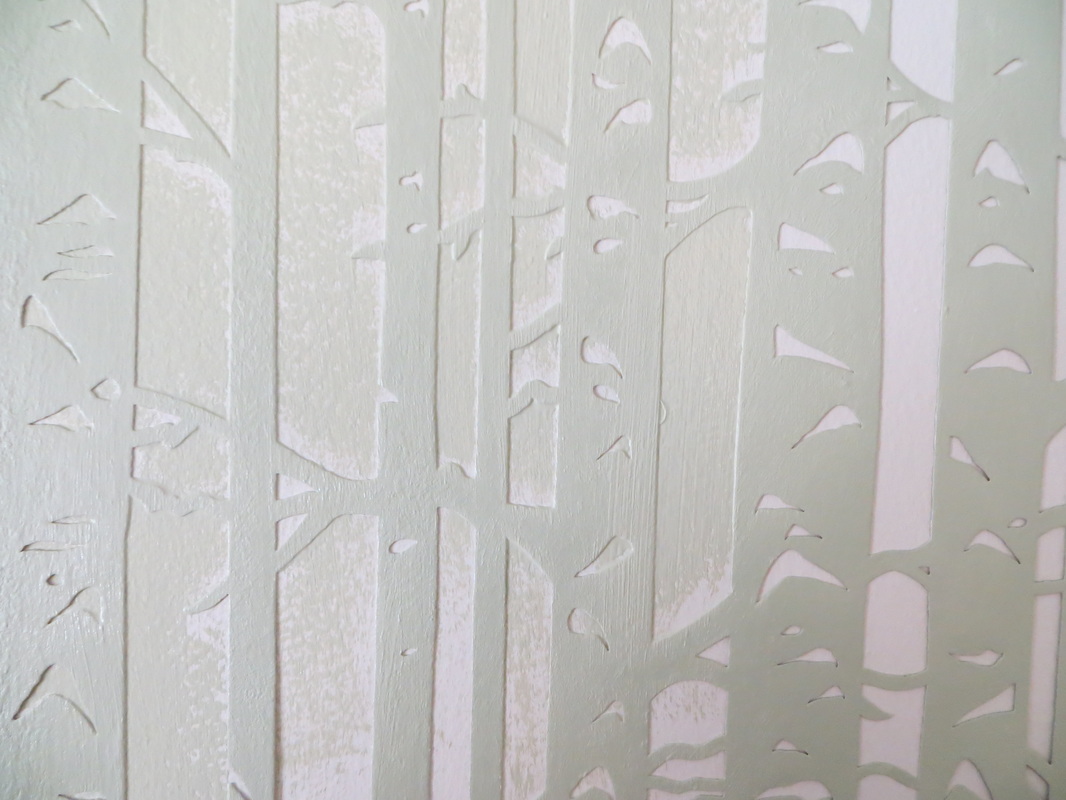
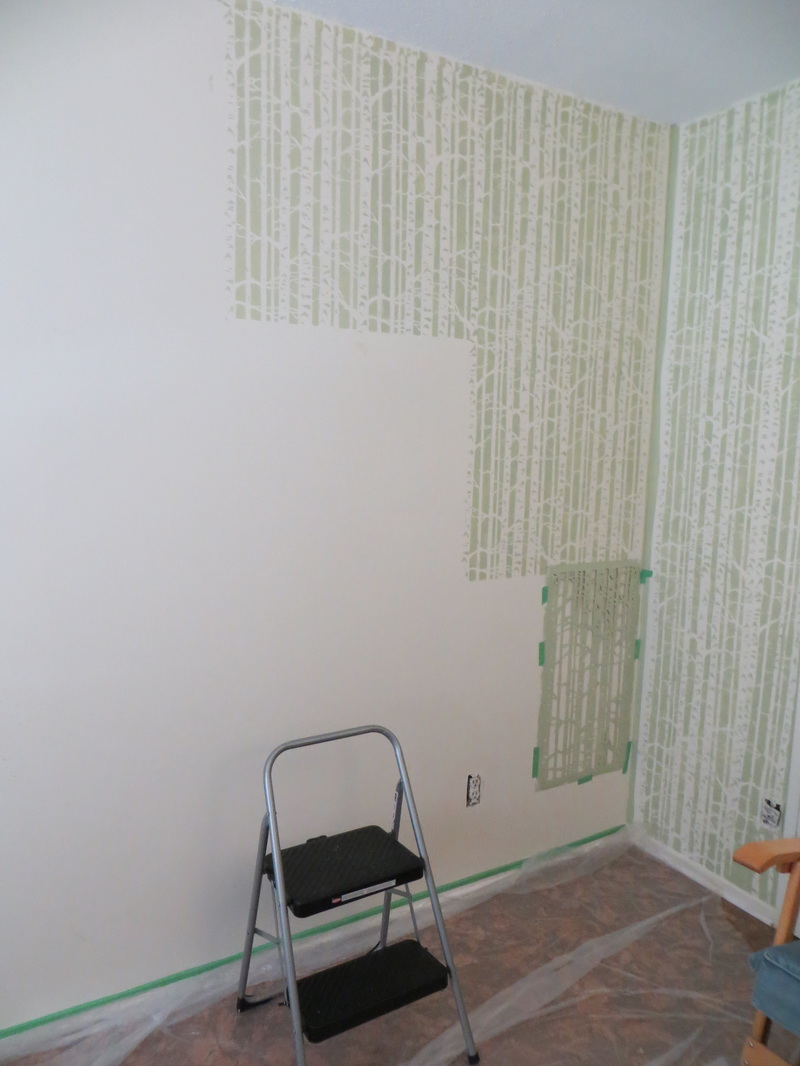
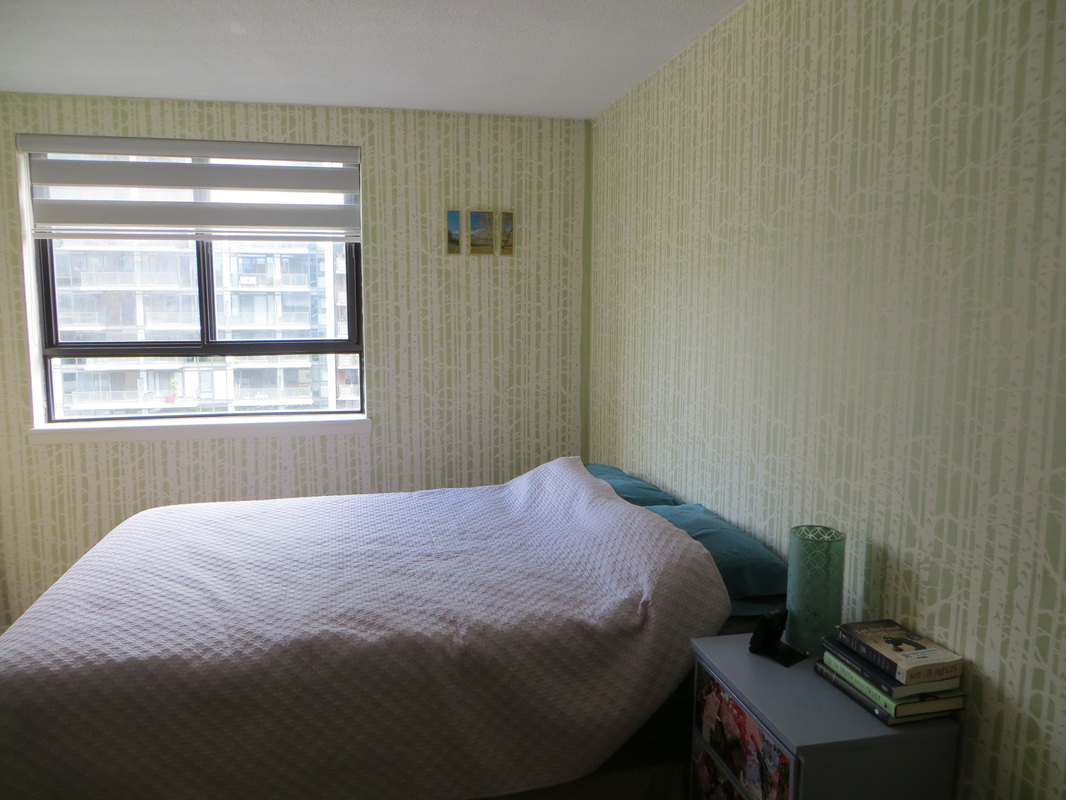
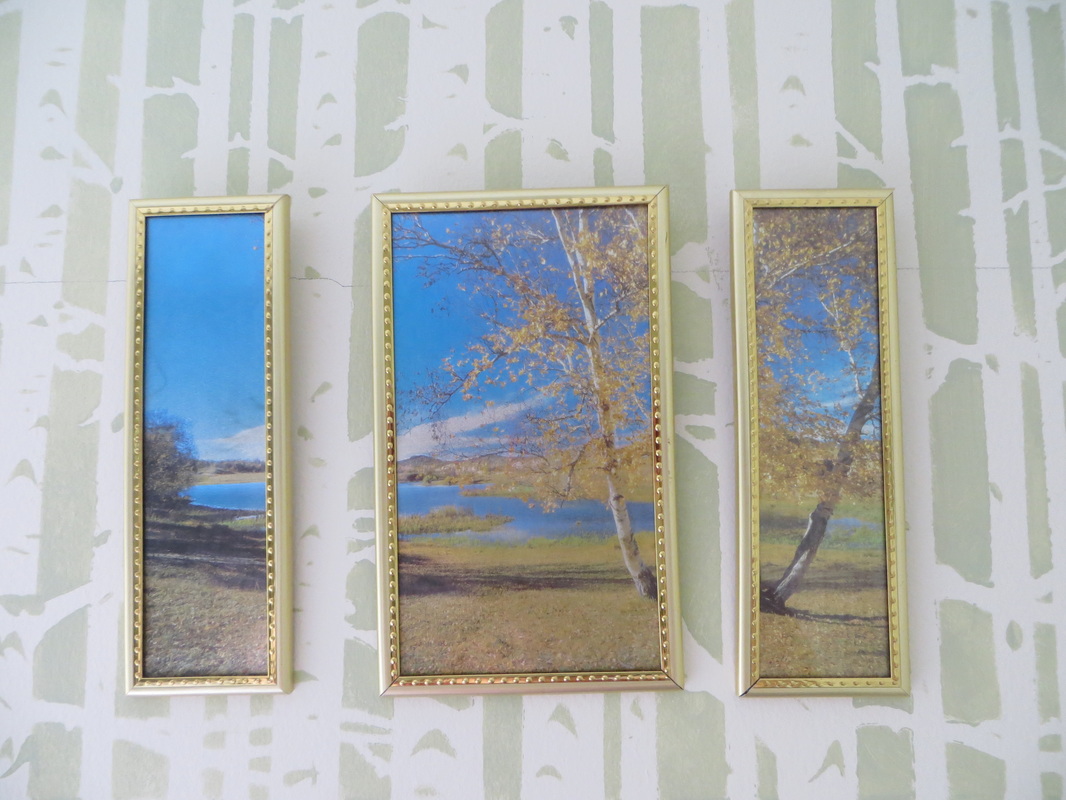
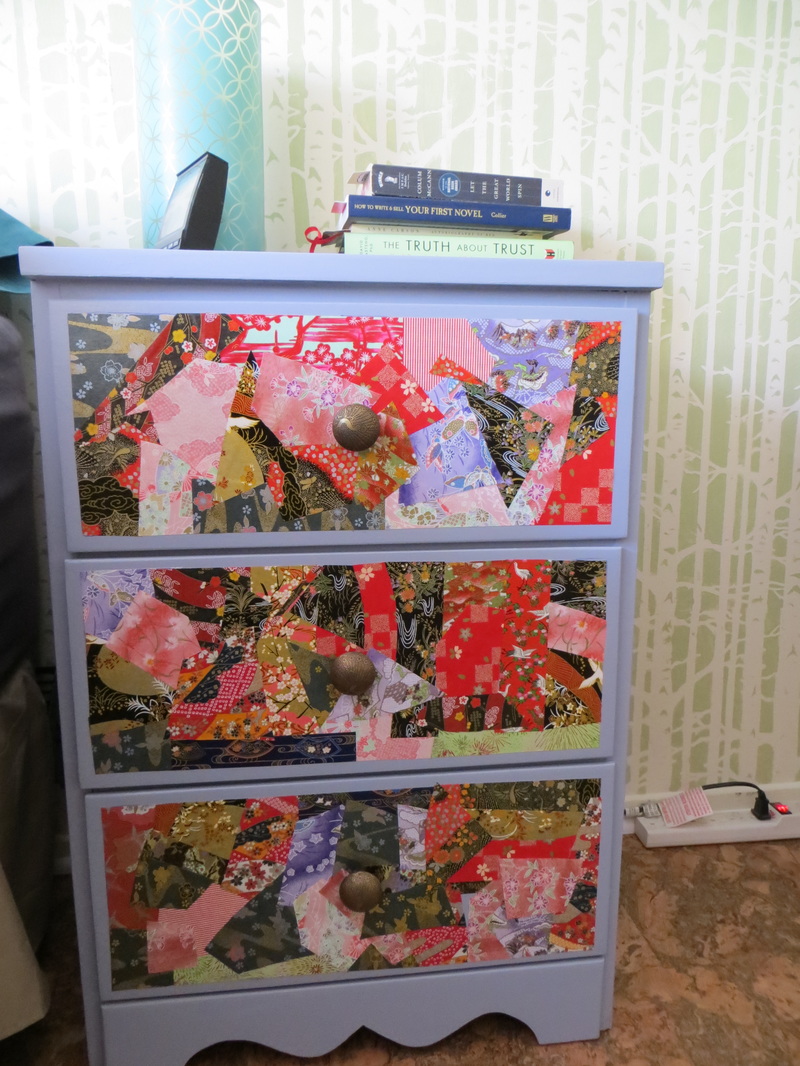
A quick project today to get our house ready for the cooler weather. Just grab some duct tape to help push more heated air into your space. We have forced air with floor vents with gaps between the edge of the vent and floor. I went around the house, popped off all the vent covers and then used some duct tape to seal the gaps. The only duct tape I could find was of the Green Bay variety #GoPacks. Luckily Abe is not a big fan of my blog so will probably never find out. Either way, once you put the vent cover back on, you can't see the duct tape at all. While I did this chore, I also lugged around the shop vac and attempted to vacuum the vents as far as I could reach. I found a big chunk of wood and more cat hair than I'd like. I am not sure if this project did any good but at least it didn't do any harm, besides using up some of the precious fancy duct tape. Costs Few strips of duct tape- 1-2$ Lessons Learned 1. Small effort, small cost. Probably also a small impact but I don't care. I felt handy! I also had my first foray into concrete mix patching. We had to replace our garage door, which still would not close completely due to an uneven garage floor. The garage install guy told me I could fix it myself - and I believed him! It took me around an hour to muster up the courage to do it and around 10 minutes to complete the job. Door now closes completely, good tight seal. I am shocked it worked out and I didn't do any permanent damage to the house in the process. If anyone needs some patching done and are not picky about aesthetics, give me a call. We were back to old NB for some rest and relaxation.....project time!! Camping in Campobello Island (check out the rustic huts!), we came across a game of Washers we've played a few times - and decided to build our own when back to Bocabec. There are tons of online instructions for how to build the game. We bought plywood for the bottom and knotty pine for the sides #cheapestoptions. The worker at Kent figured out what we were building based on our materials in the cart so that helped in finding the big washers. Seems the game is very popular out east. I spray-painted half the washers white and mom fixed them and made them purple :). It was great to have access to mom's shop in the basement to do the work. We tested out the game on Thursday with the extended family - it works! I may or may not have had the highest number of black pipe points #insufferablemaybe Time to complete: 45 minutes Cost: around $20 Lesson's Learned 1. I'd do it again - was a small input for a game we'll play for years. 2. The glueing of the pipe onto the plywood went through a few iterations, starting with a crazy glue kind, then onto hot glue which also failed after a few clunks. Finally, a very generous amount of gorilla glue weighed down for a few hours did the trick. 3. The pine sides quickly got dings and marks, which makes sense. Glad we used knotty pine, wouldn't use anything expensive. How to play 1. Place the two boxes a fair distance away. Online it said 15-20 feet away... 2. One player from each team stands behind the box closest to them. Team one throws 4 washers to the further box. If there is a Team 2, then the Team 2 member on the same side throws to the game box. The members who are over at that further end then pick up the washers and throw to the other box. Repeat 3. Three points for the black pipe in the middle. One point for in the box. Whichever team reaches 21 first win! GUEST POST by AMY BARTLETT There is nothing like a blank wall to shrivel your spirit into a hollow nub of blah.... Time for some decoration! I love birch trees, and was originally thinking of putting up some cool birch wall paper or a photo mural in my bedroom. However, after spending WAY too much time looking at options, I soon realized that these options would cost many hundreds of dollars to execute.... not an economical option. Enter stage left: a cheap wall stencil bought online, some paint I had leftover from my bathroom painting experiment, and a whole lot of time. Stenciling walls like this is not a quick project, but it is a very cheap alternative and in my opinion has come out really well. PS: In a fit of painting inspiration, i also refinished and decoupaged my bedside table drawers with a random collage of ornate japanese papers I had leftover from another project--- see bonus pic at the end! Equipment/ Cost for the wall stenciling: 9$ for the wall stencil 0$ for paint (though originally cost about 15$--- I used about 2/3 of a small can) 4$ in painters tape 3$ for small paint brush (plus a small artist brush for touch ups as needed) 1$ for a plastic drop cloth from the dollar store 0$ in time (though it took about 15 hours in total for the three walls... eep) 0$ for a LOT of downloaded podcasts (I recommend Comedy Bang Bang, Dear Hank and John, Star Talk with Neil Degrass-Tyson and On Being with Krista Tippet) Lessons learned: - The stencil came with a small starter section to start off at the ceiling which was handy. I would recommend using this piece first across the top of your wall and then using that pattern as a guide to match up with the rest of the larger panels - I staggered the panels vertically (see pics) and painted from the leading edge/ outside to the inside of the stencil so that i could keep the painting process going without stopping--- for example, by the time i got a panel in row three done, the leading edge of row one had dried and i could easily put the stencil against the edge of the pattern without creating smudges #timemanagement - Use very little paint, an almost dry brush, and employ more of a rubbing or patting motion instead of your traditional up-and-down painting motion-- a dry, circular technique helps with the drying time and with getting into the small crevices of the pattern - I taped all around the walls, bottom trim and ceiling which allowed me to be a bit more casual with my stenciling at the edges. After so many hours of work, it is nice to have the extra insurance--- worth the time to do this taping, in my opinion I still have one more wall to paint (in a solid color) and to decorate the room more generally, but i am thrilled with the outcome, and to have banished those boring white walls with some organically-themed and cost effective color! 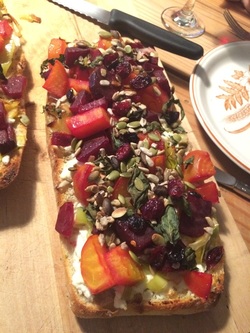 Who doesn't love beets!?! and leeks?!? The goal was a veggie-focused summer dish to share, serve along side BBQ fare. I love the flavours of beet, lemon and goat cheese - so just went forward with that in mind.
Beets Boil beets until they are tender. Drain and let cool. Peel and cut into cubes. Rind a lemon onto the beets, and squeeze the juice Pinch of salt and chilli peppers. Set aside. I used a mix of red and golden beets. Leeks Wash a leek and cut into thin slices. Cook with 1-2 teaspoons of butter on medium heat until soft. I did these two steps at home, put into containers and then put it together at the BBQ. Assembly Slide a baguette in half. Spread with a thick layer of goat cheese (I used one log of goat cheese per 1/2 of loaf). Cover with leeks and then with the beets. Heat up for 10-15 min in the oven until everything is warm and bread toasted. Before serving, sprinkle with pumpkin seeds, sunflower seeds, dried cranberries, and chopped herbs (I used mint and basil). Lessons Learned 1. I like the chunky look of the beet but they were too big, kept falling off when eating. When I make this again, I'll cut the beets into small cubes. One guest suggested to mash the beets - I'm not so sure.... 2. Do not put the seeds and cranberries until it's out of the oven. I put some on beforehand and they burned before everything was toasted. Whoops! I heated up some of the leftovers for breakfast - was good. Makes me think you could make it in advance and then just reheat when you want to serve.  This is a delicious light supper / appetizer for the summer. Abe has made the Shrimp Cakes with Dill Remoulade and Fennel Slaw a few times now - it is delicious!
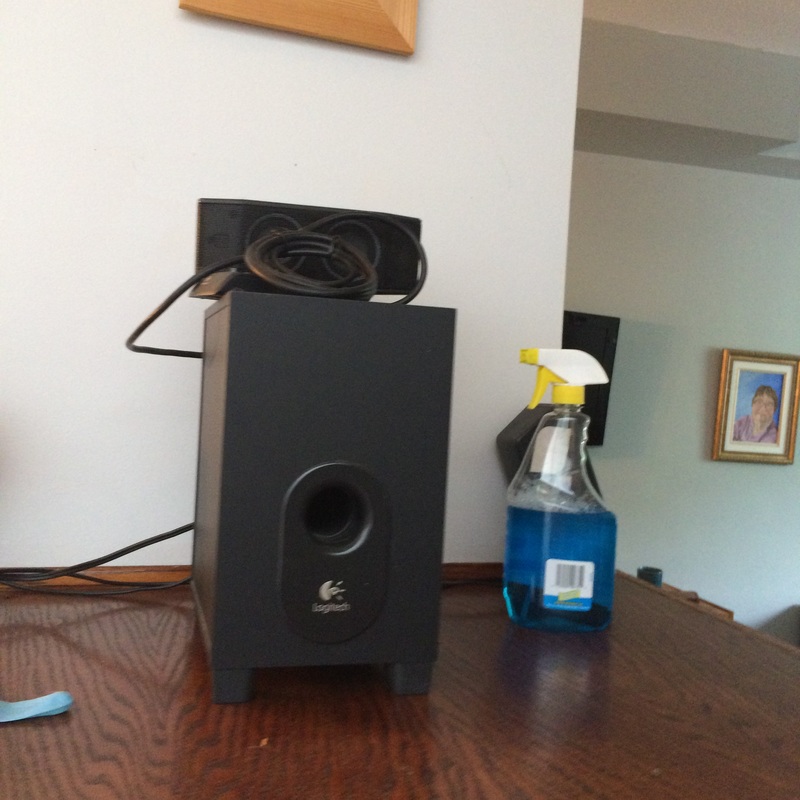
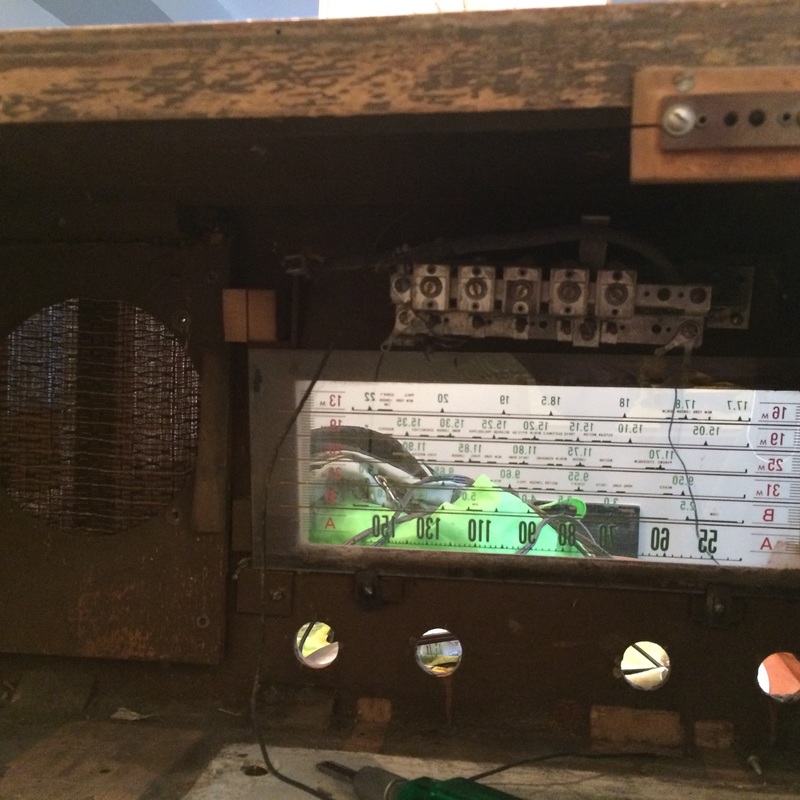
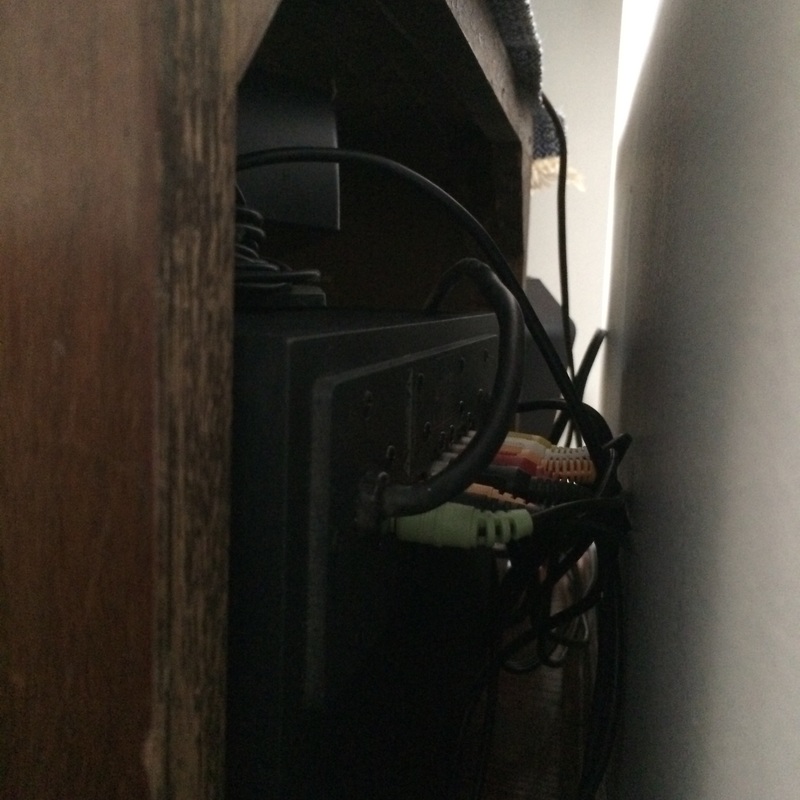
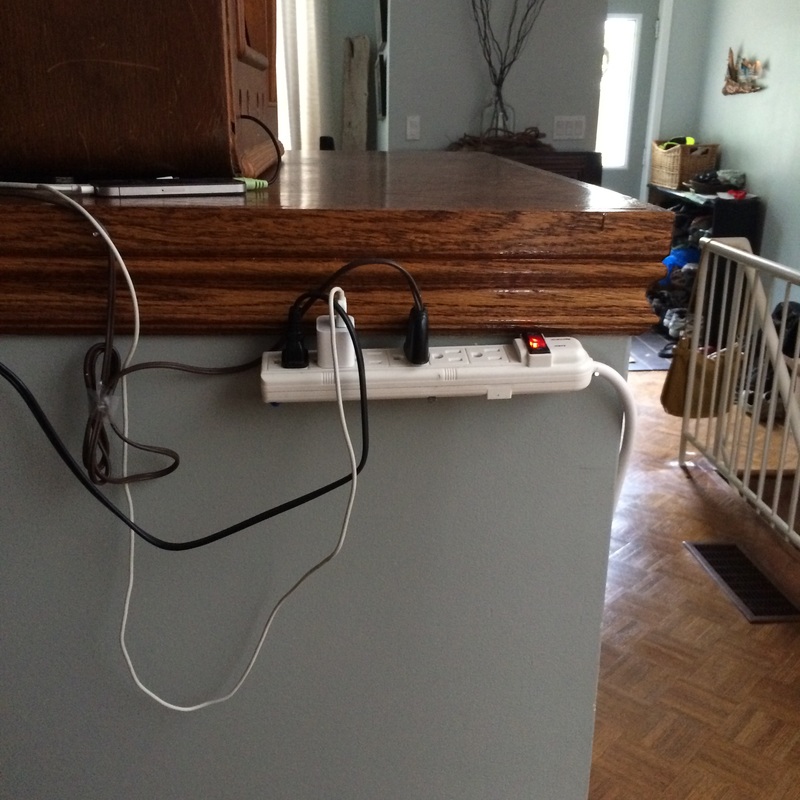
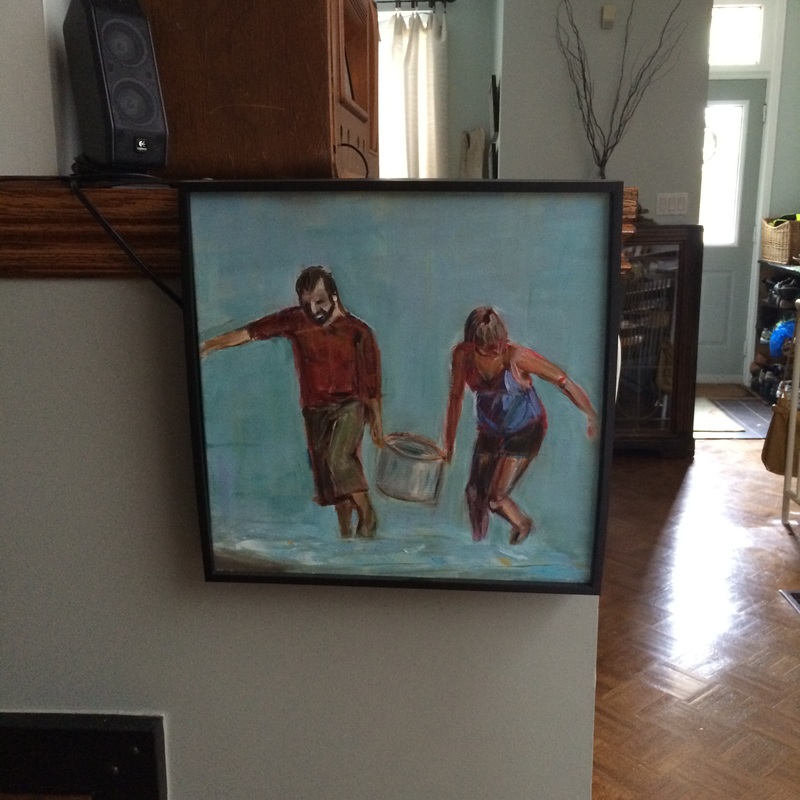
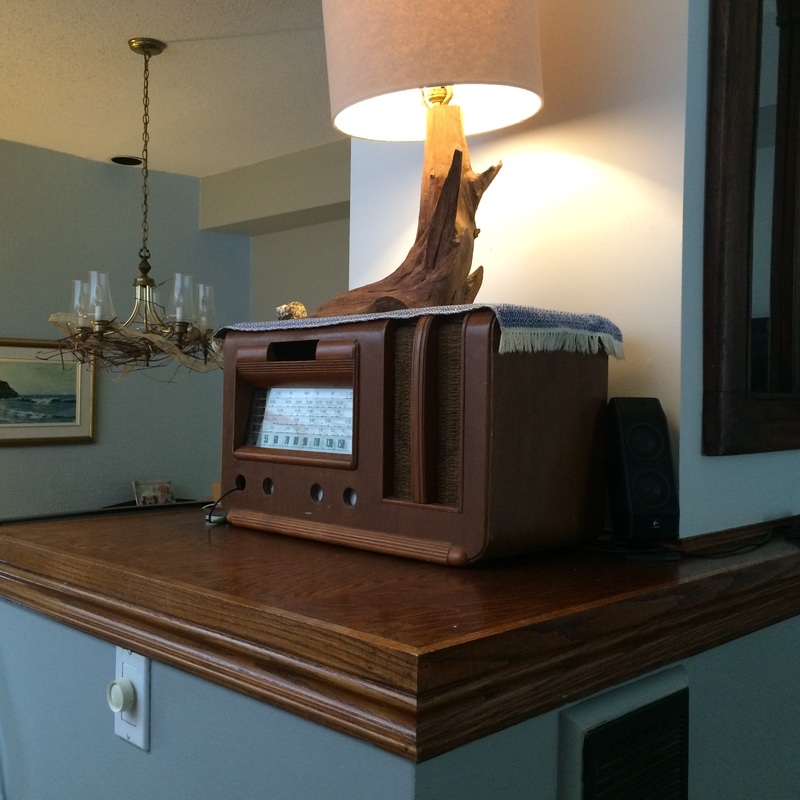
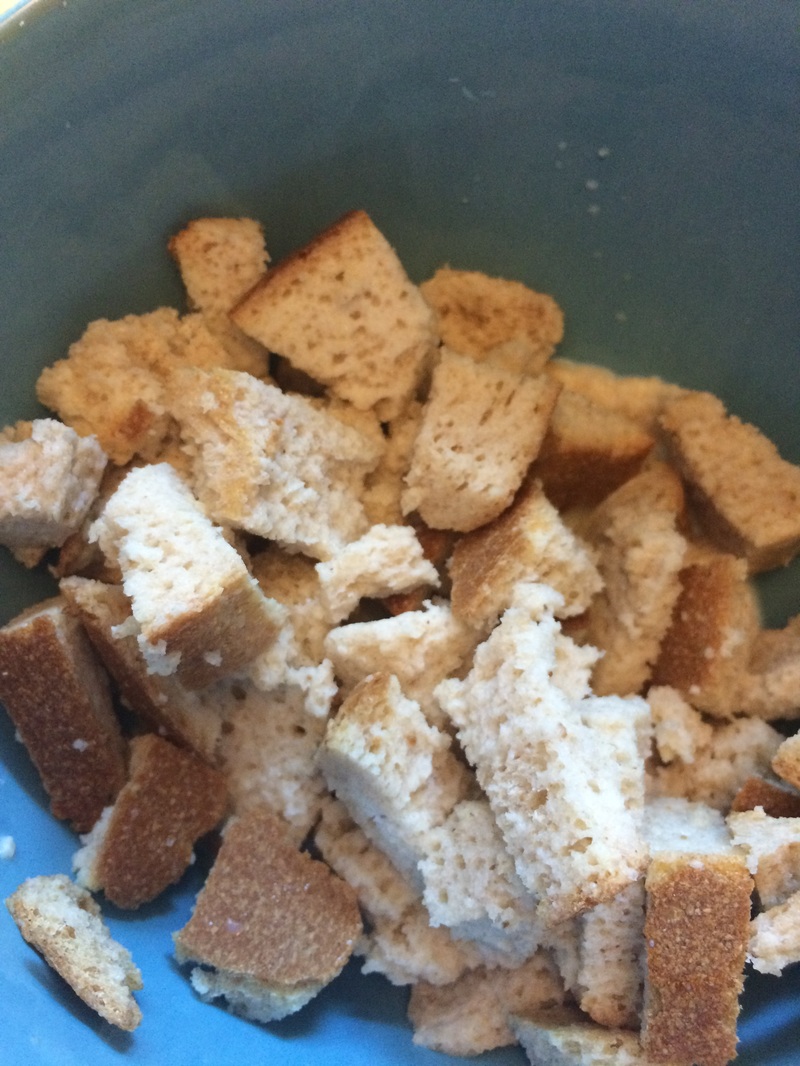
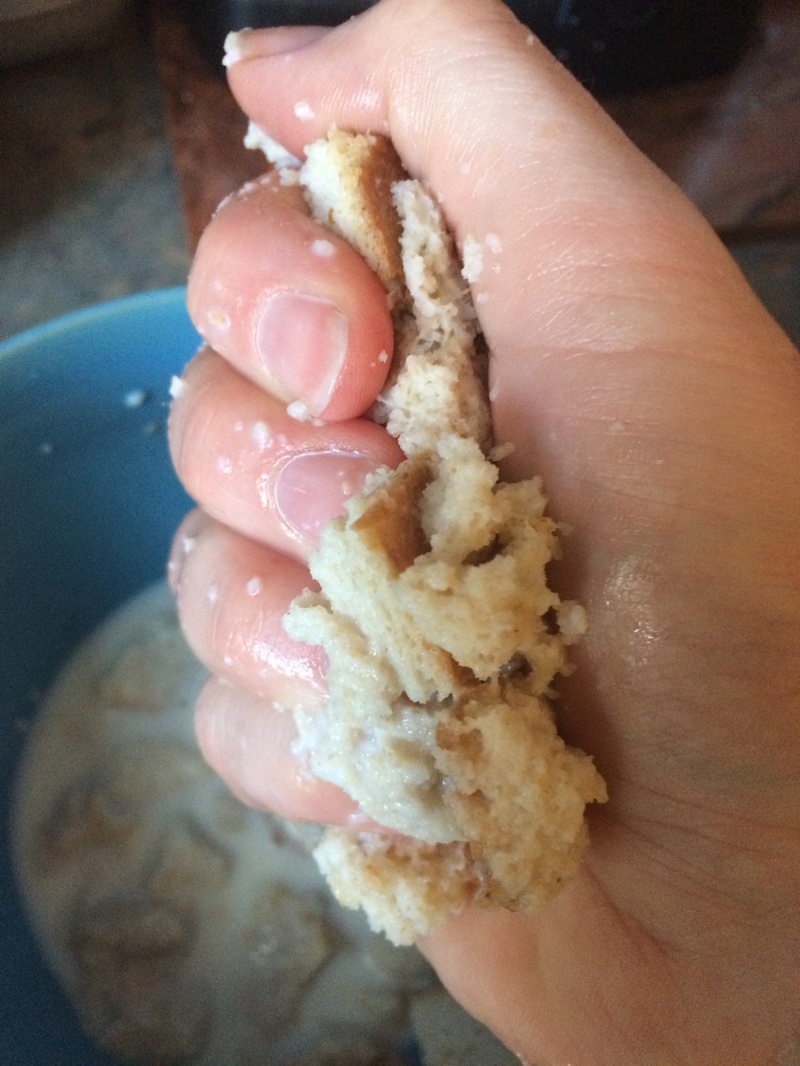
The recipe is from the LCBO Food&Drink Early Spring 2016. I am partly posted this recipe to share and also so we don't lose the recipe. #recyclerisk Here is the link to the original and full credit to Eric Vellend Abe makes this as it says, no changes. No arguments here, as the final product is so tasty. Shrimp cakes with Dill Remoulade and Fennel Slaw DILL REMOULADE ½ cup (125 mL) mayonnaise (reduced fat is fine) 1 small clove garlic, minced 2 tbsp (30 mL) thinly sliced green onion 1 tbsp (15 mL) chopped dill 2 tsp (10 mL) capers, rinsed, chopped 1½ tsp (7 mL) Dijon mustard 1½ tsp (7 mL) grainy mustard 1 tsp (5 mL) fresh lemon juice ½ tsp (2 mL) hot sauce Salt and freshly ground pepper to taste FENNEL SLAW ½ fennel bulb, trimmed 1 tbsp (15 mL) extra virgin olive oil 1 tbsp (15 mL) fresh lemon juice Salt and freshly ground pepper to taste SHRIMP CAKES 1 lb (500 g) shrimp, peeled, deveined 1 large egg, lightly beaten 1 green onion, thinly sliced ½ tsp (2 mL) smoked paprika 6 tbsp (90 mL) panko bread crumbs Salt and freshly ground pepper to taste ⅓ cup (80 mL) cornmeal ¼ cup (60 mL) vegetable oil, divided Dill leaves to garnish 1 For the dill remoulade, combine mayonnaise, garlic, green onion, dill, capers, mustards, lemon juice and hot sauce in a mixing bowl. Stir to combine. Season with salt, if necessary, and pepper. (Remoulade will keep, covered and refrigerated, for 5 days.) 2 For the fennel slaw, cut fennel in half lengthwise through core. Slice thinly crosswise on a mandolin, discarding cores. Add olive oil and lemon juice. Season with salt and pepper. Mix. Cover and refrigerate up to 4 hours. Drain before using. 3 For the shrimp cakes, rinse shrimp and pat dry with paper towel. Using a sharp knife, chop into pieces between ¼ and ½ inch (0.5 to 1 cm). Place in a mixing bowl with egg, onion, smoked paprika and panko. Season with salt, if necessary (most frozen shrimp are salty), and pepper. Cover and refrigerate 30 minutes. 4 Place cornmeal on a plate. Form heaping 2-tbsp (30-mL-plus) portions of shrimp mixture into 2½-inch-diameter (6-cm) patties. Coat patties in cornmeal. 5 Working in 2 batches, heat half of vegetable oil in a large nonstick frying pan over medium-high heat. Pan-fry half of shrimp cakes until cooked through, about 2 minutes per side. Drain on paper towel. Repeat for remaining shrimp cakes. 6 Arrange shrimp cakes on a serving platter. Top each with a dollop of remoulade and some drained fennel slaw. Garnish with dill leaves. Makes 12 cakes This was a weekend for projects and spring cleaning, with persistent gray and rainy weather keeping me inside. We also both overdid it with sports over the week so needed to take it a bit easy #achesandpains #not20anymore. My evergreen project is trying to hid all the wires and plugs of our sound system. I had plans to build a shelf insert in the room divider/fireplace but have since discovered it is solid concrete so that's a non started. For now. We have an old radio in our possession missing most of its parts. I was going to sell it but after checking on kijiji, not really worth it, so decided to hide our speakers and as many wires as I could fit inside it. I didn't take long to clean it up and I removed the top button panel to make more space for the big speakers. They fit! Yahoo! I pulled the audio input wire through the front so we could hook up the old iPhone. Final step was to hide the powerbar behind a painting. No one will notice that strangely placed picture, right? Cost- 0$ Equipment - Old radio Murphy's old soap Tolerant Abe Lessons Learned 1. Old radios are plentiful and cheap on kijiji. They are a bit hipster in terms of decor but useful containers. 2. Re-arranging items will always be cheaper than a new wireless sound system. I think I might redo the fabric coverings and paint the back of the glass part. I'm also considering painting the outside of unit navy. Good idea? Spring has sprung in Ottawa! The leaves are 80% out, the daffodils are up and we are into the season of long sunny days. Yahoo! I was reading an article about using a panade a few weeks ago (e.g. starchy paste). (Note: the autocorrect of panade is parade, also a joyful thing). I have used the technique of soaked bread for years to make my walnut pesto creamy but have never added it to ground meat. Abe and I enjoyed some tasty burgers on Friday after watching some of the Outlaws game (wow, professional ultimate players are so much better #fewerdroppeddiscs). Any who, the burgers we had were very well done but surprisingly moist, which made me think about the panade article I had read. Project! Abe has been trying to master sour dough, and getting much better, but we had a surplus of bread of the house I could put to good use. The panade I tried today was bread soaked in milk, but I think there are lots of other variations. I cut the bread into small pieces, poured over some milk and let it set. Yes, that means I made mushy bread. I think I may have first tried this technique when I was four years old and my skills have flatlined. Adding the panade (mushy bread) to the ground meat made a big difference. The burgers were super moist, though definitely more delicate. I'll do this for now on for any burgers that we want well done (e.g. chicken, pork, fish). Lessons Learned 1. Making a panade is as easy as soaking bread in milk... 2. I added a panade to a regular recipe for meatloaf, easy peasy. Big enhancement to the texture. I squeezed the soaked bread before adding, as I thought it might be too wet otherwise. 3. Careful on the BBQ. The burger were pretty delicate. I didn't use the burger press but would in the future. No issues with the meatloaf. |

Author: Leah BartlettLover of projects, big and small! I try to not be intimidated by lack of experience/skill/know-how. Archives
September 2018
Categories
All
|


 RSS Feed
