|
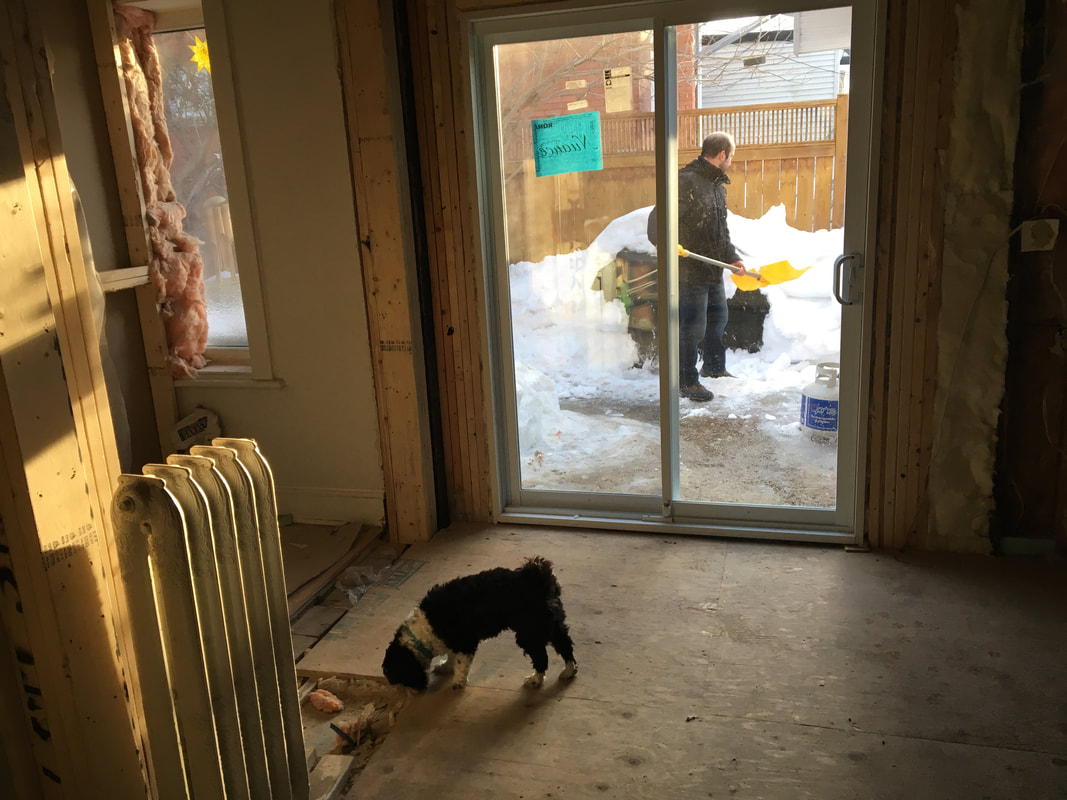
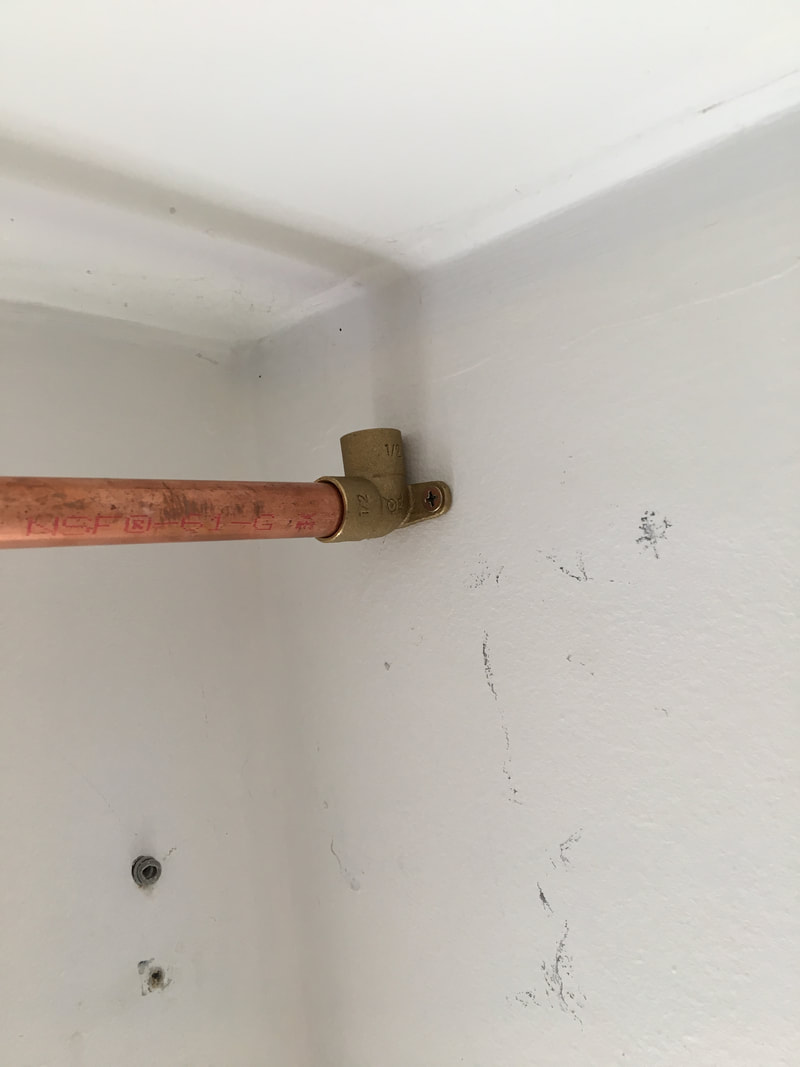
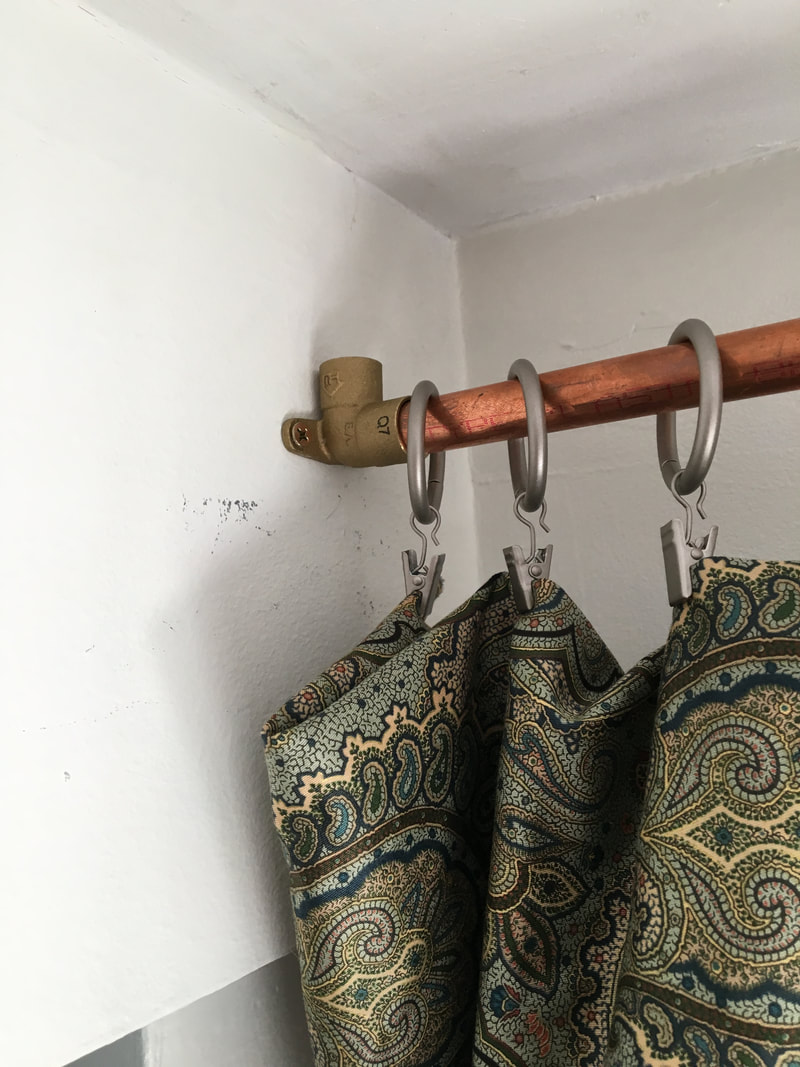
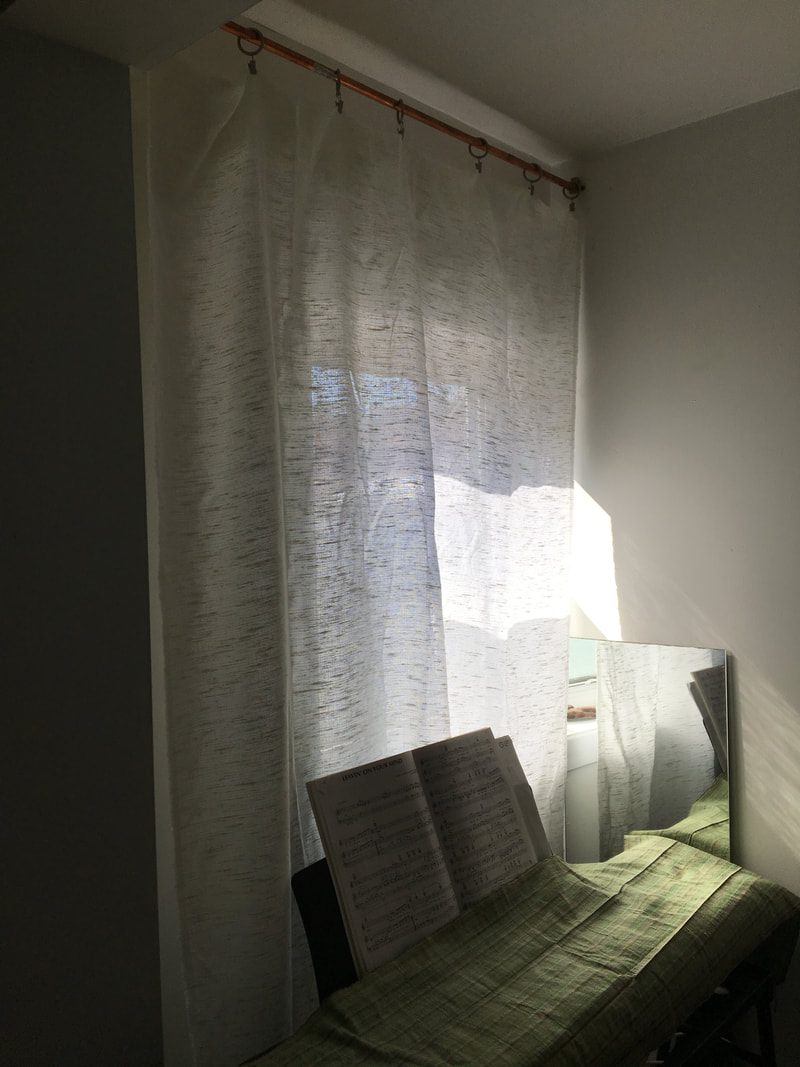
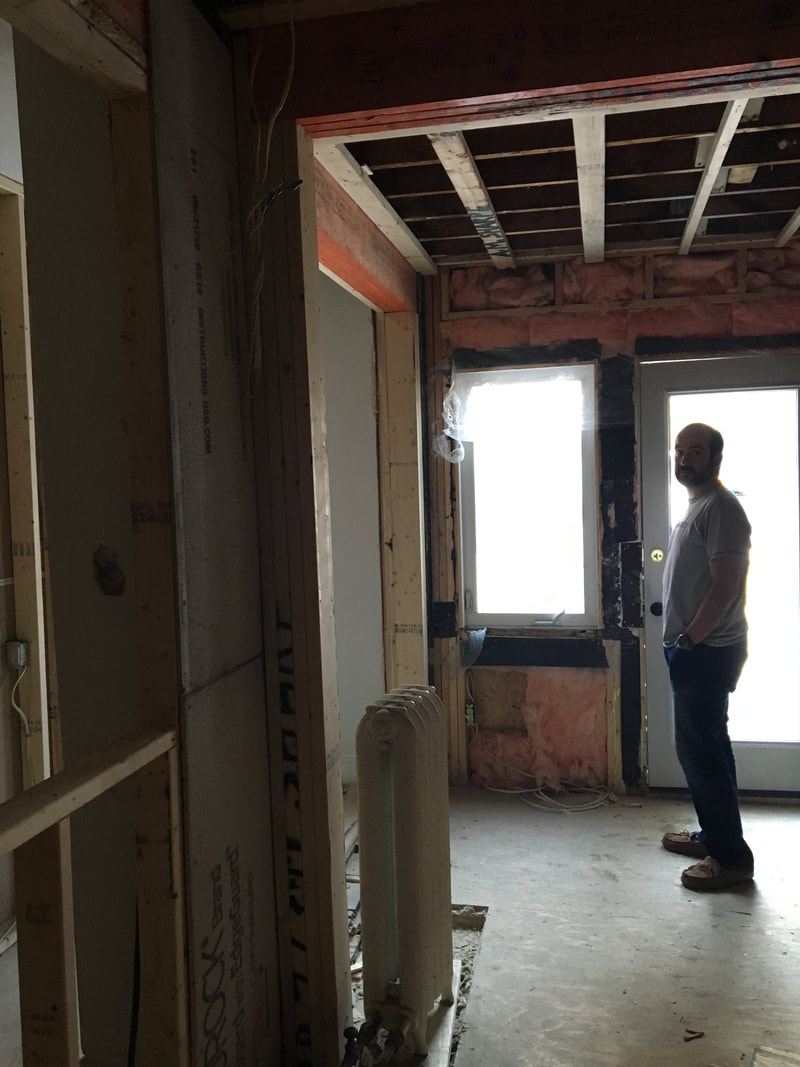
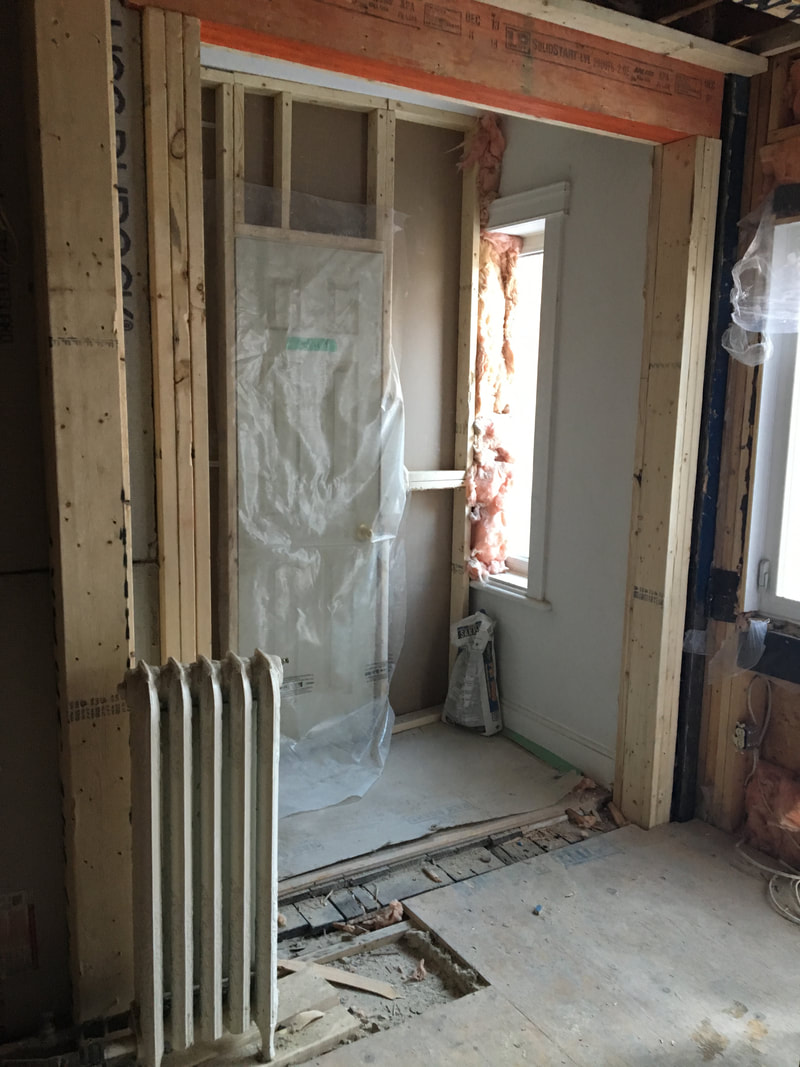
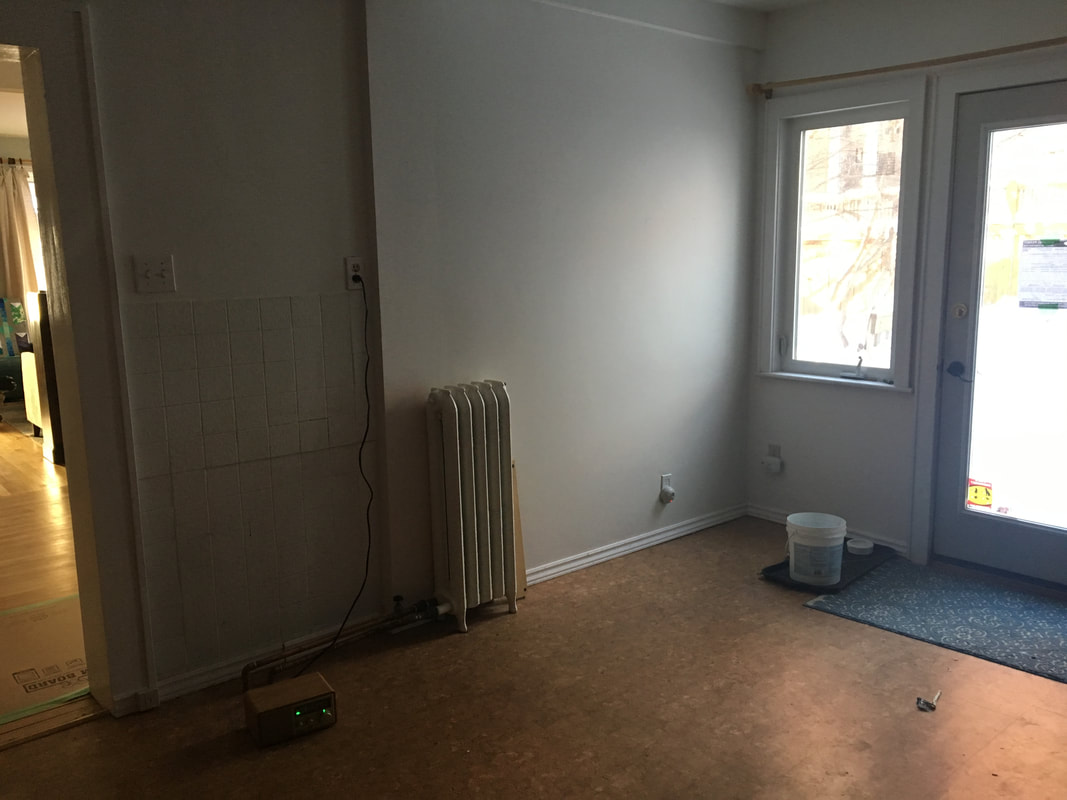
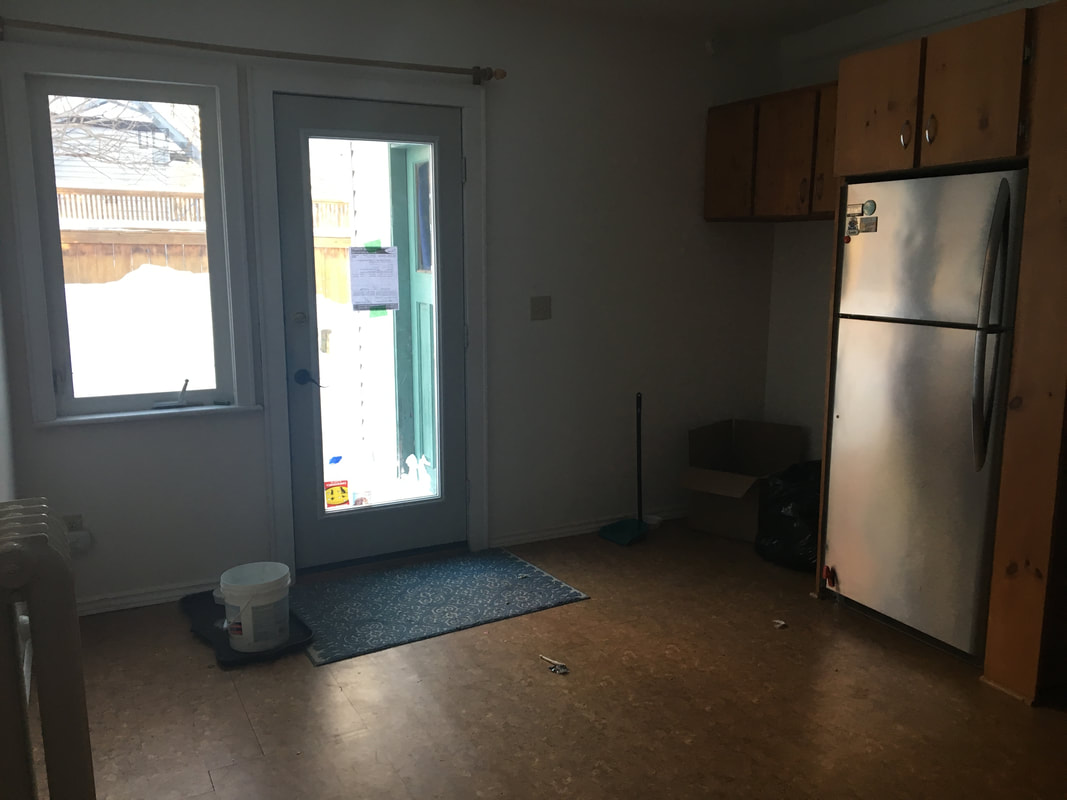
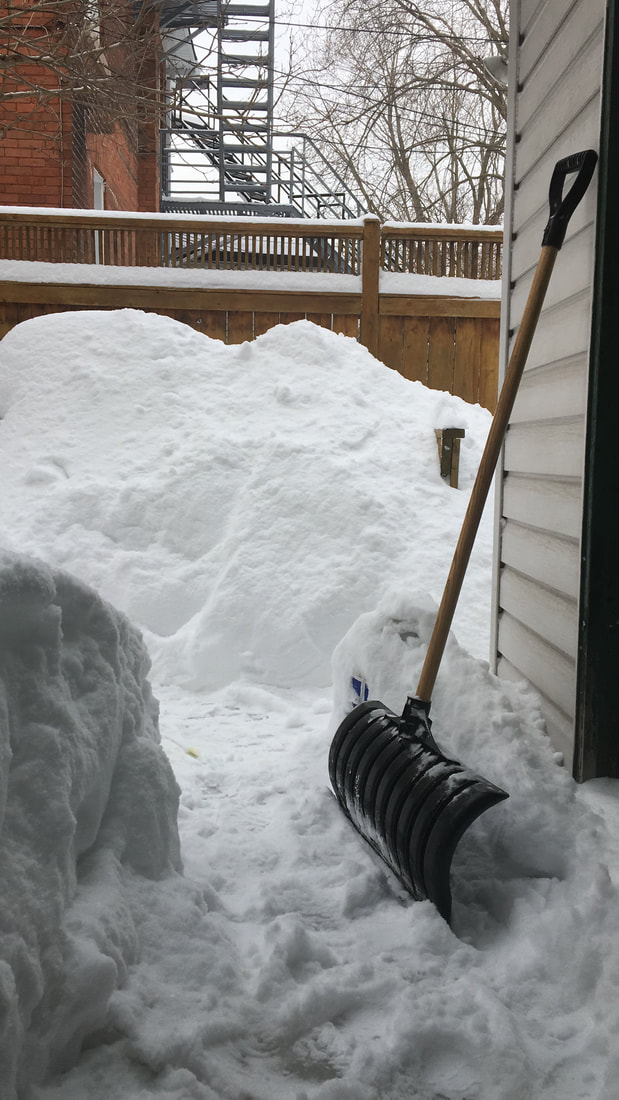
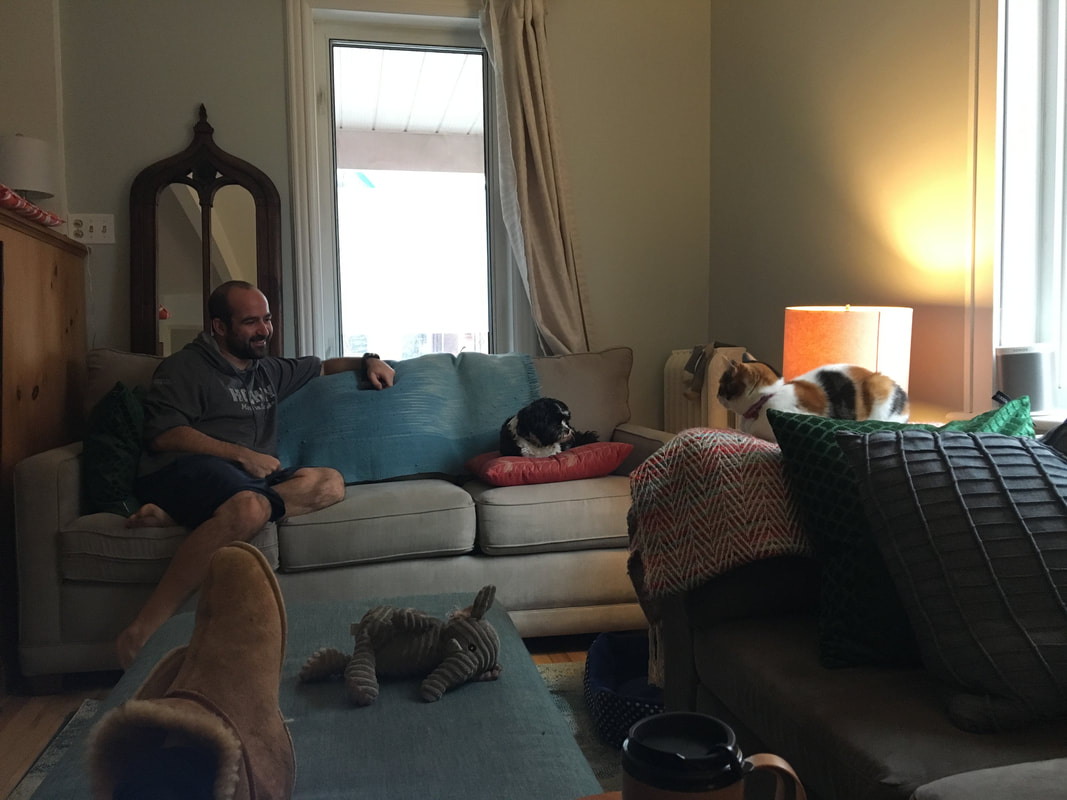
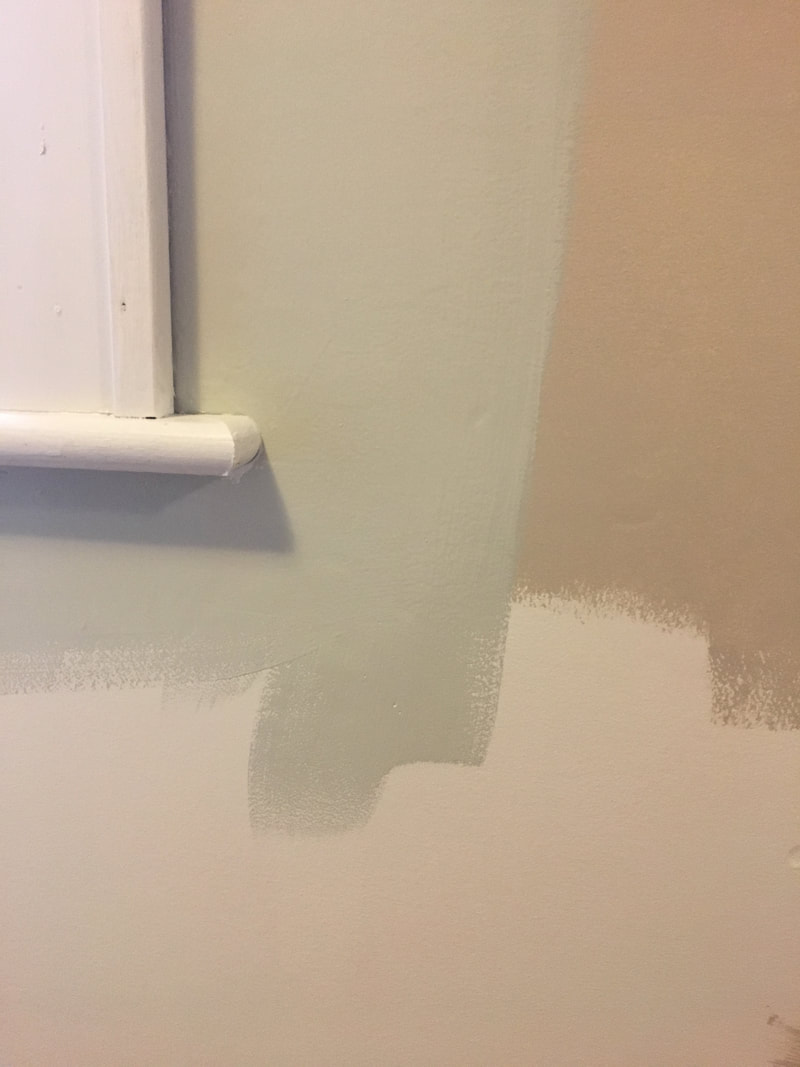
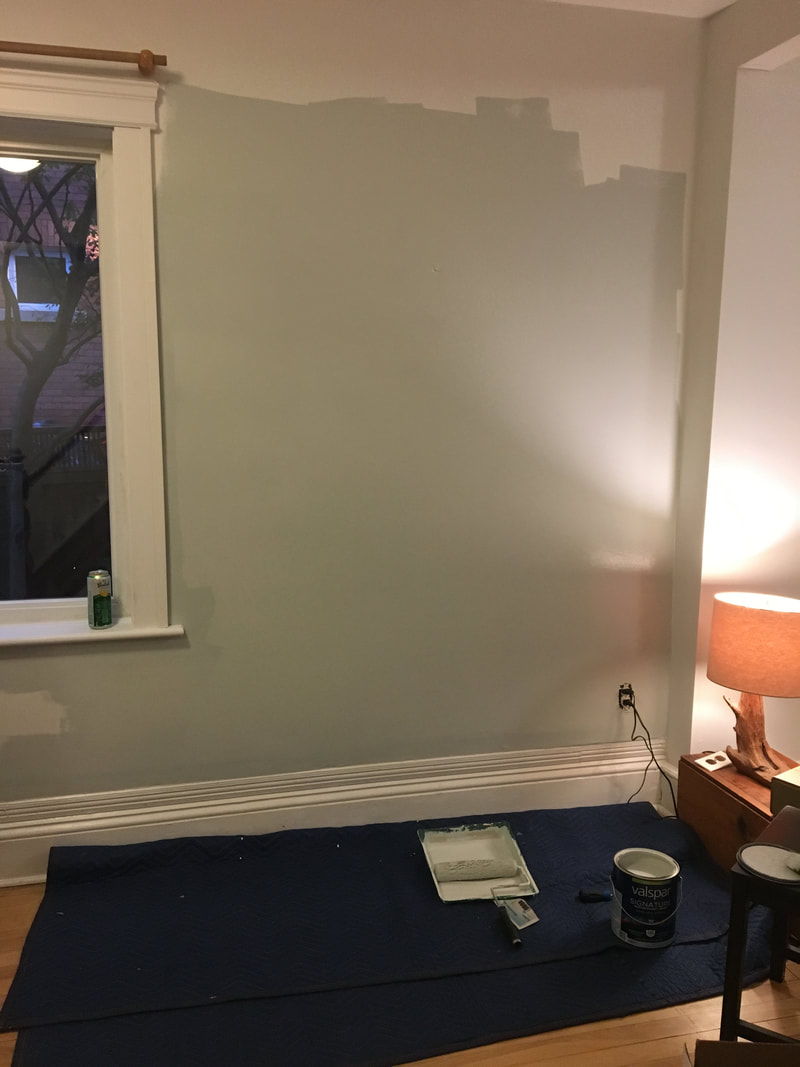
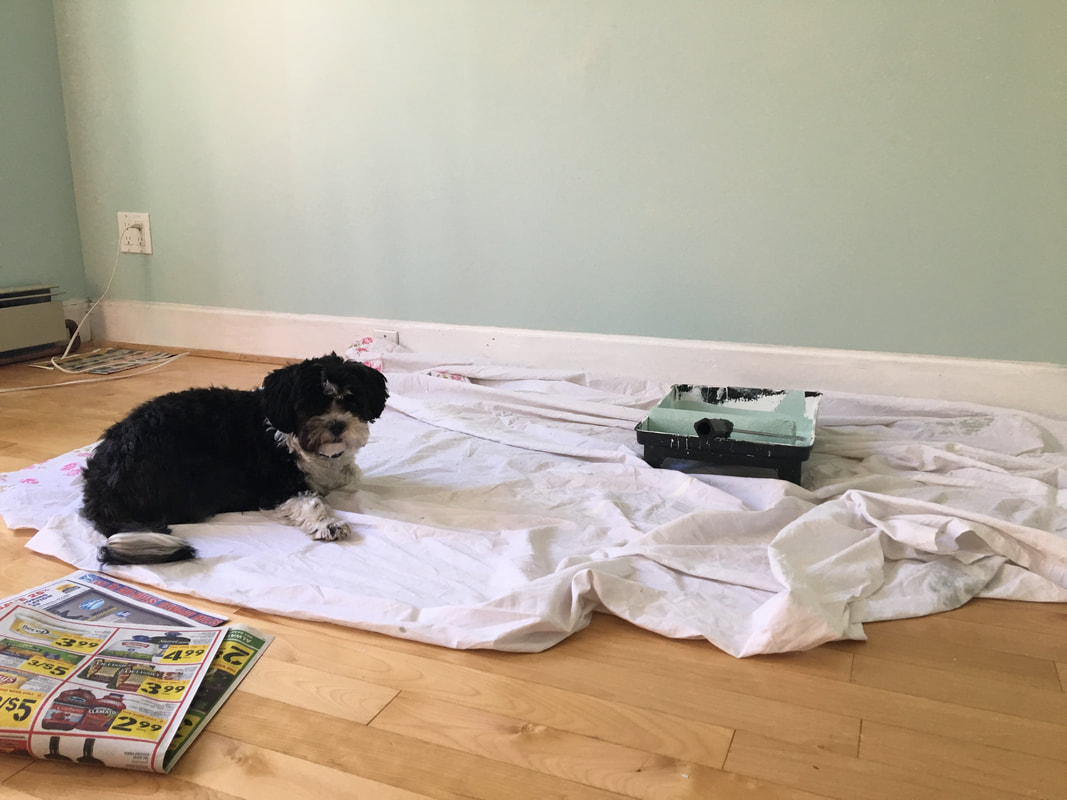
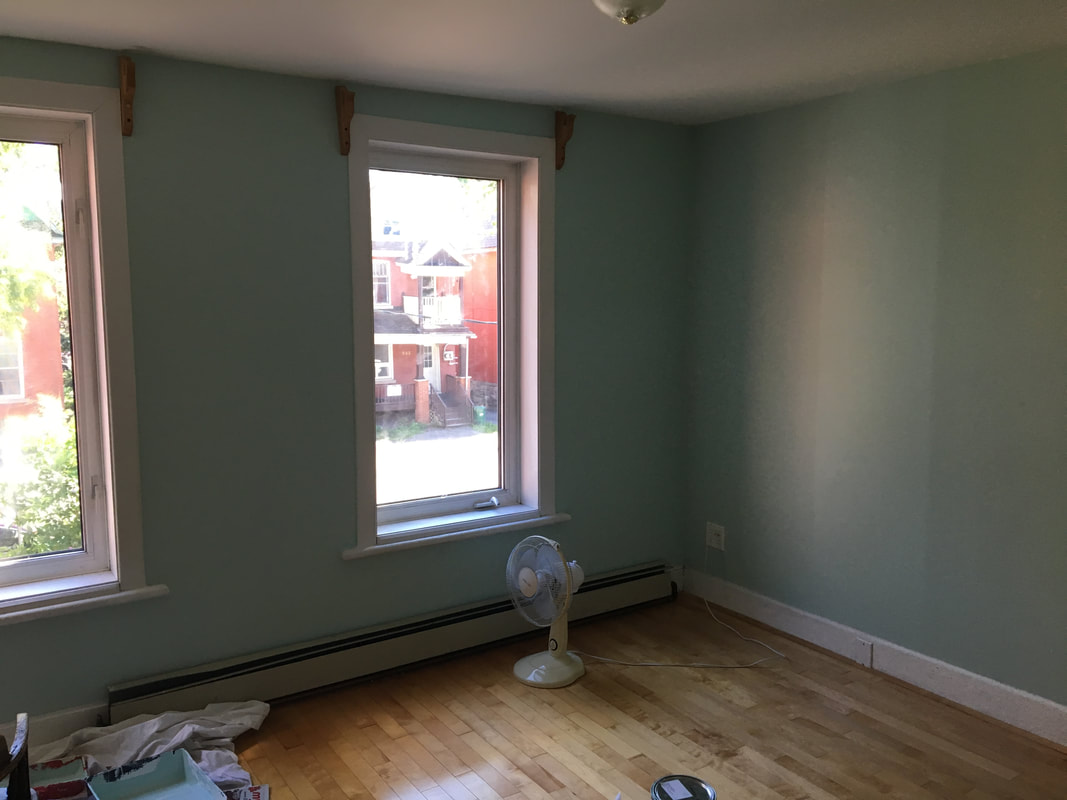
Spring is in the air!! I hope..... At least the sun is out! I spent a lot of this past week thinking about the garden, researching how to build raised beds. We are thinking about an apple tree for the front and some concord grapes, along with a veggie patch. Super fun. I have a new job, so am enjoying the walk to work, imaging the future outdoor space. We are a bit stalled, needing to cue up some work in the back bathroom. They have, in the meantime, installed the patio door. :) I love it, really brings the outdoors in. I added a before and after picture. In the after, you can see Abe through the patio door, trying to shove out the BBQ. So much snow. A small project in comparison, but I needed to hand a curtain in a weird little alcove in the middle bedroom. Custom curtain rods are expensive, couldn't bring myself to pay for one. And so, I went to the hardware store and bought a copper pipe ($6) and two elbow joints ($10). With the help of my trusty handy-person Abe and his pipe cutter, we had it installed in under 10 minutes. Looks a bit rough but not too bad, does the trick. Hopeful this coming week, everything falls into place and we move forward!
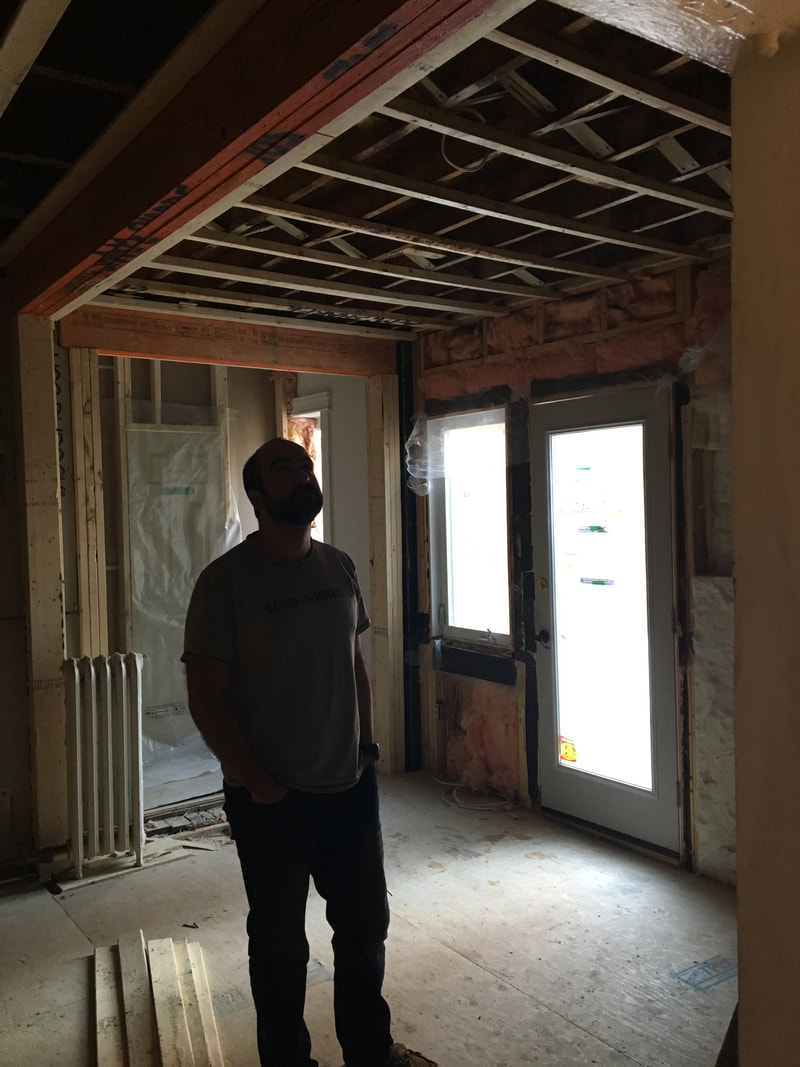
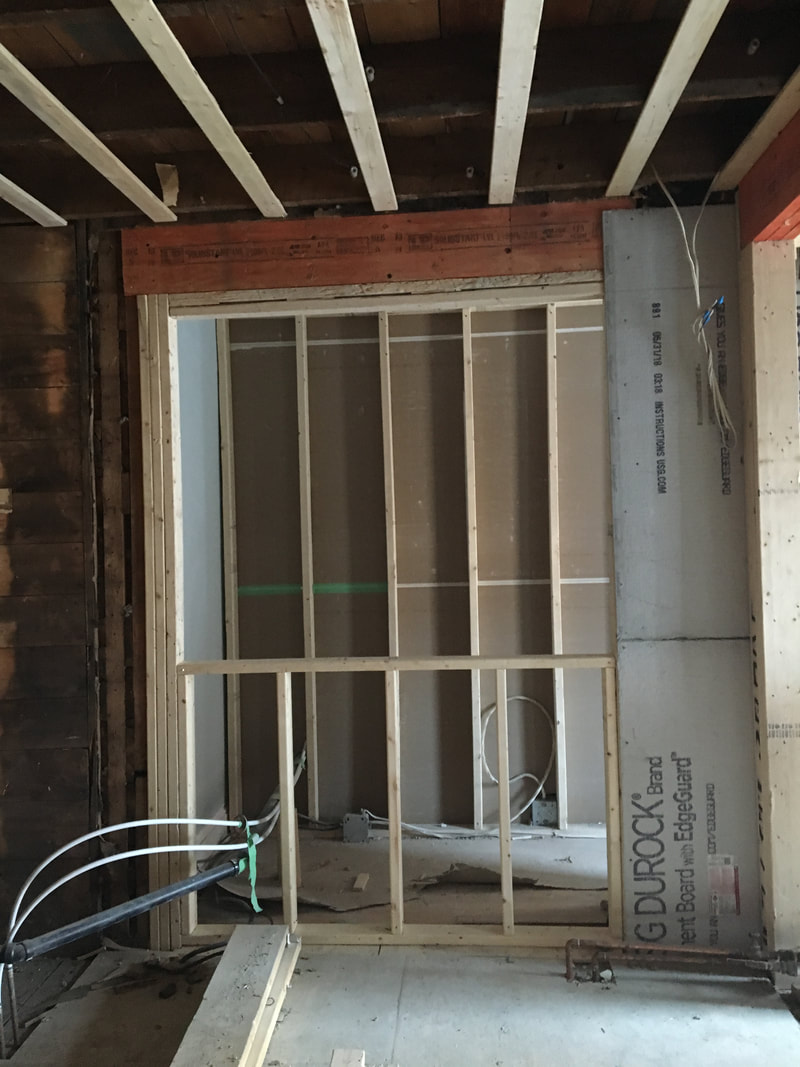
0 Comments
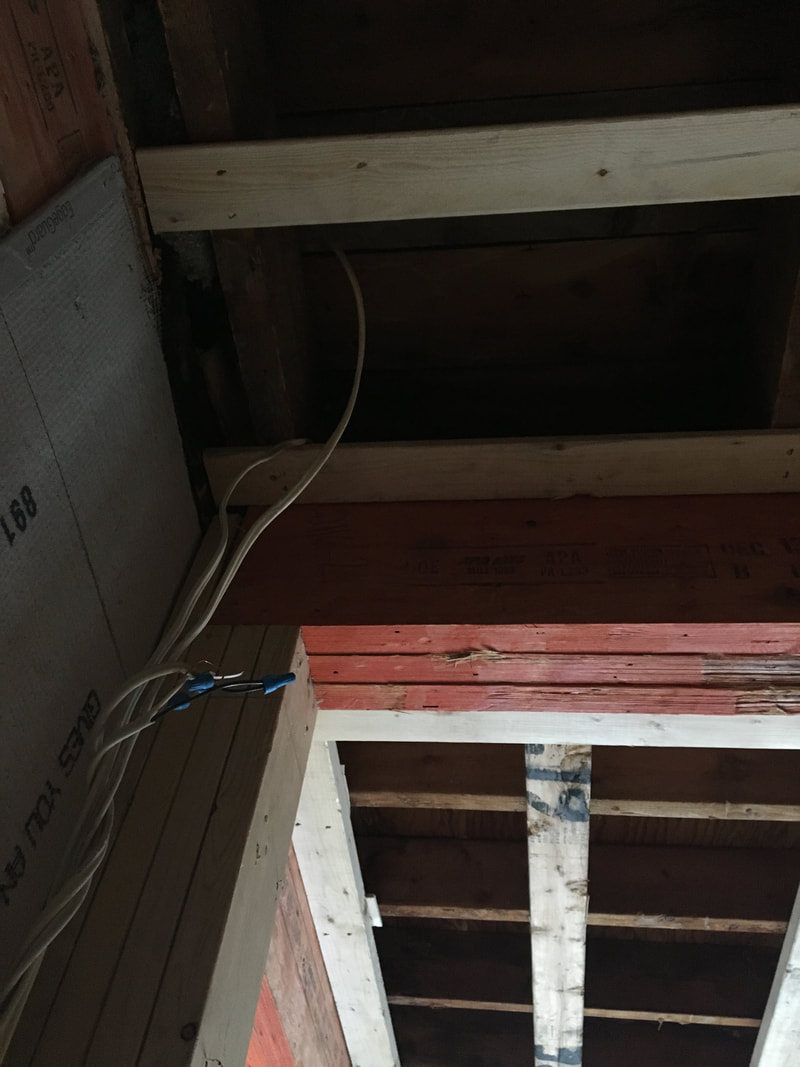
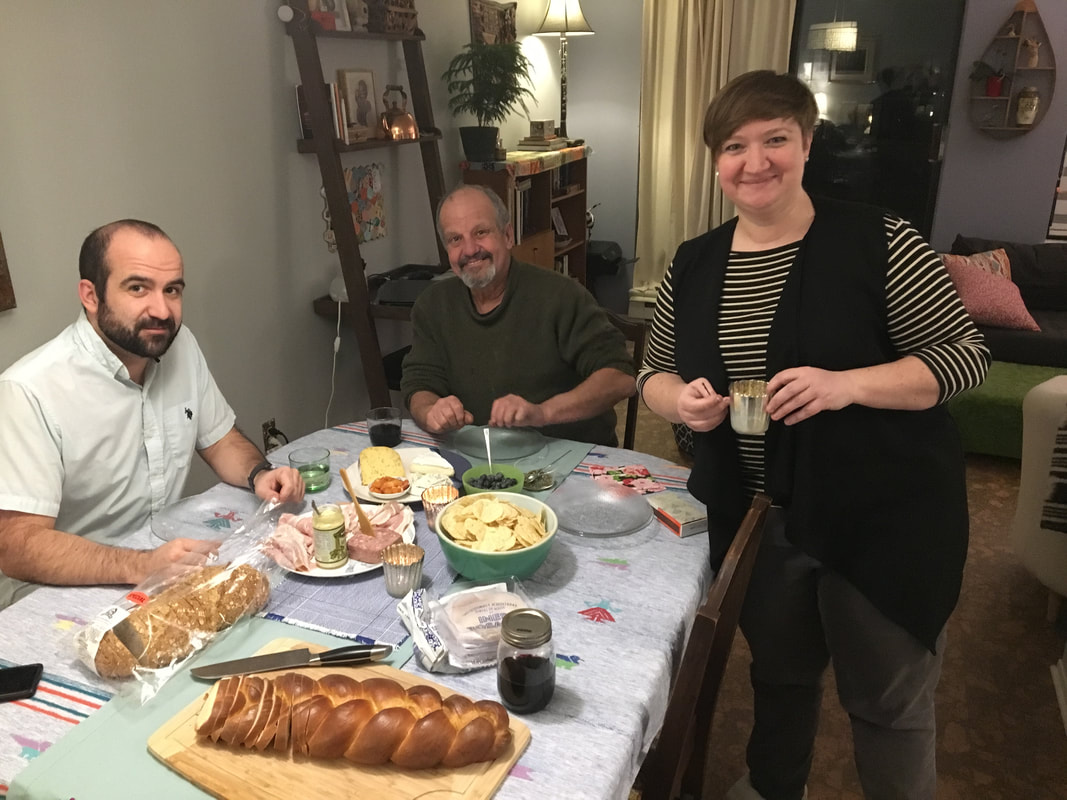
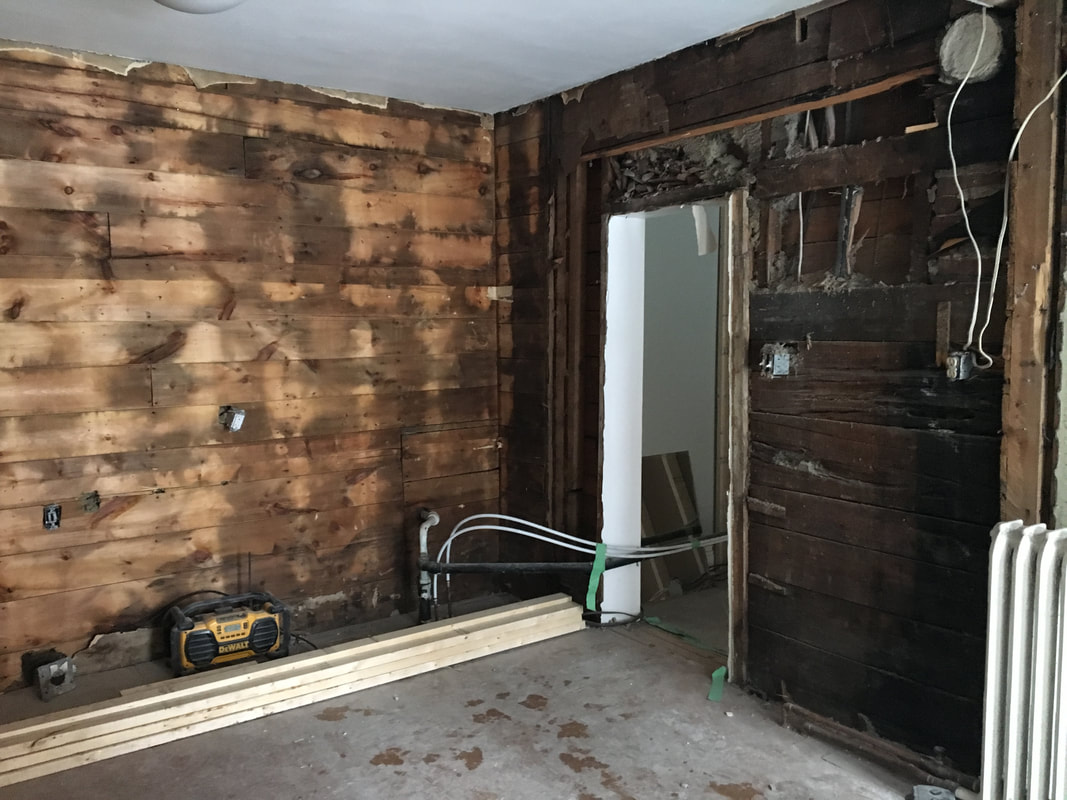
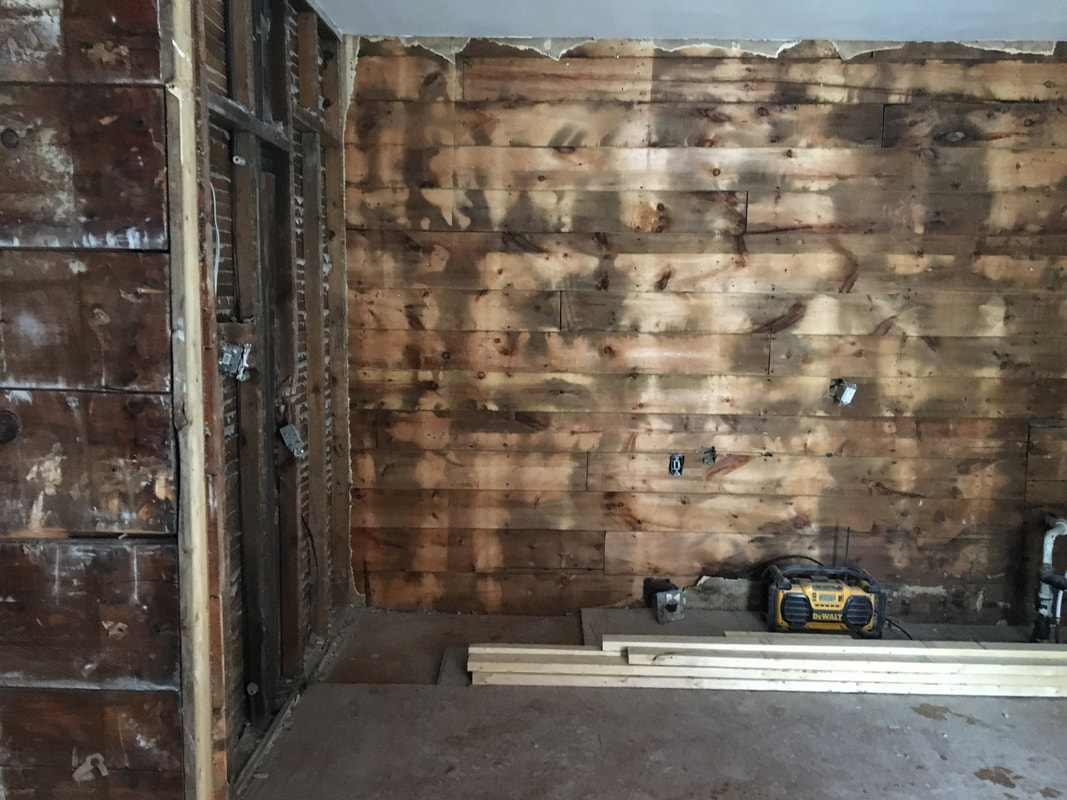
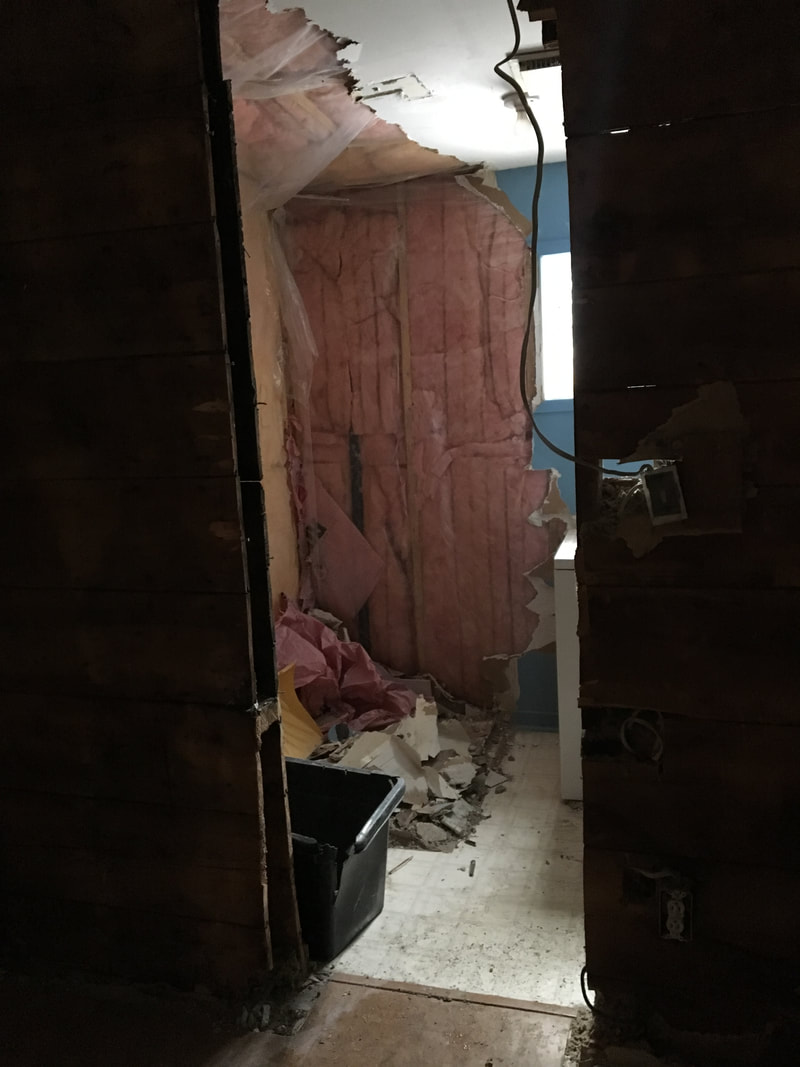
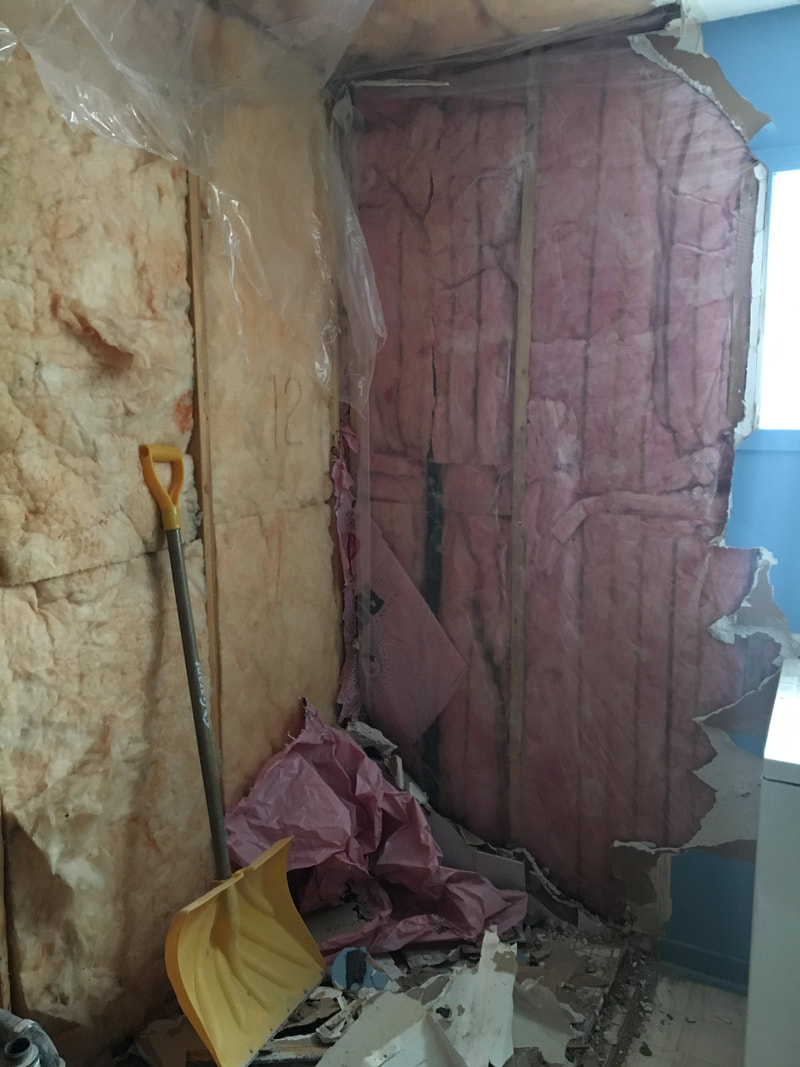
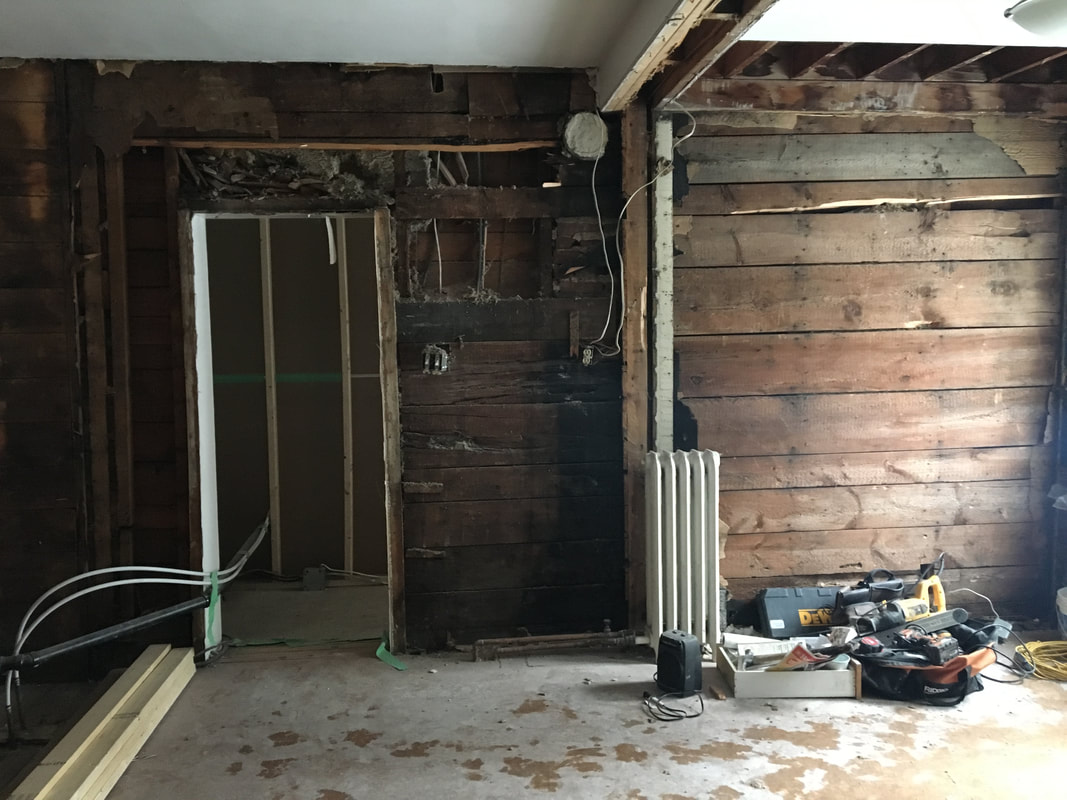
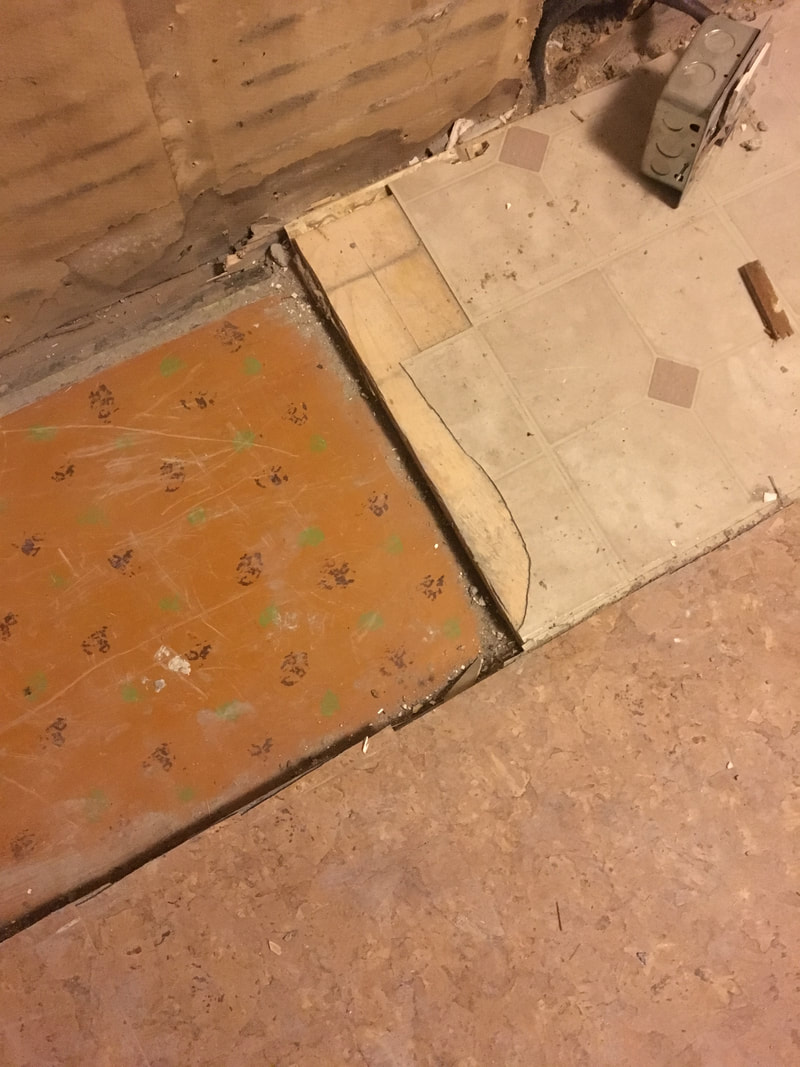
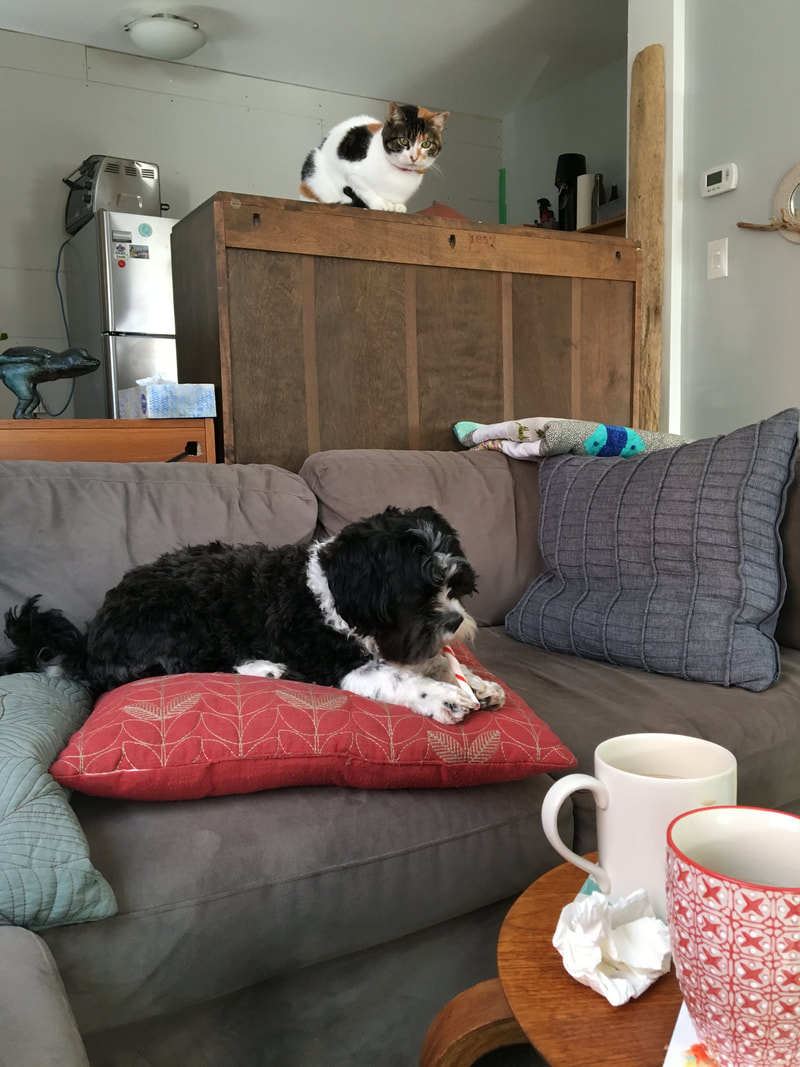
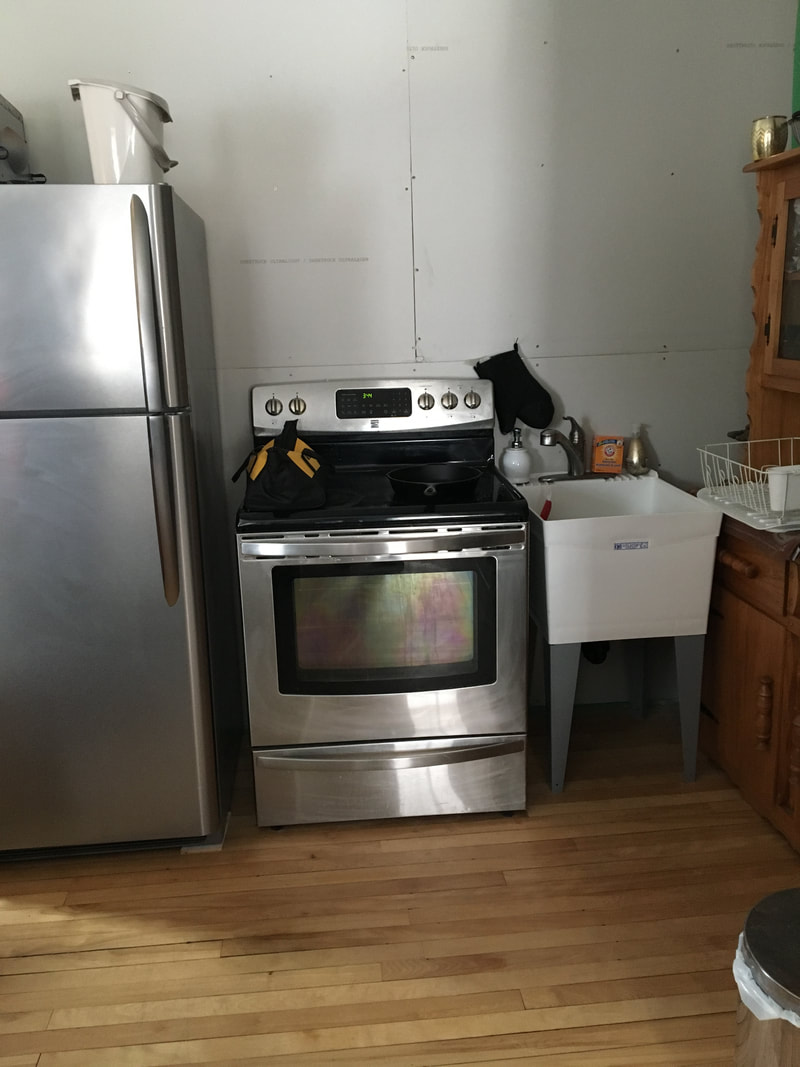
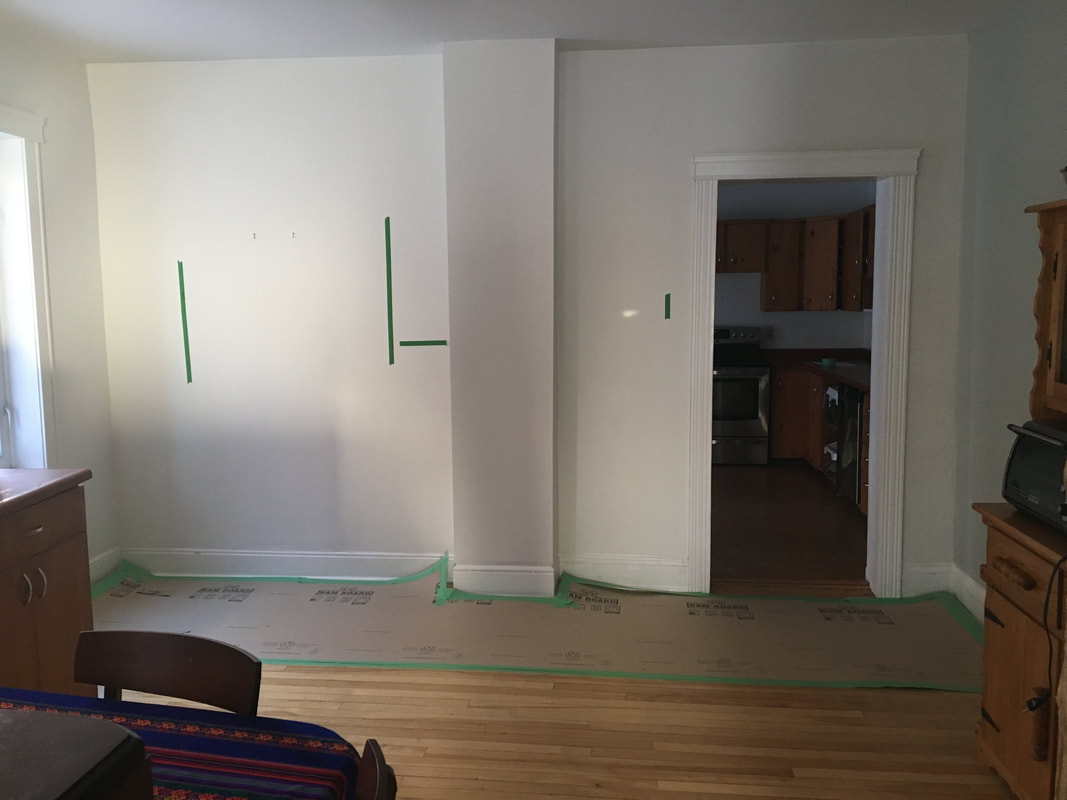
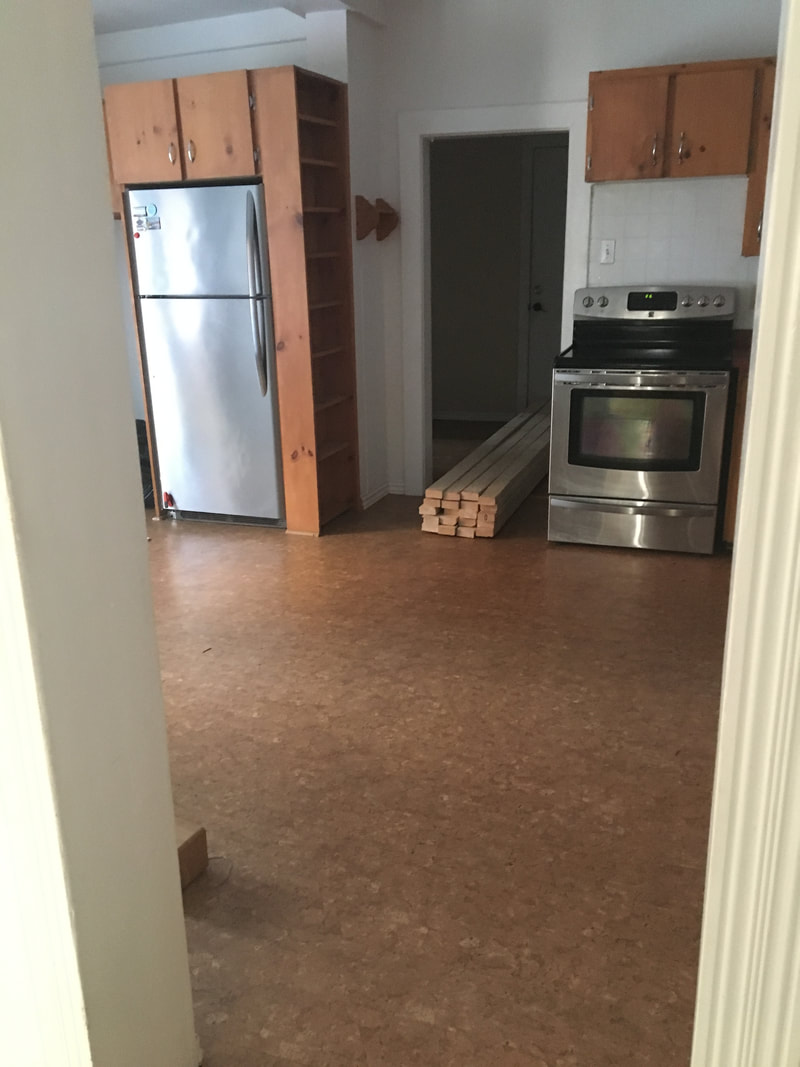
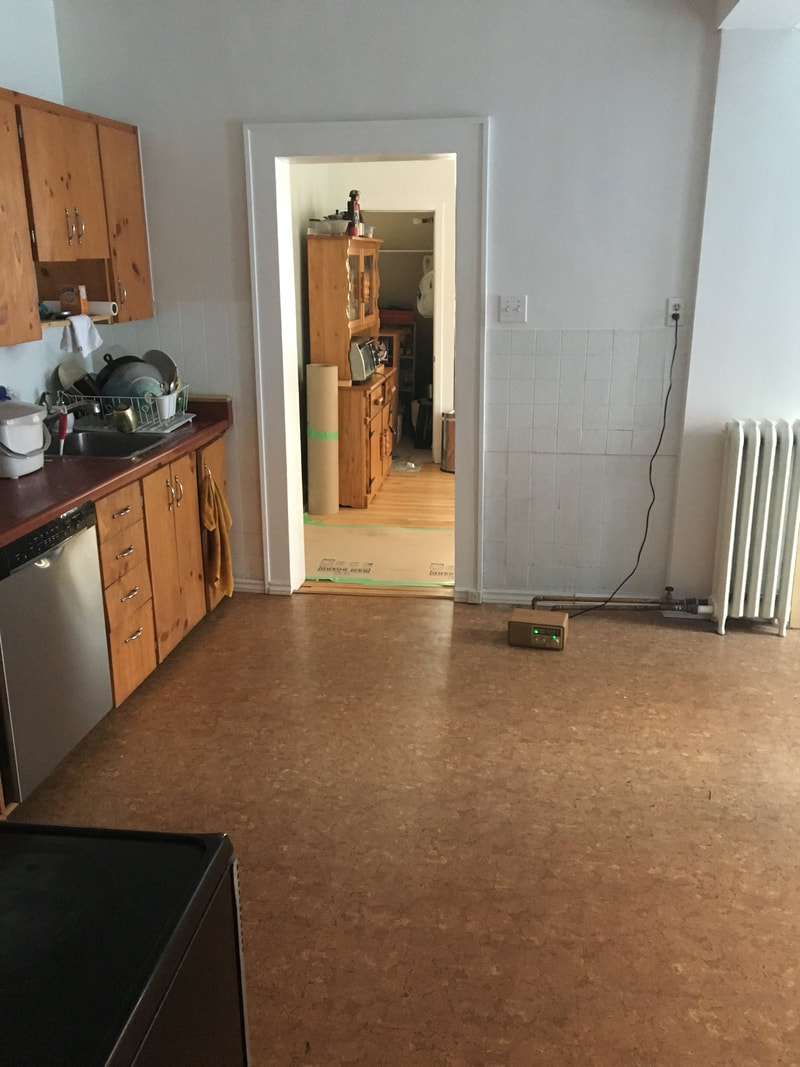
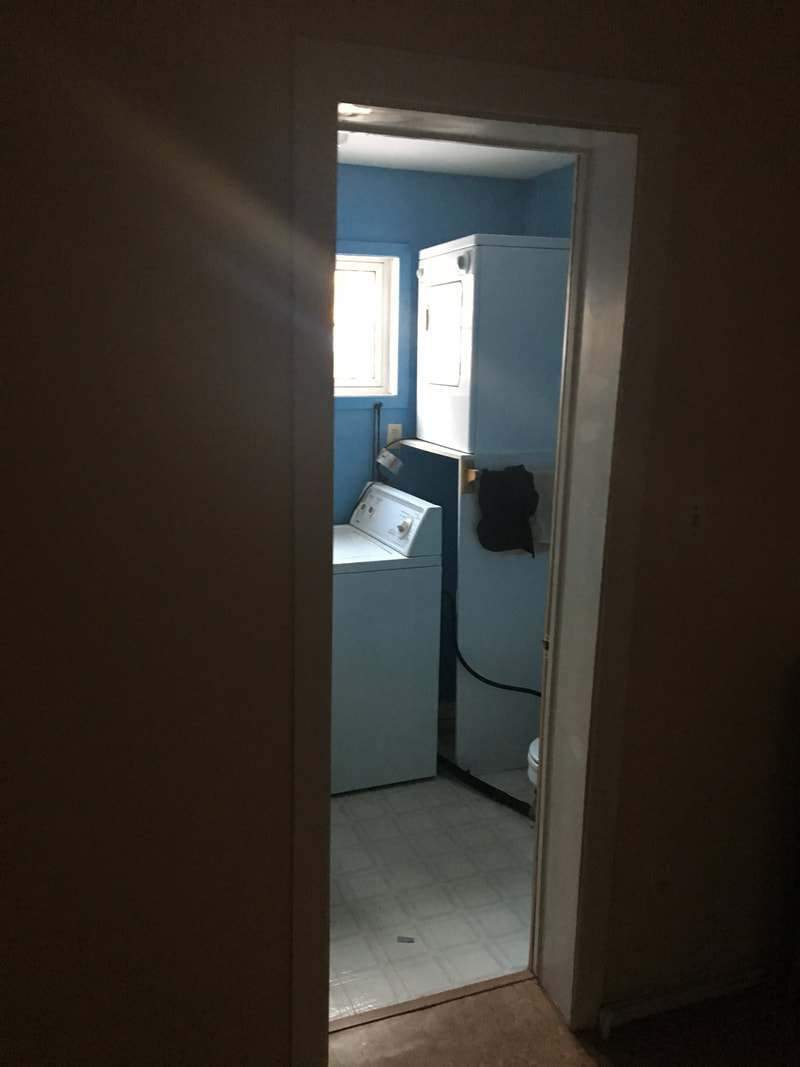
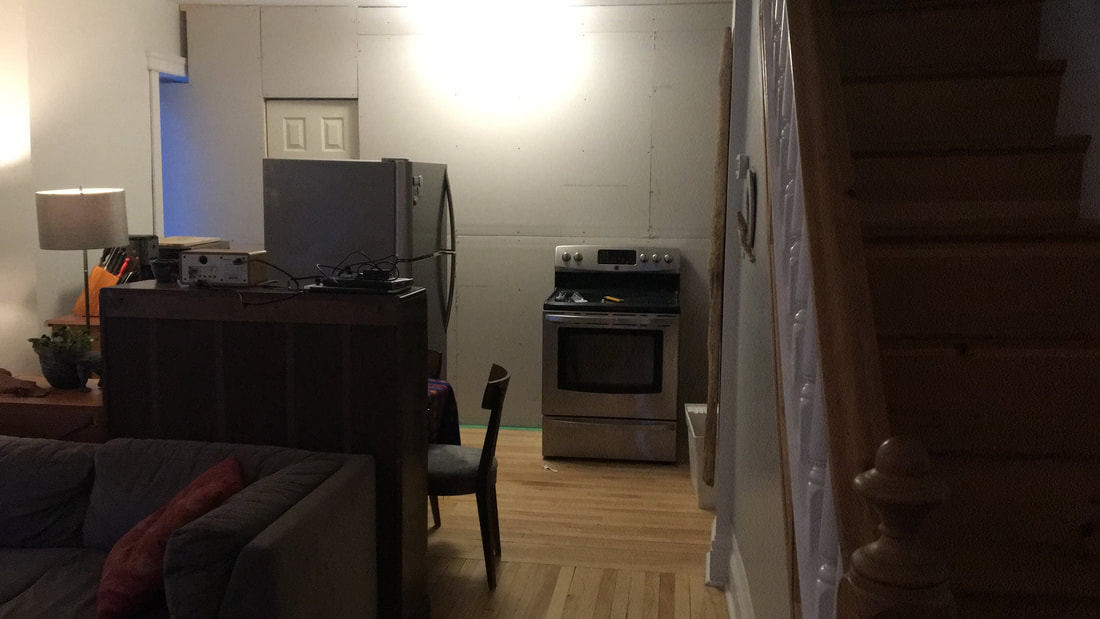
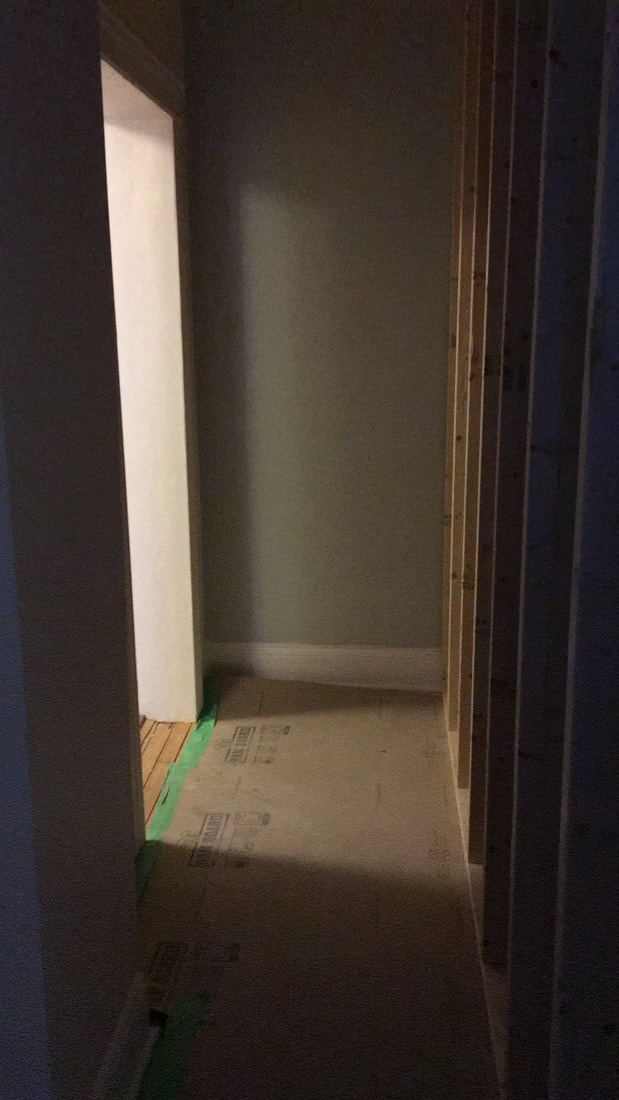
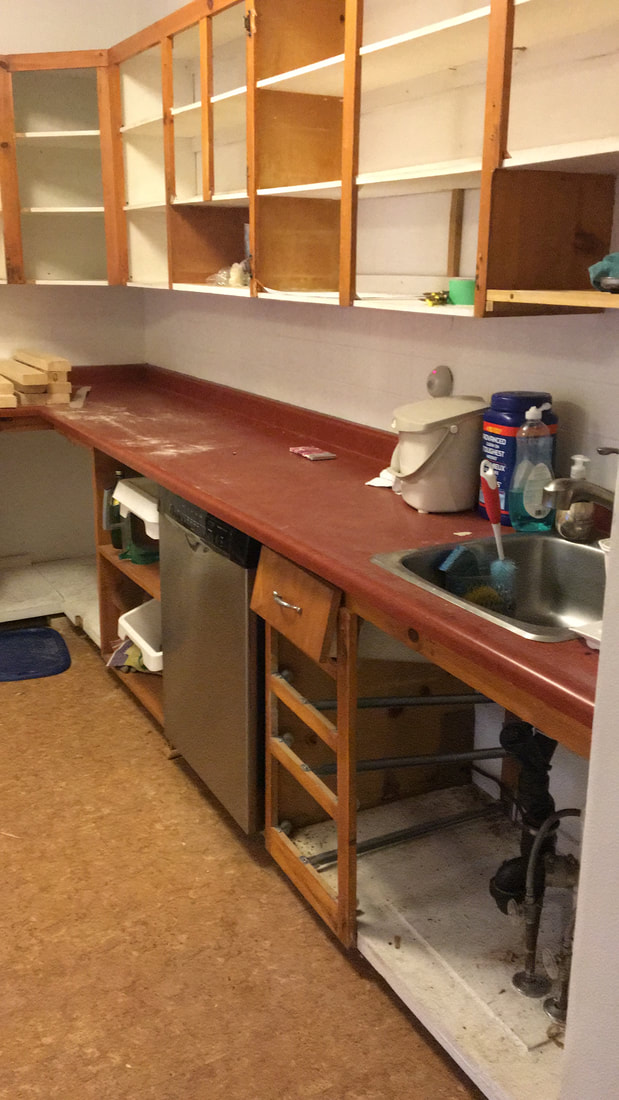
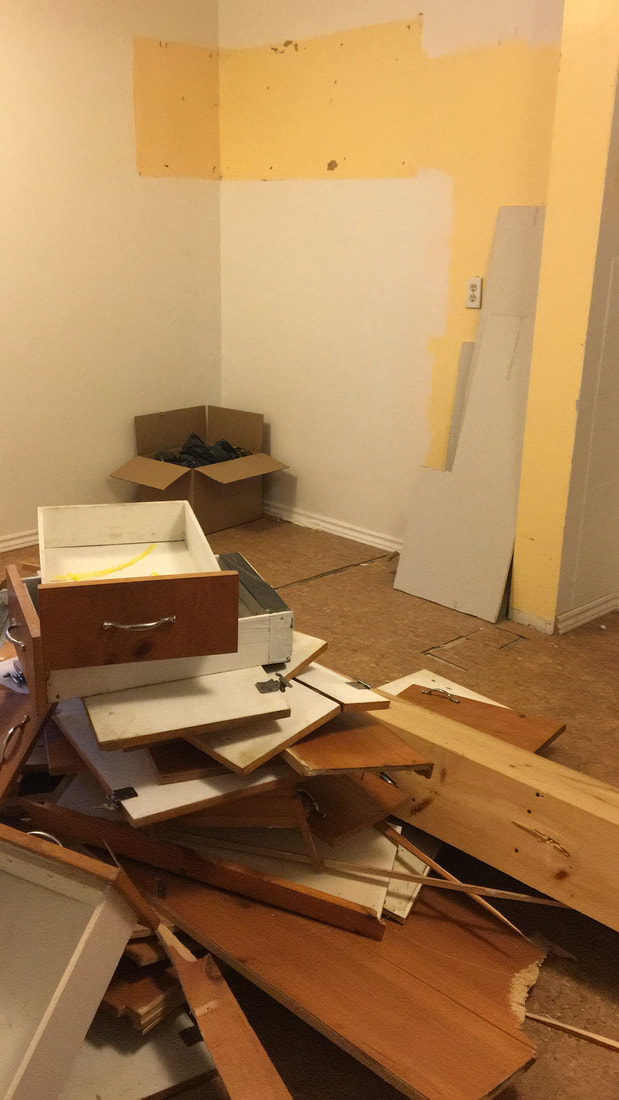
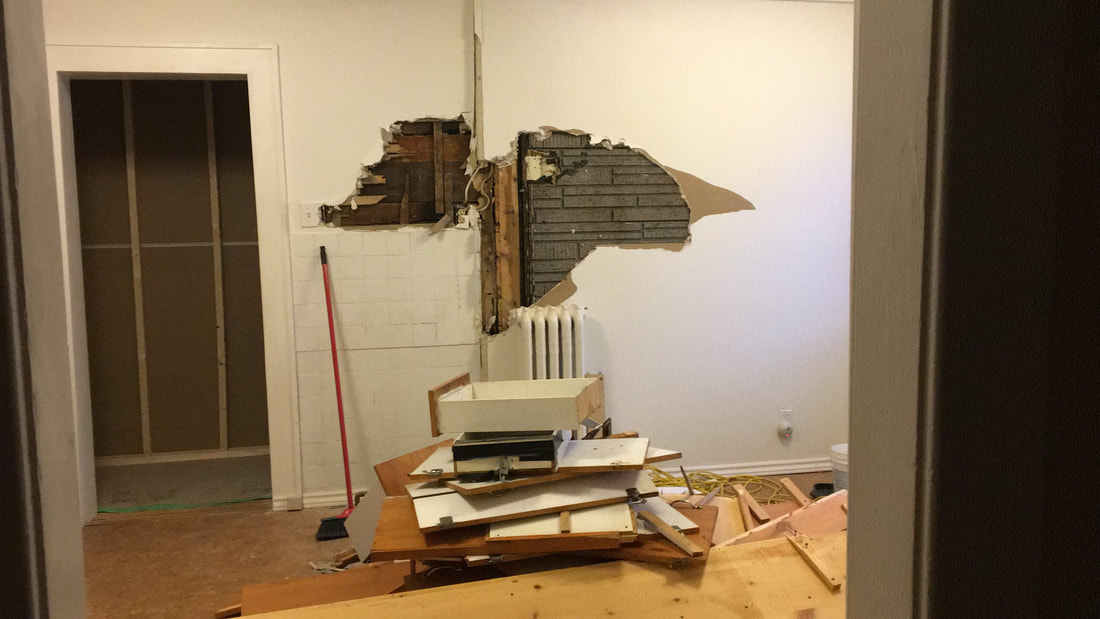
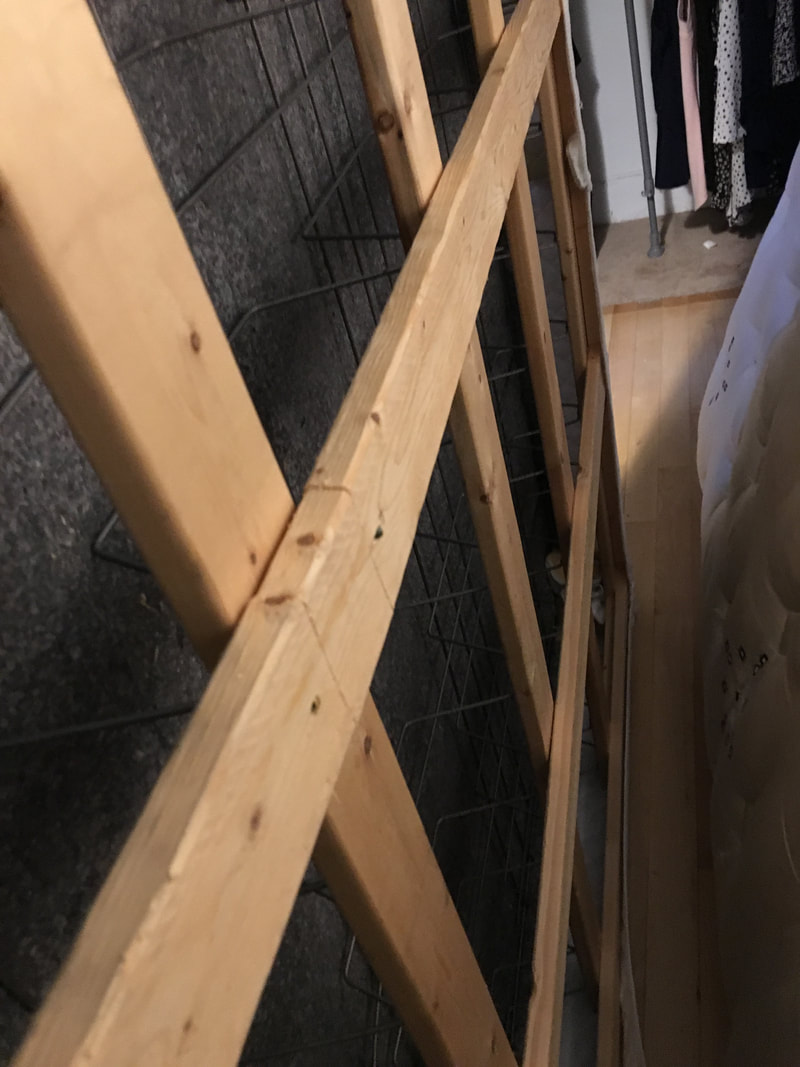
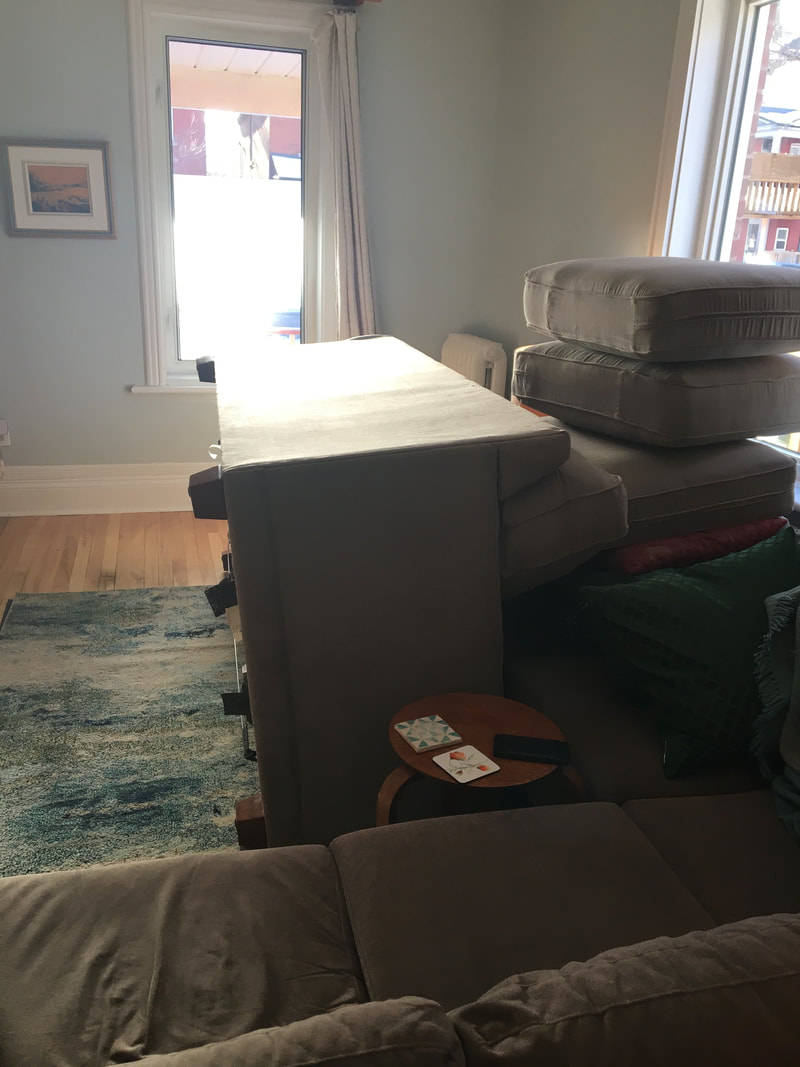
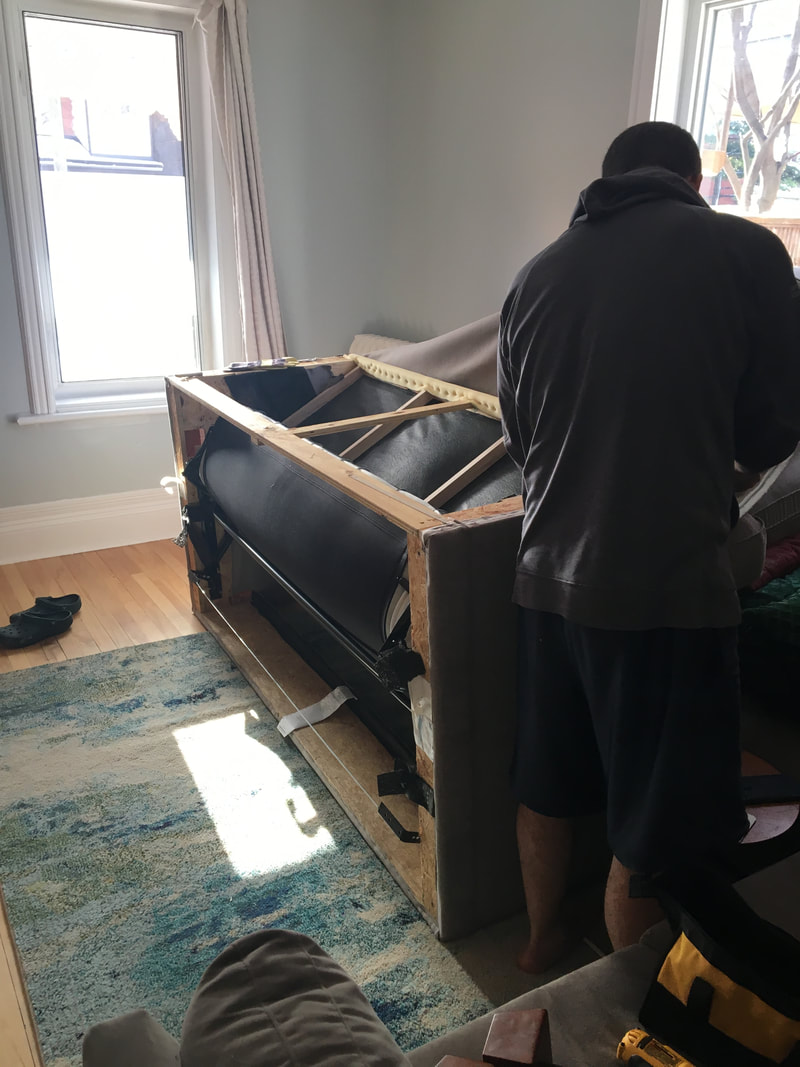
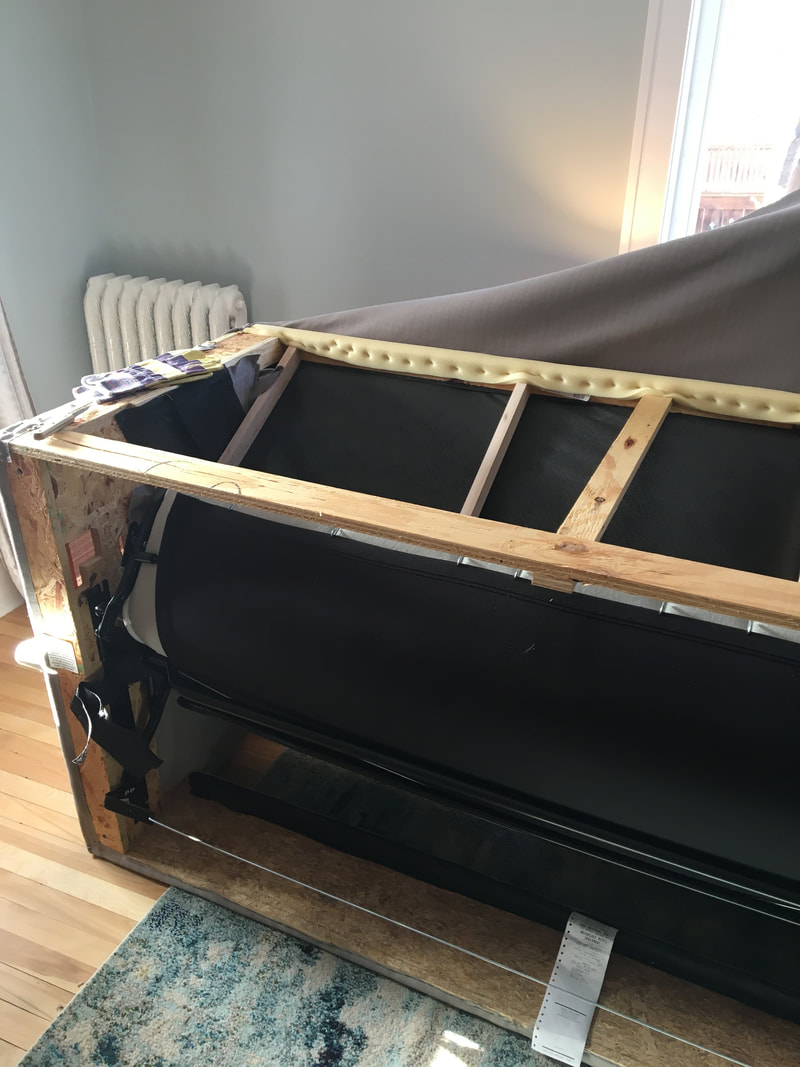
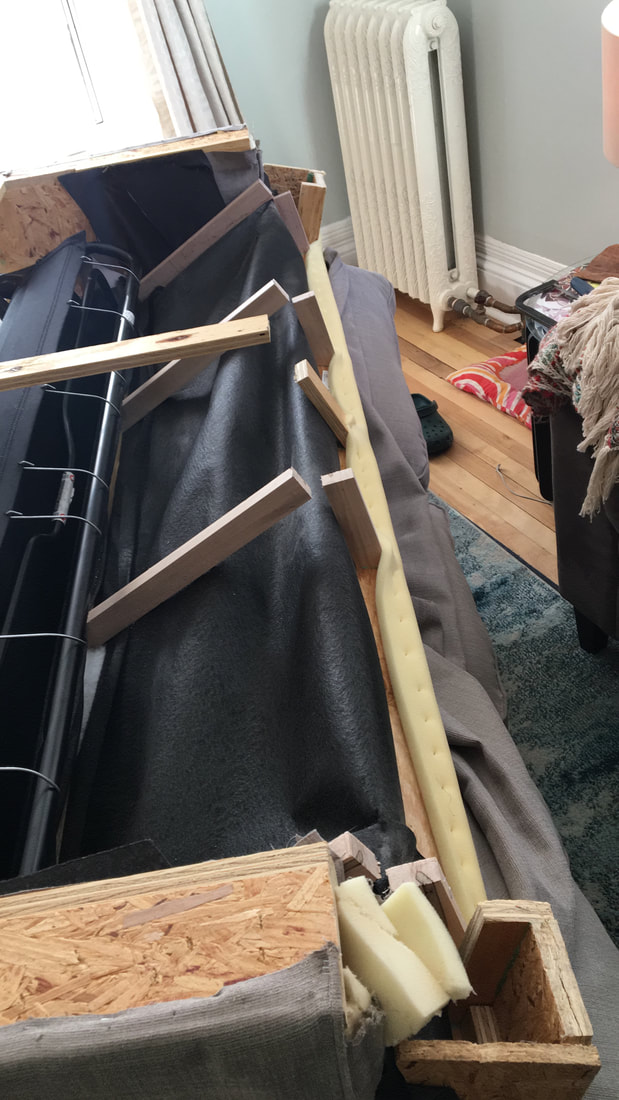
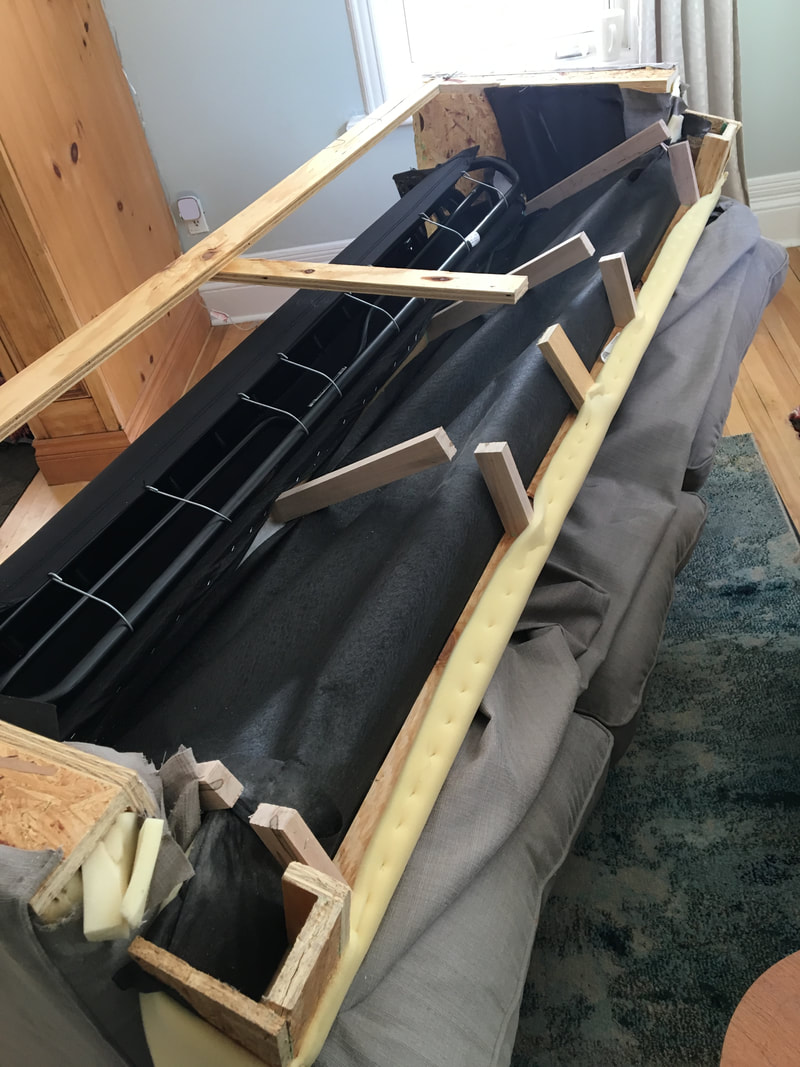
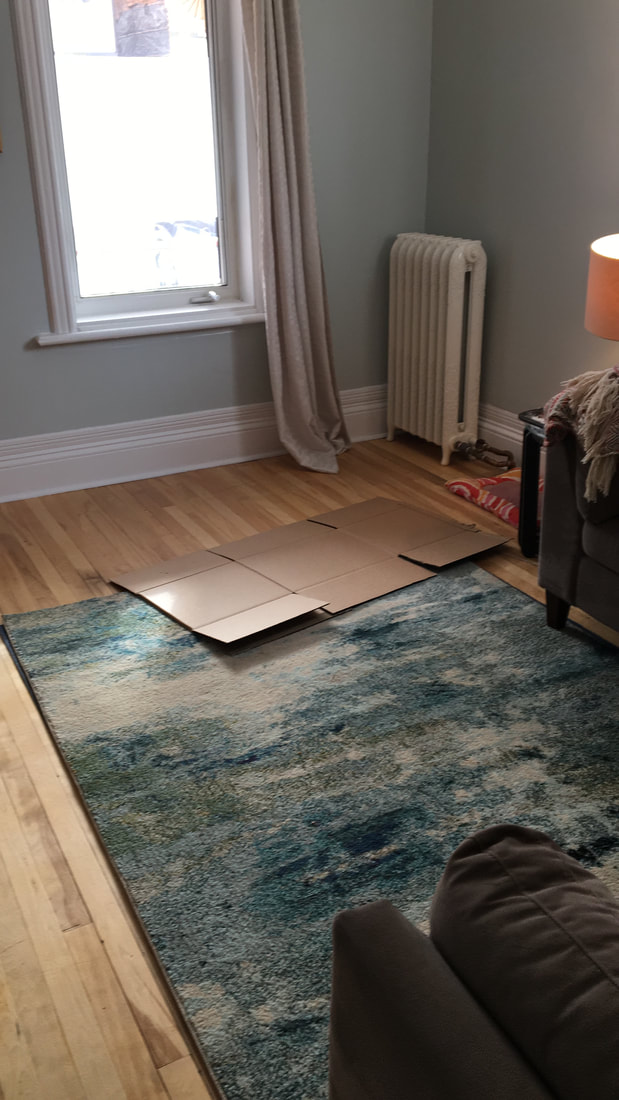
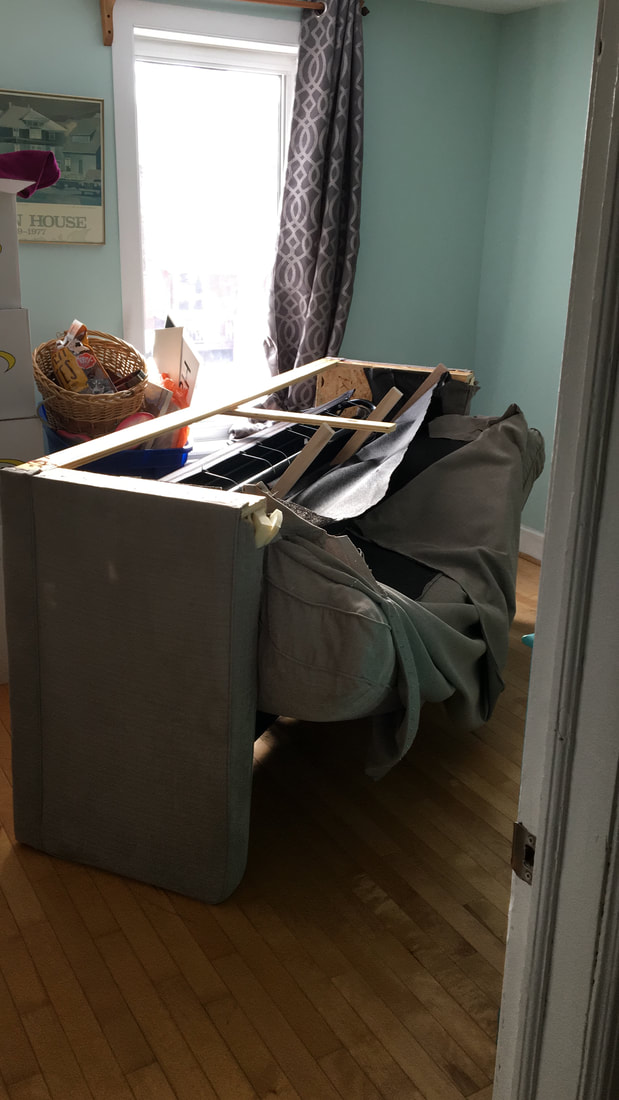
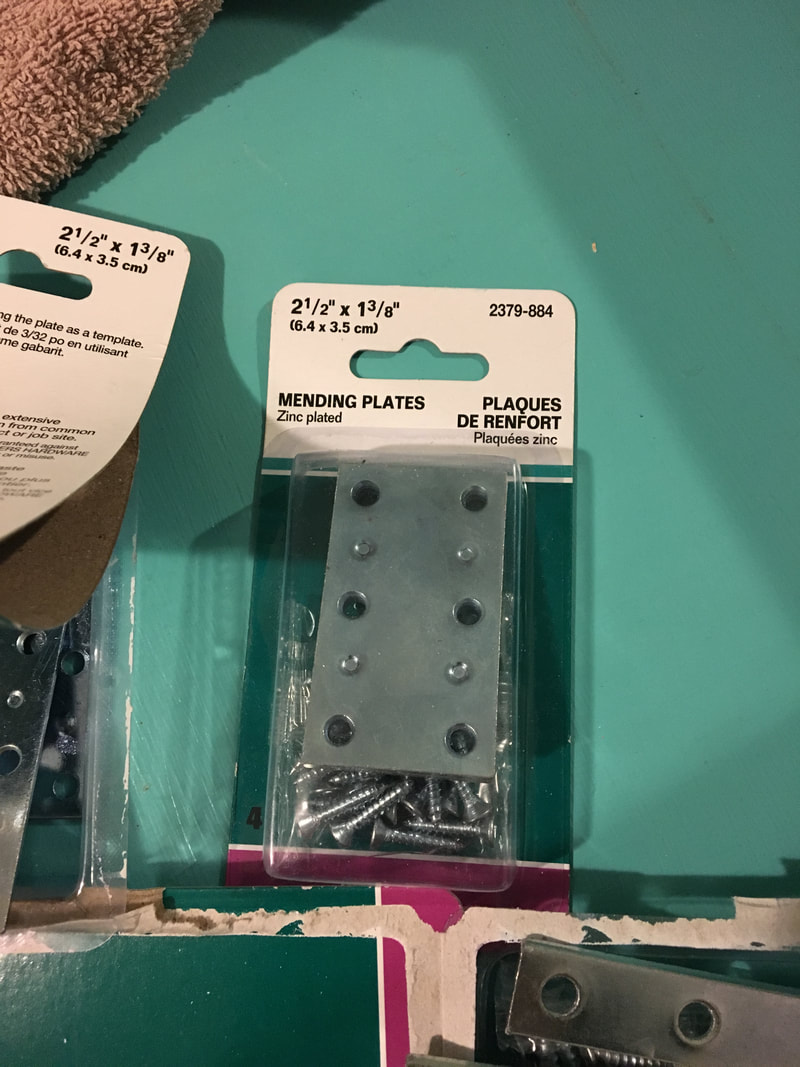
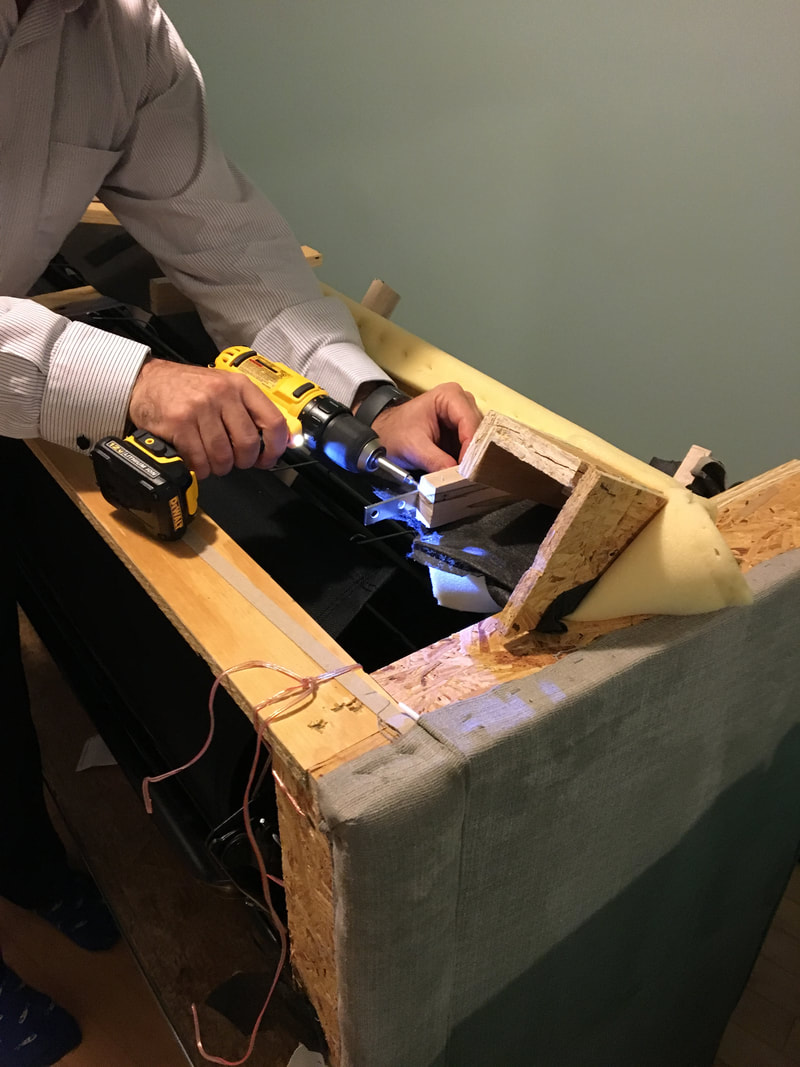
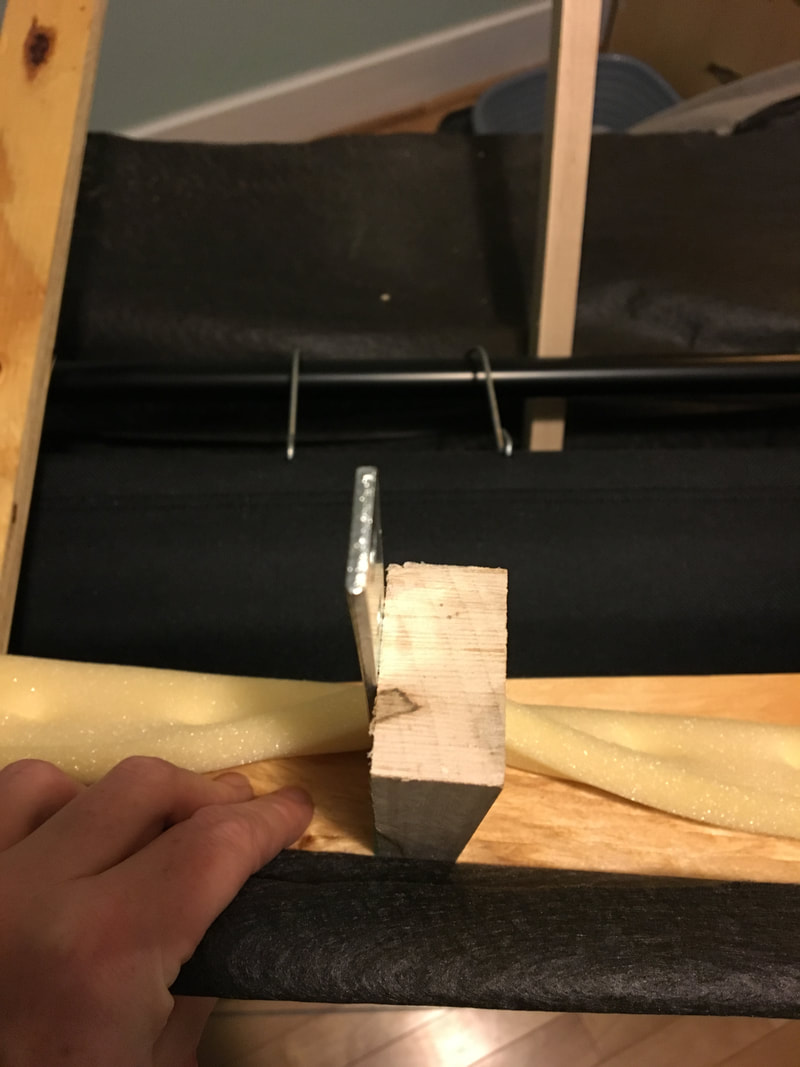
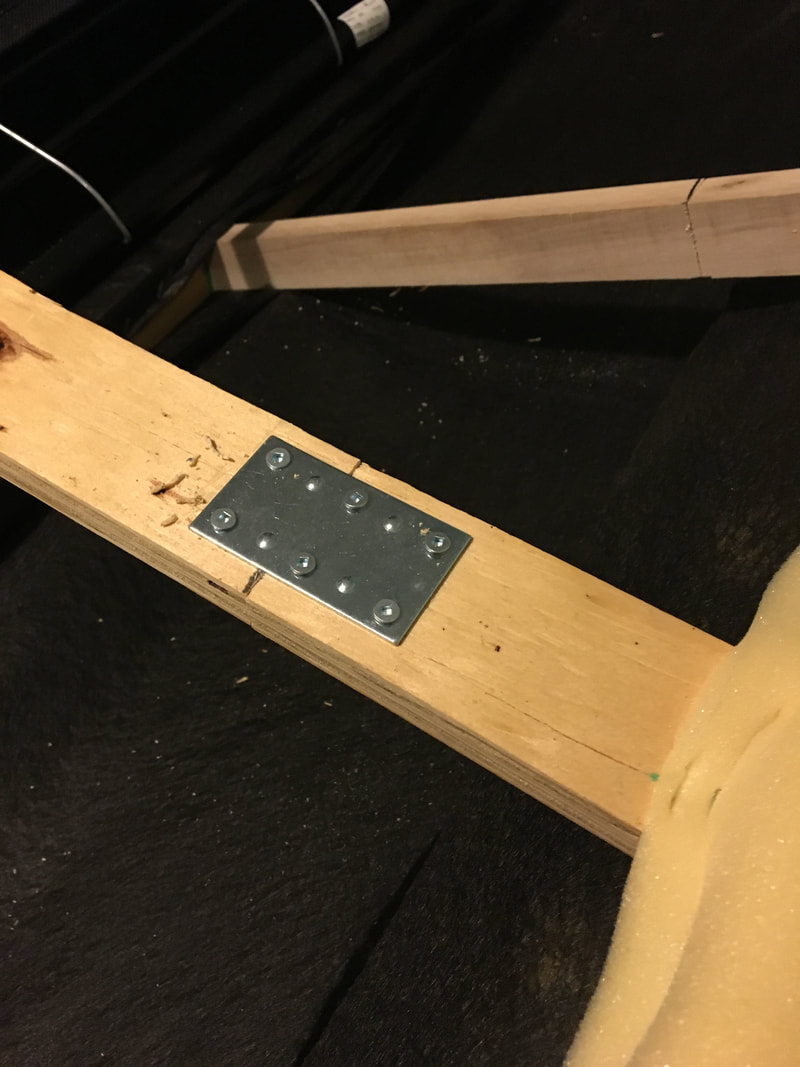
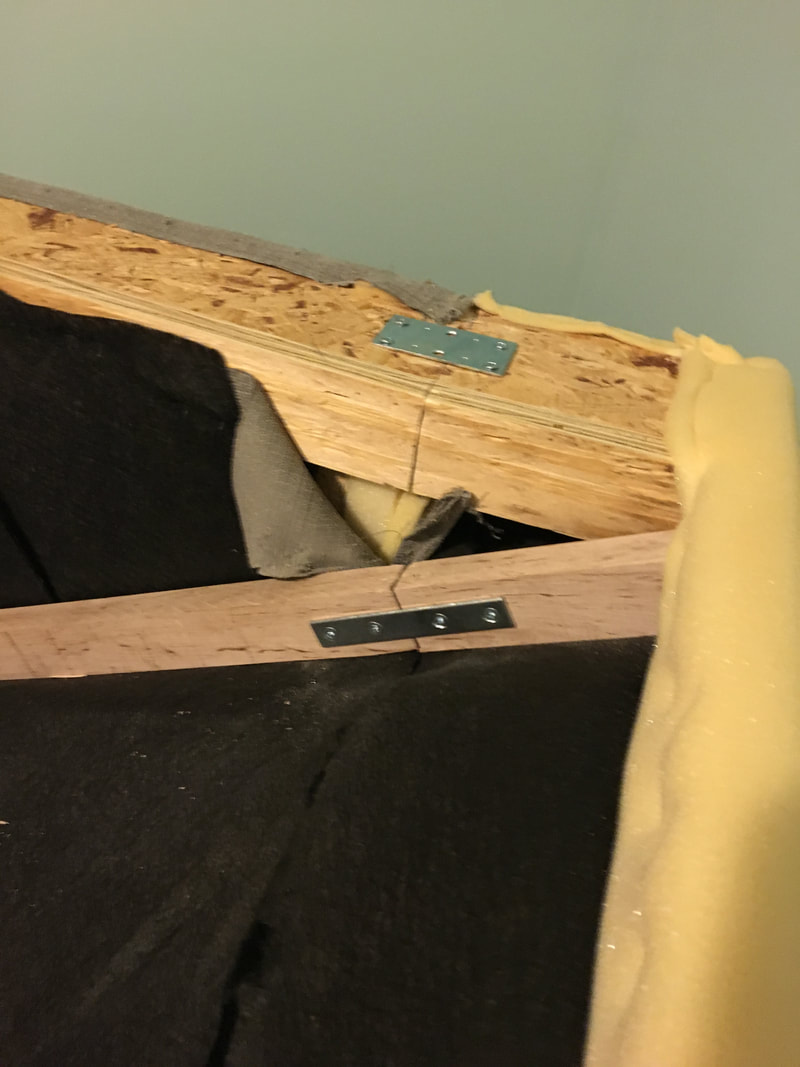
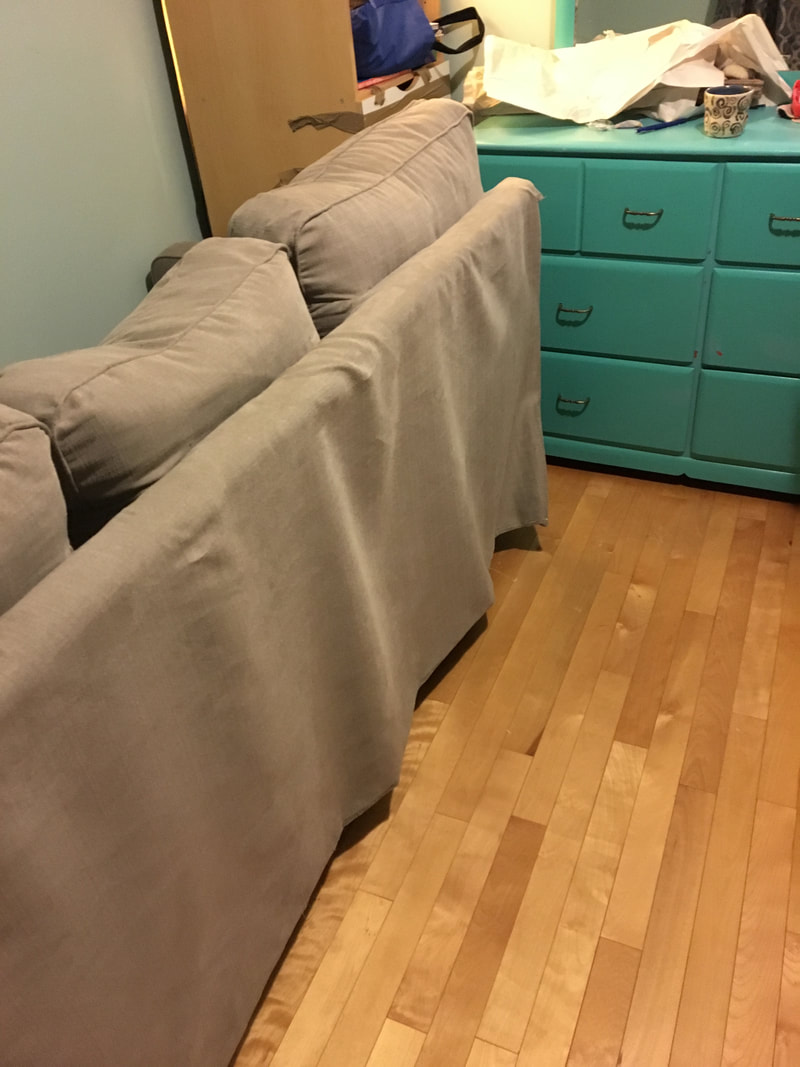
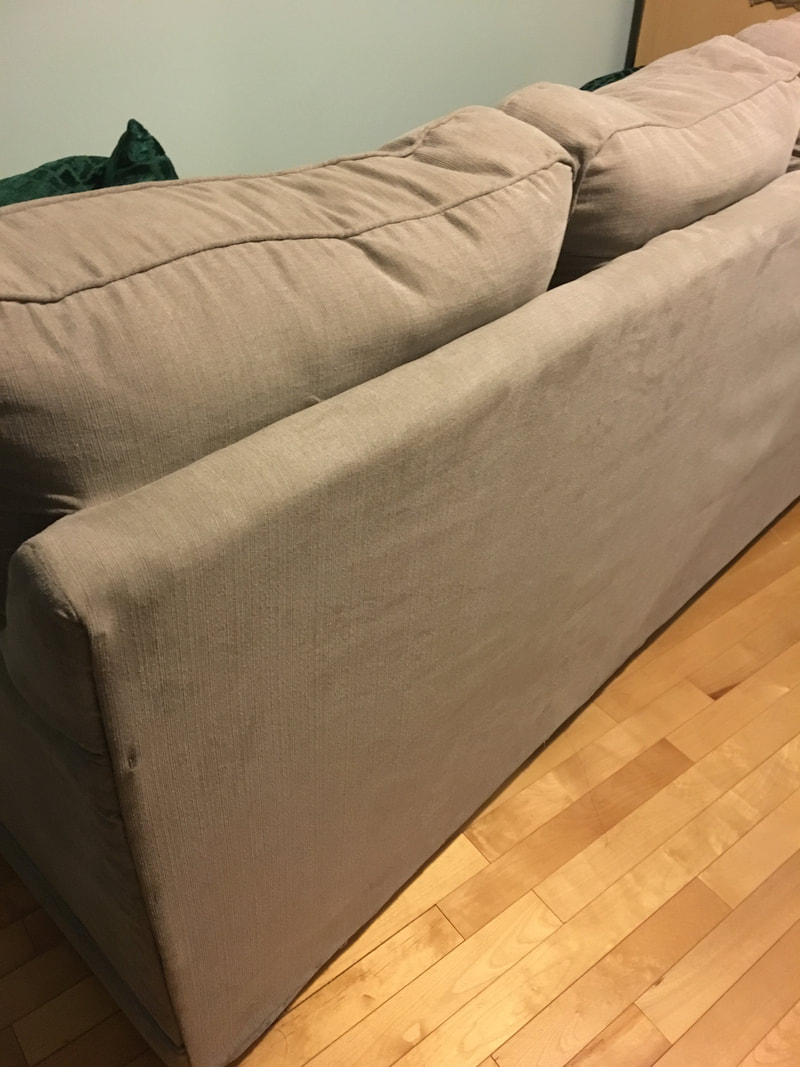
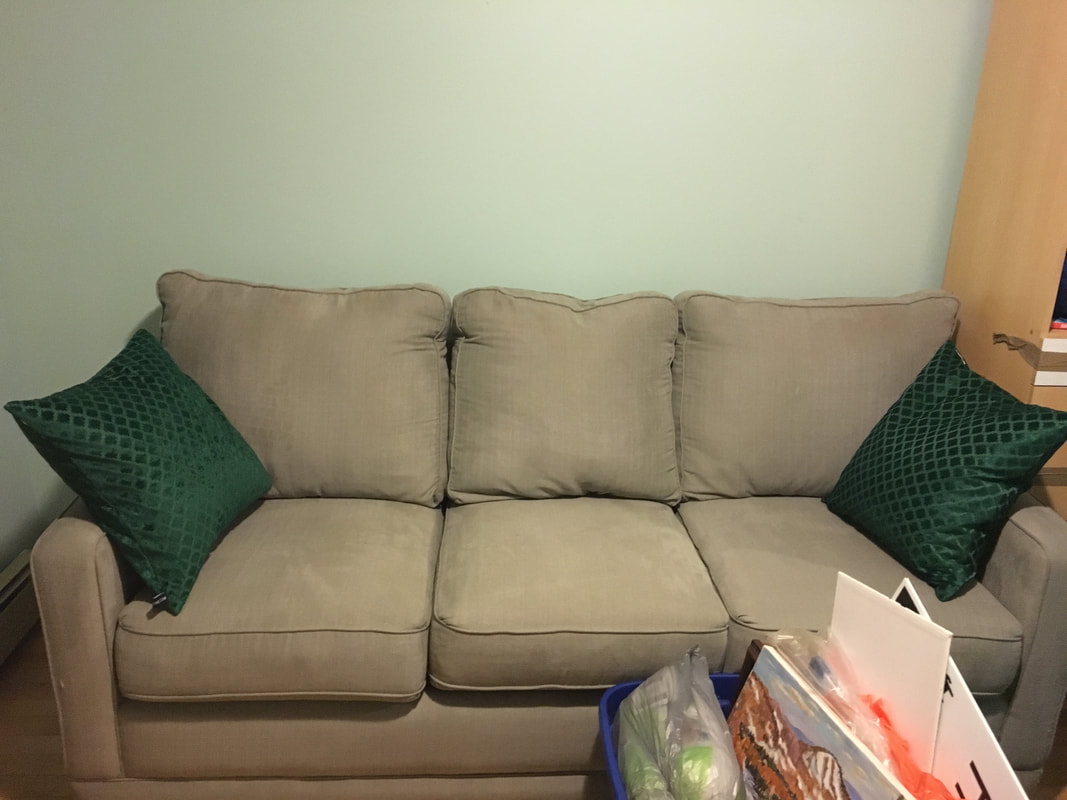
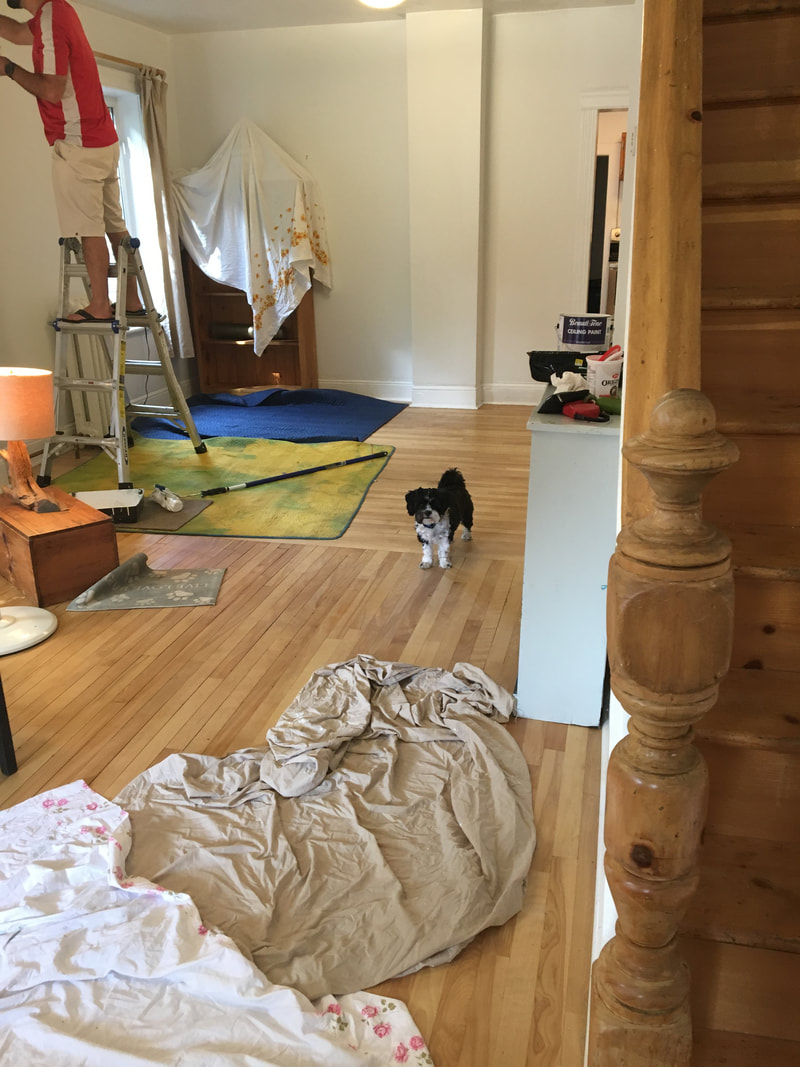
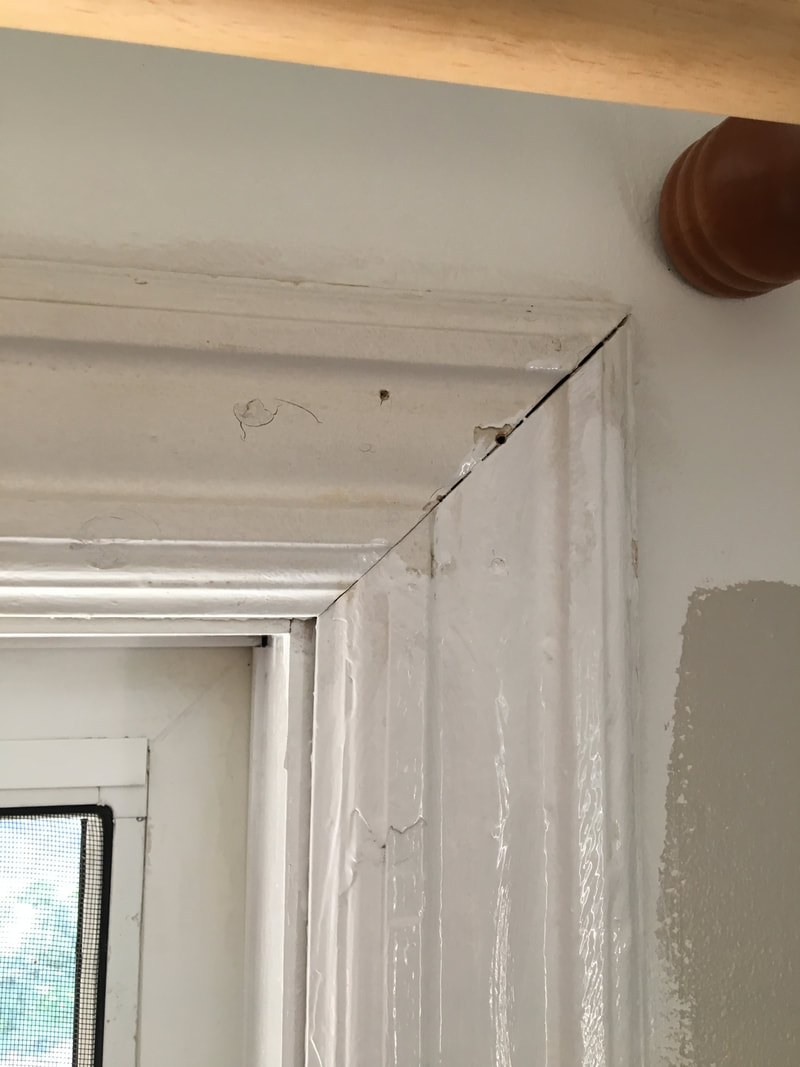
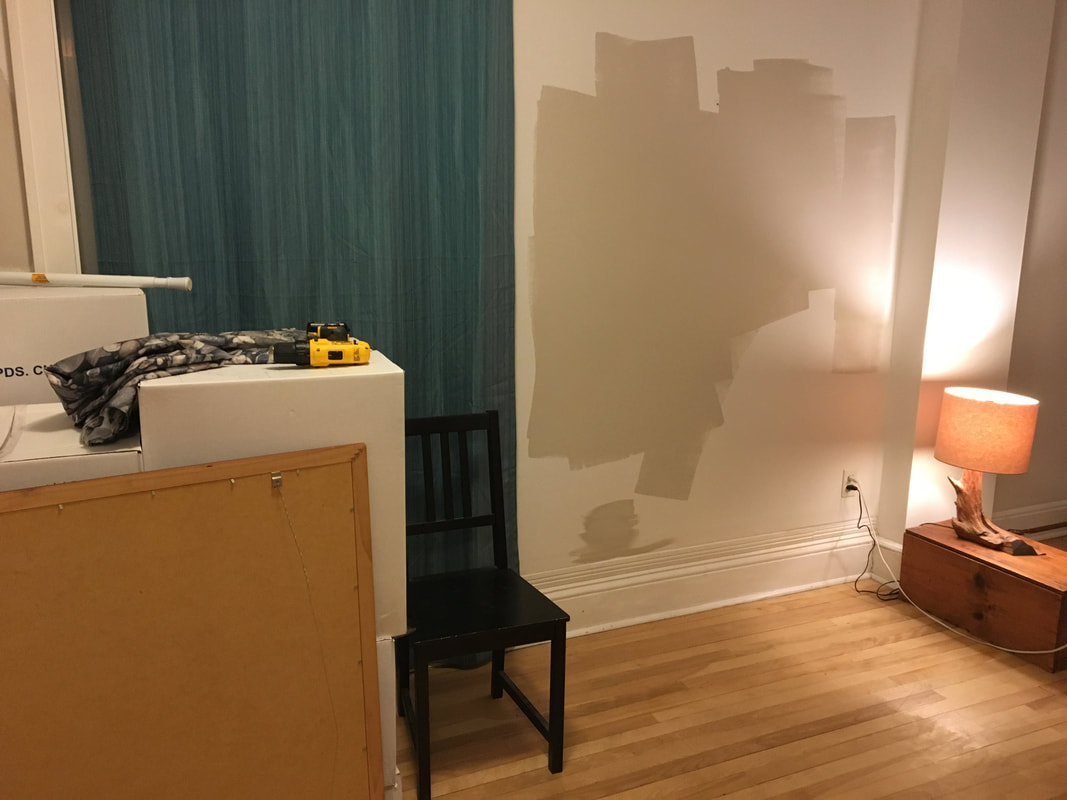
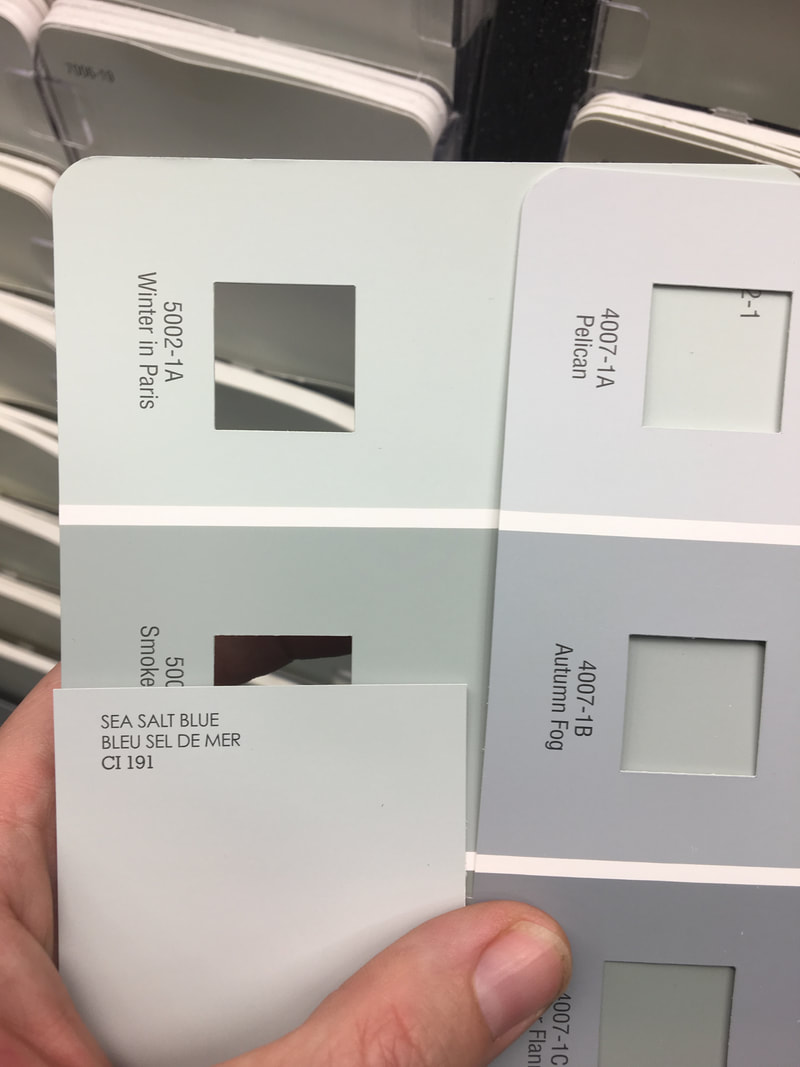
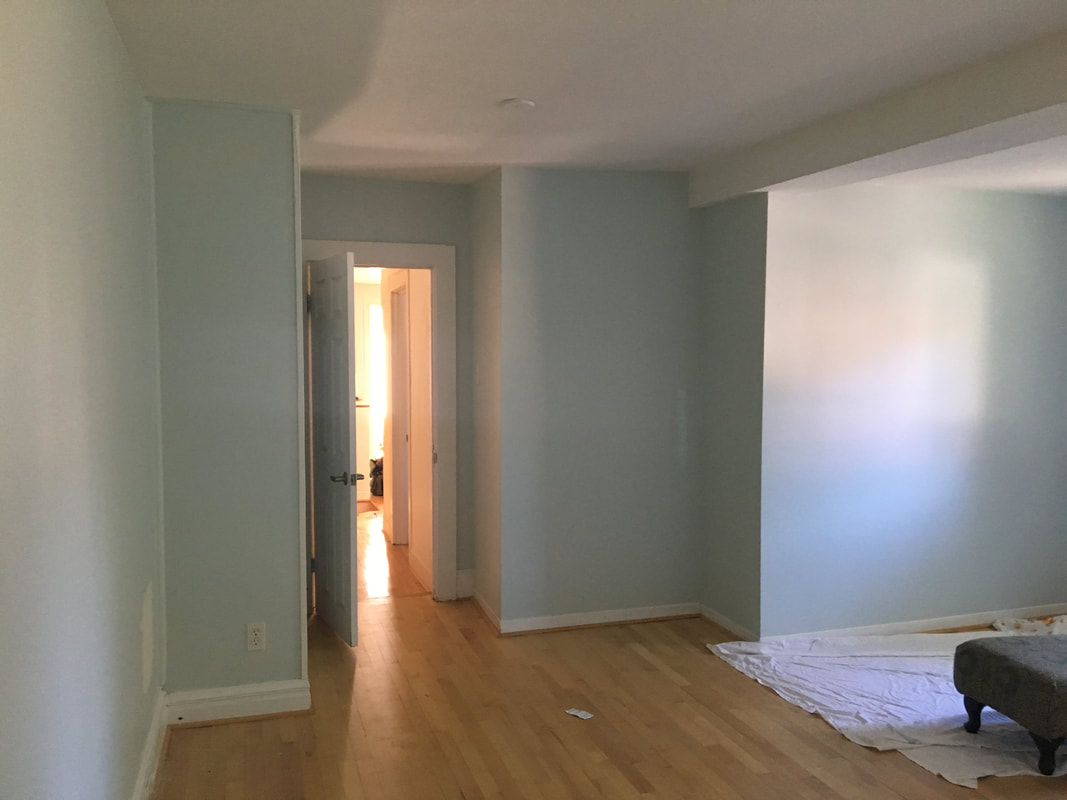
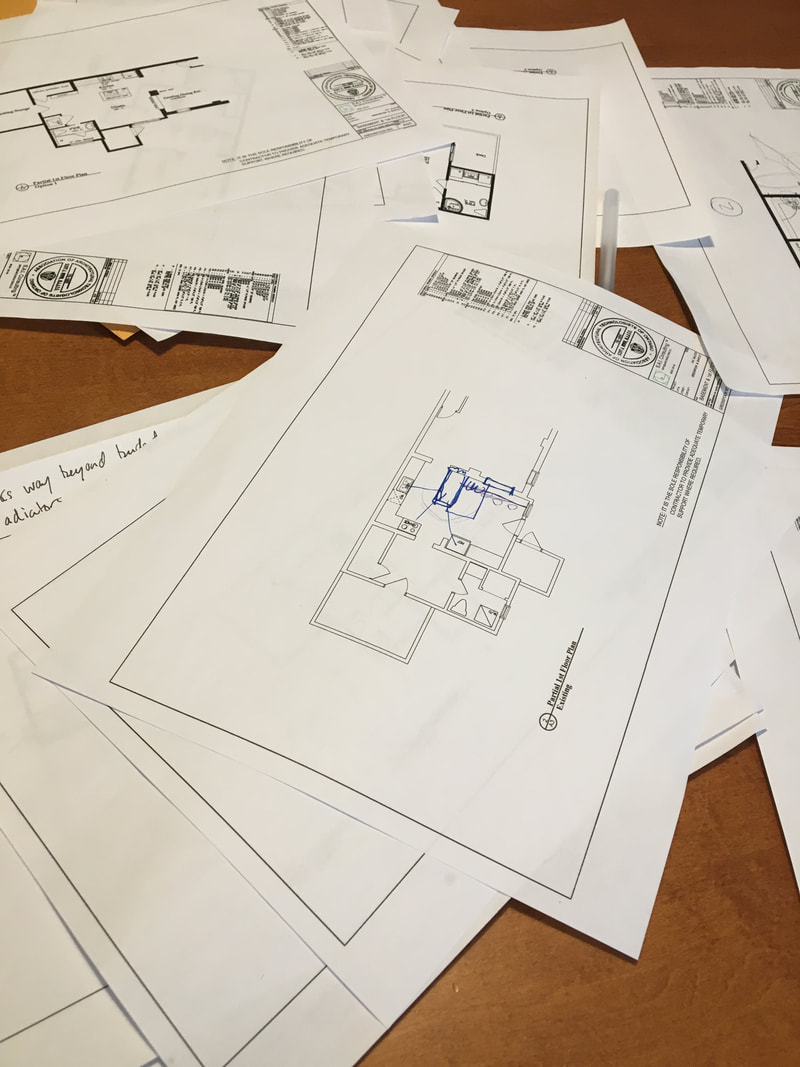
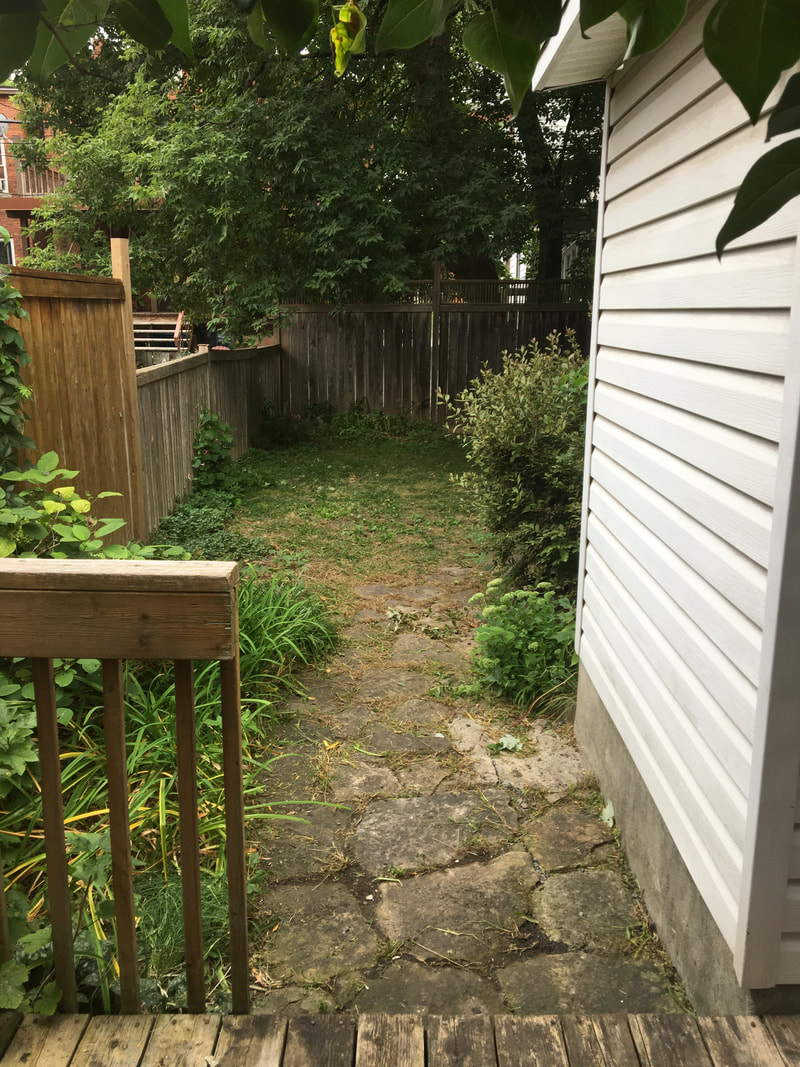
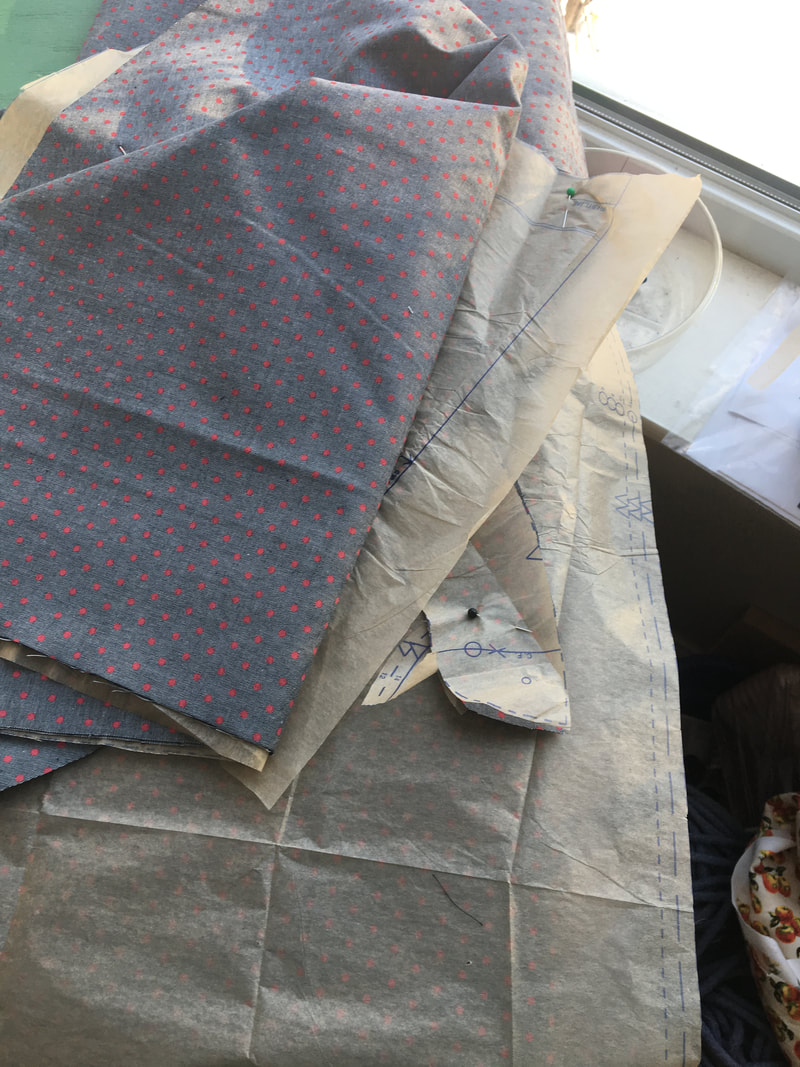
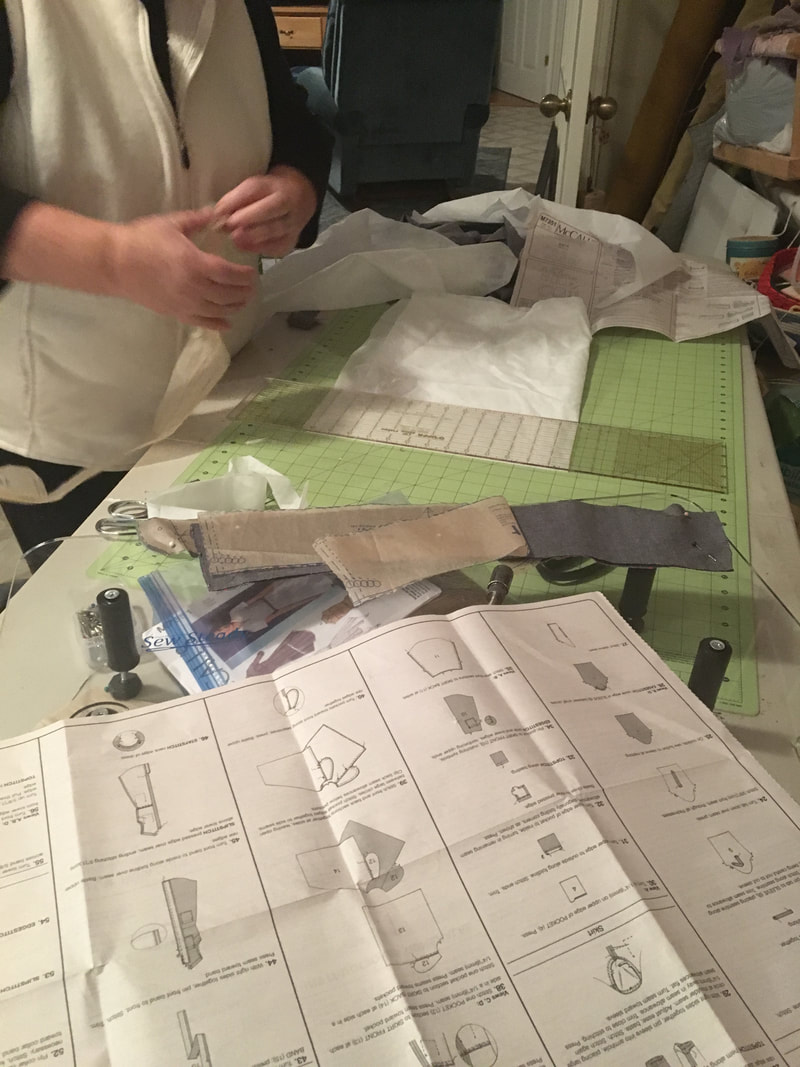
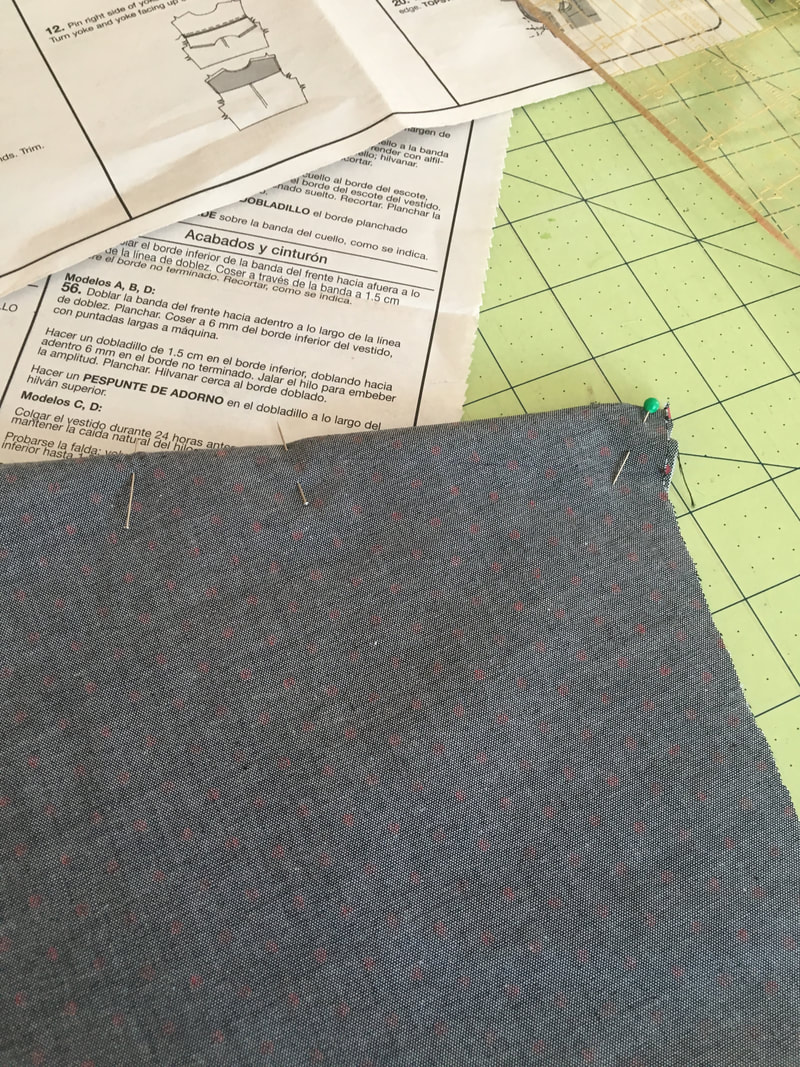
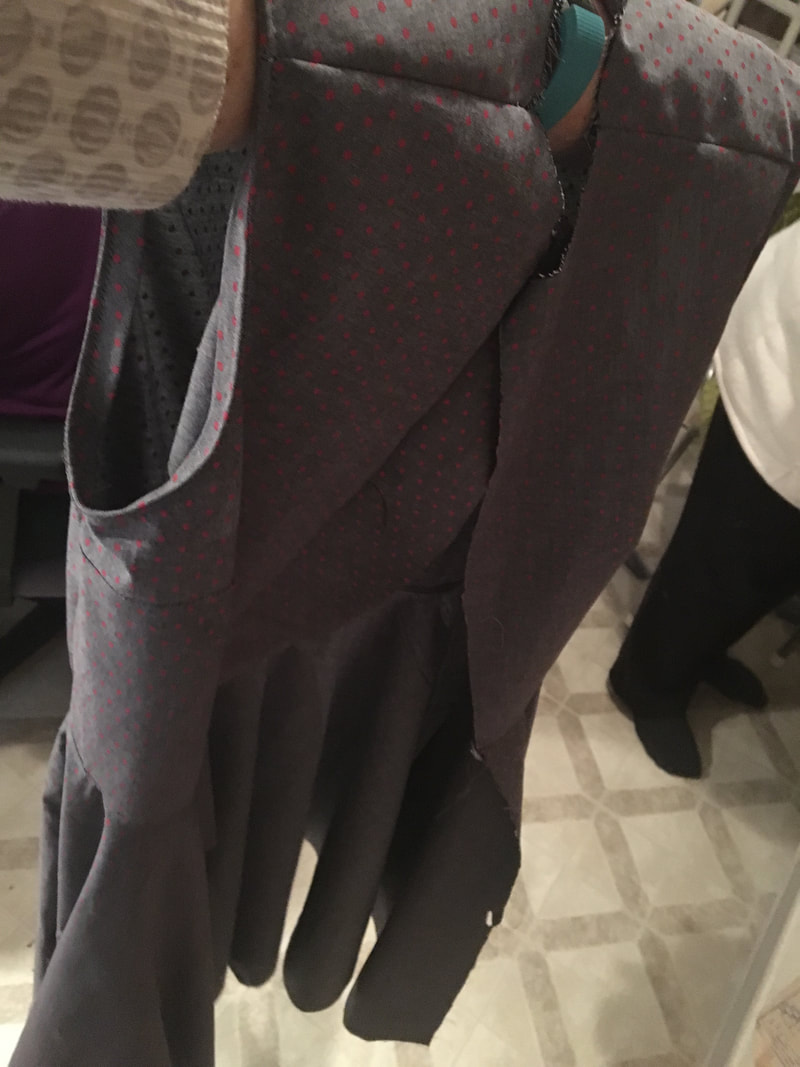
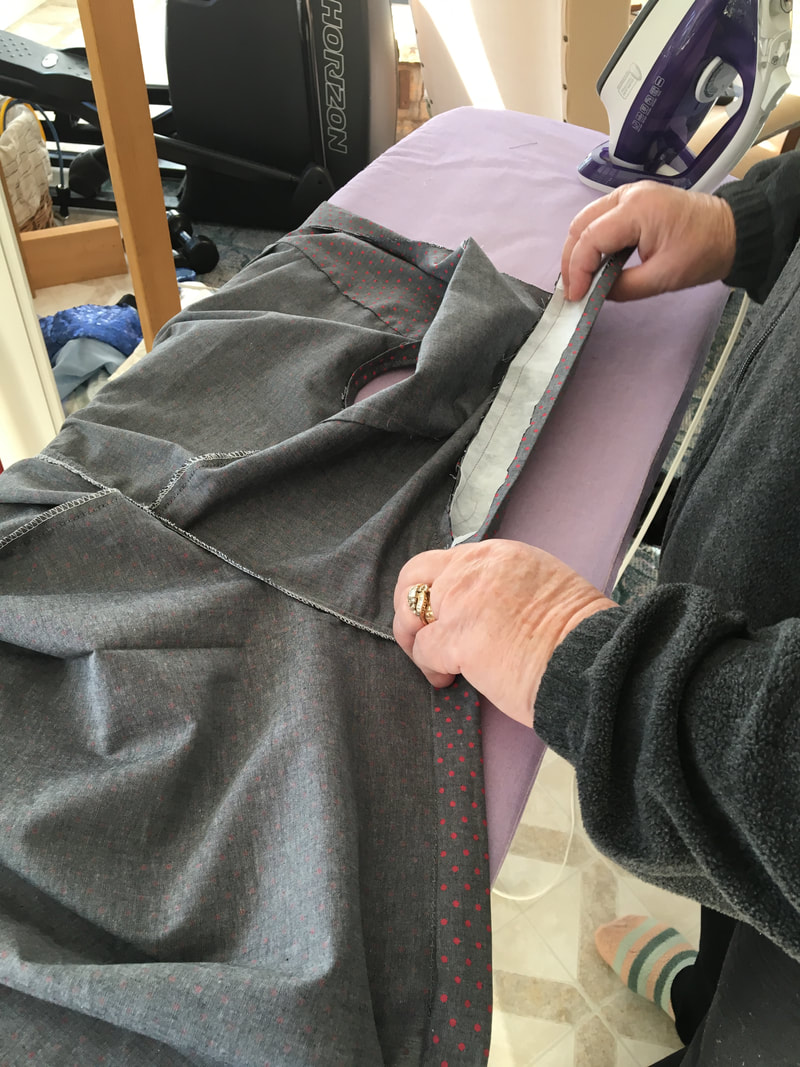
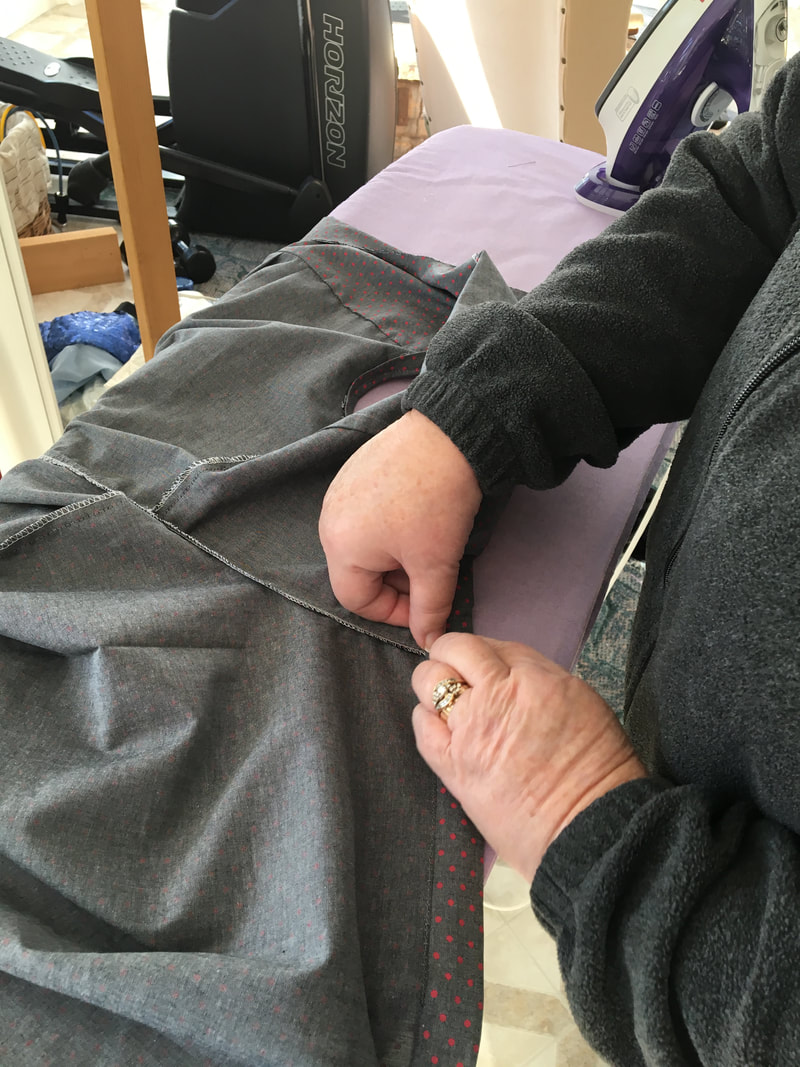
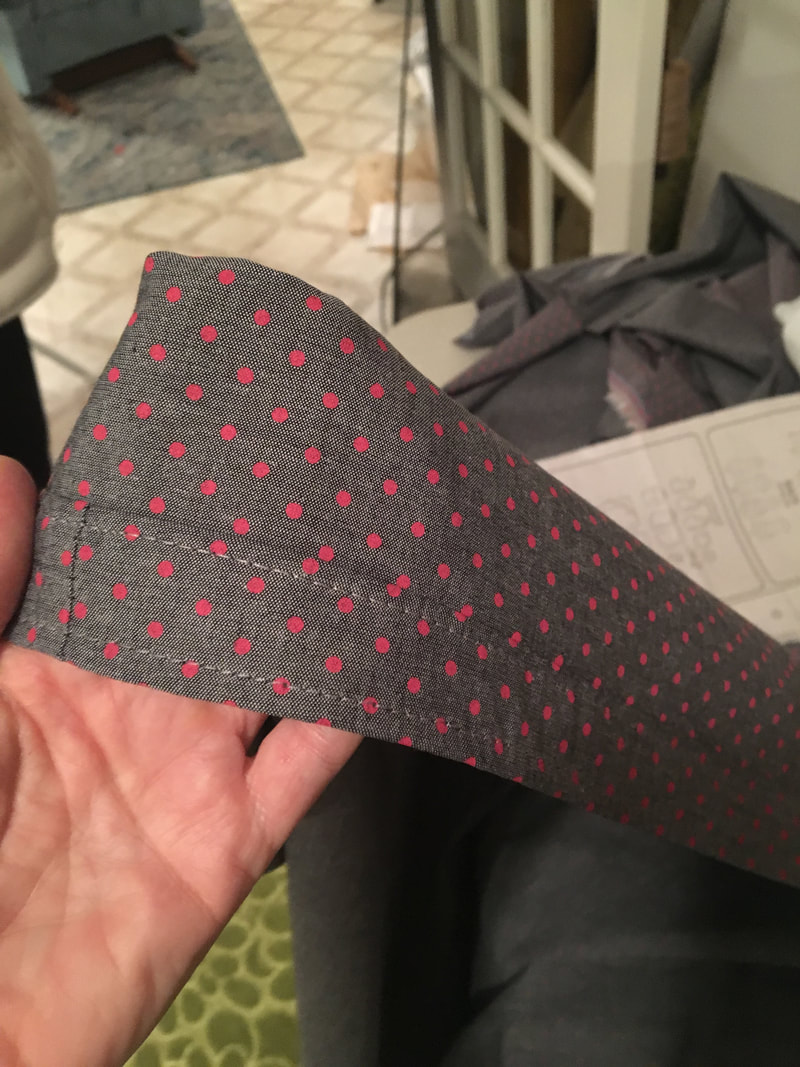
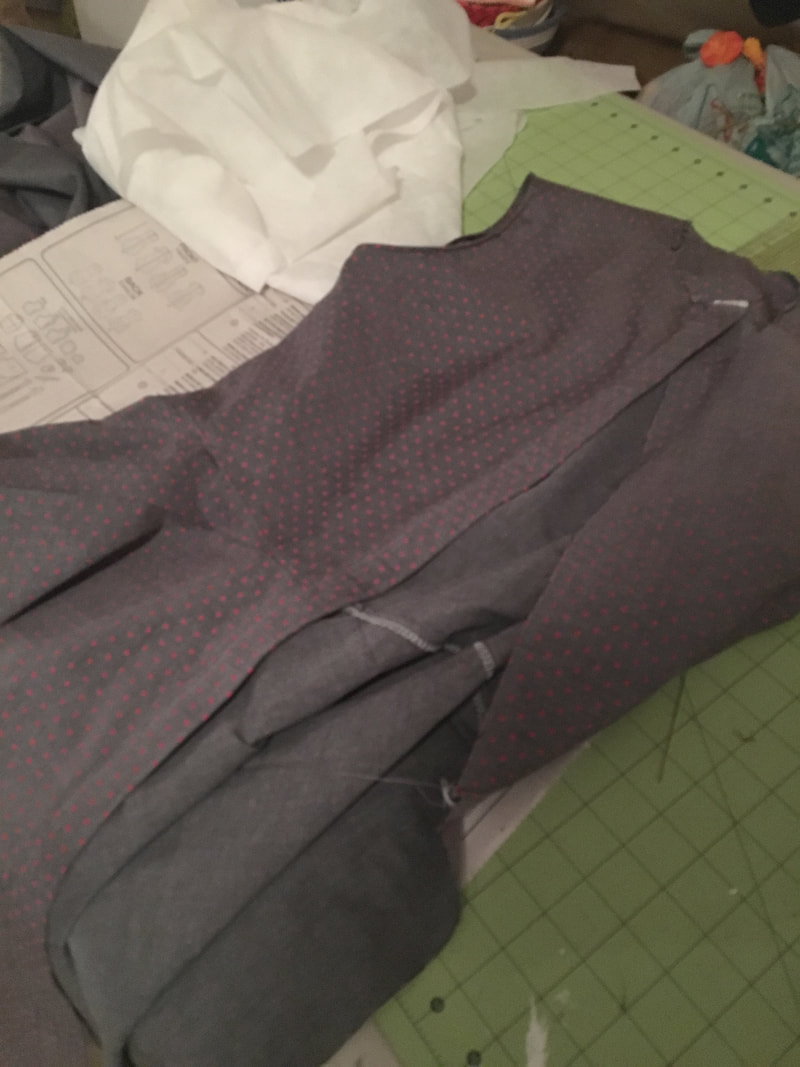
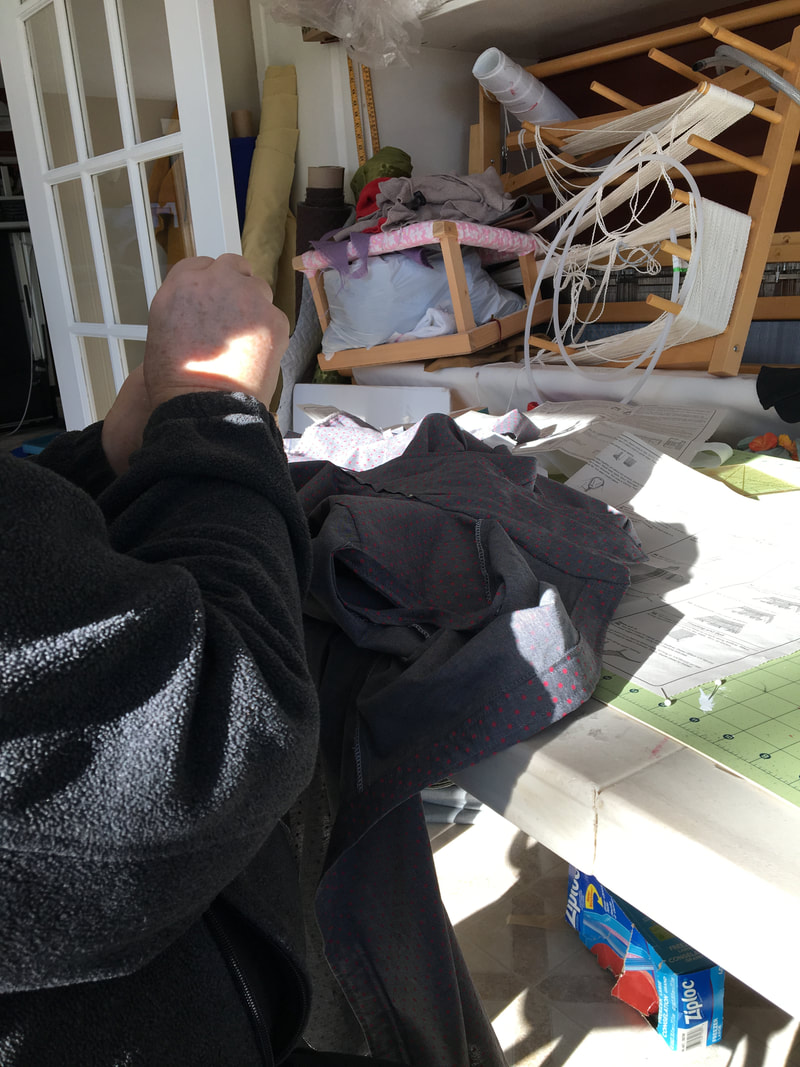
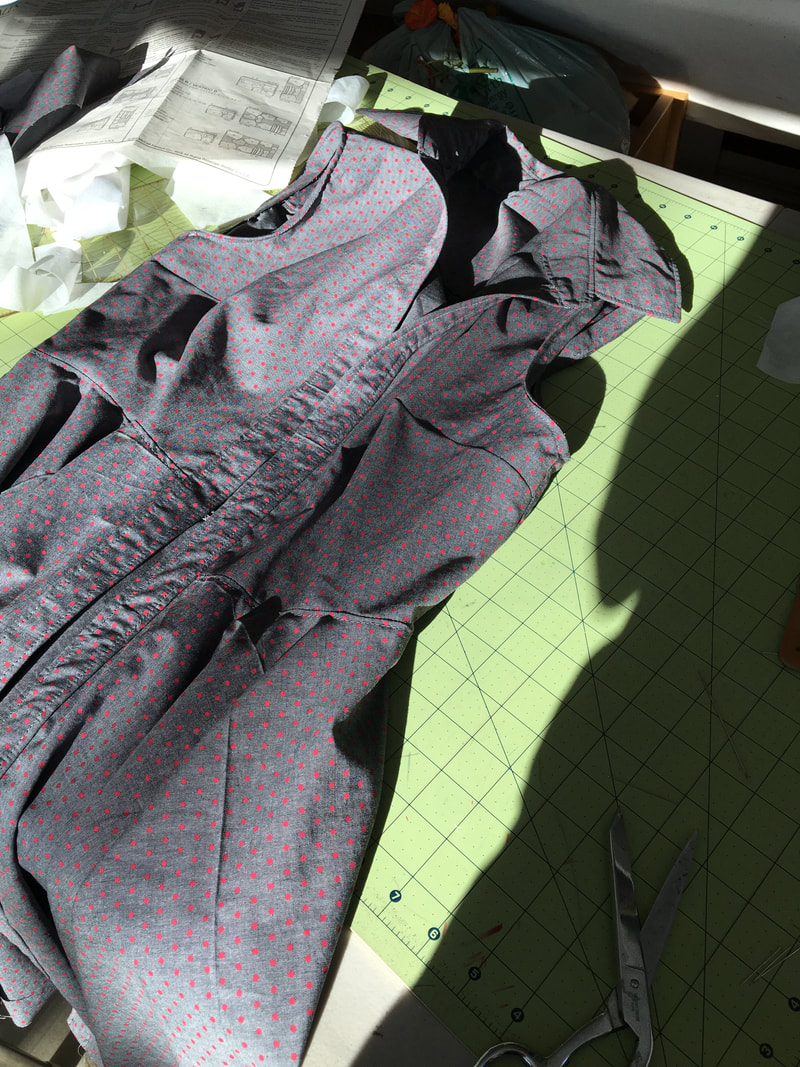
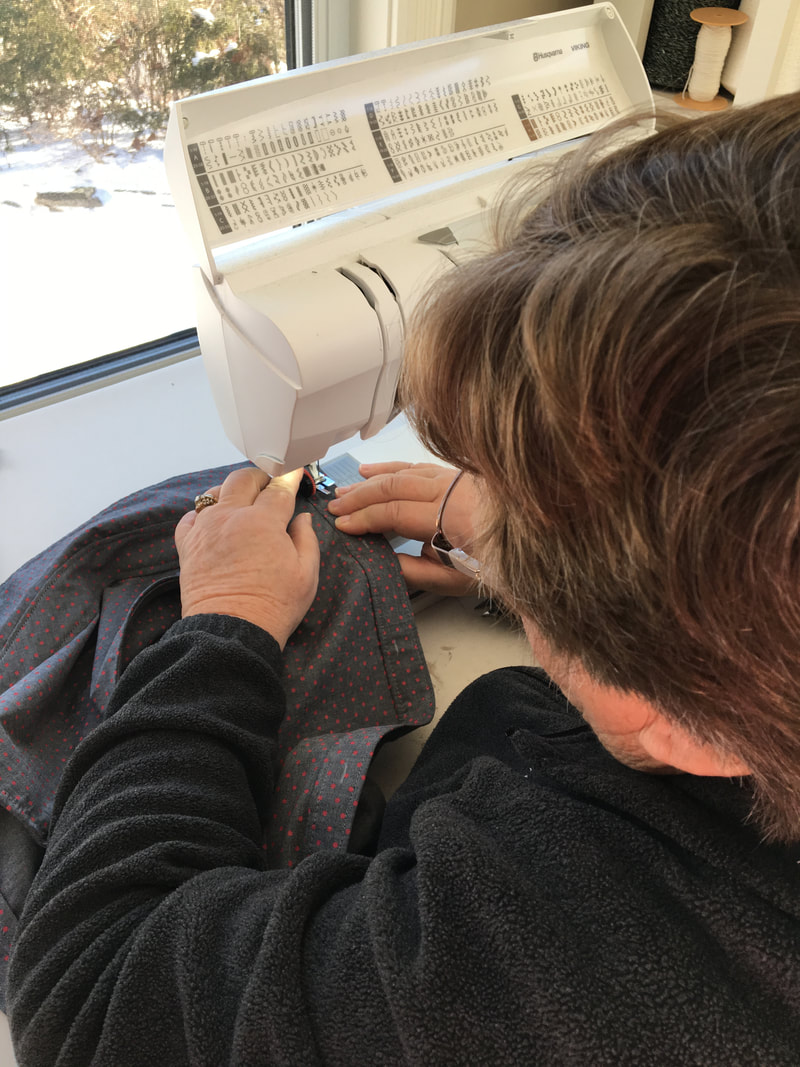
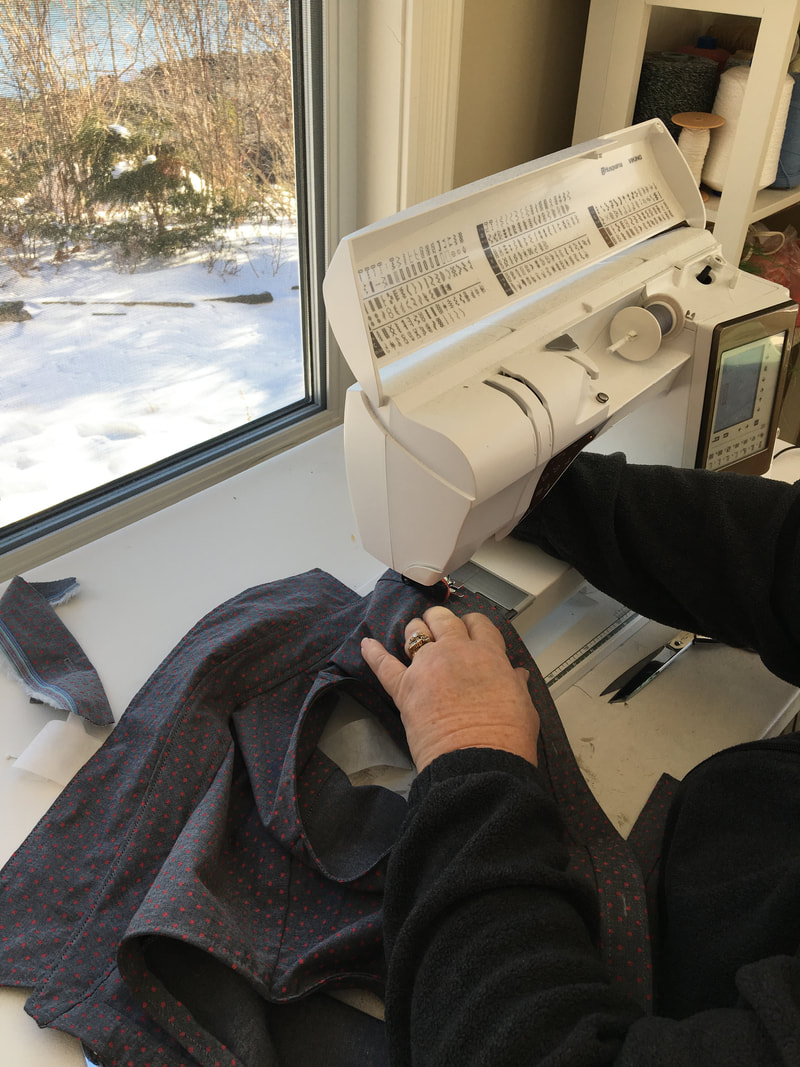
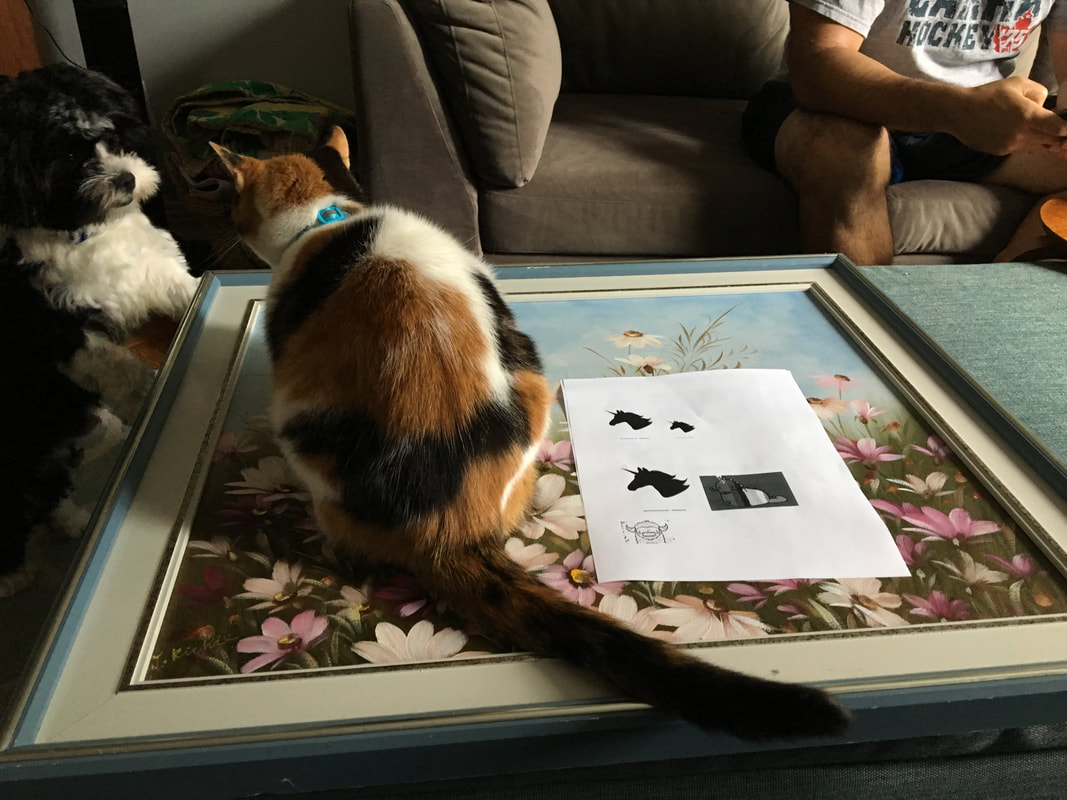
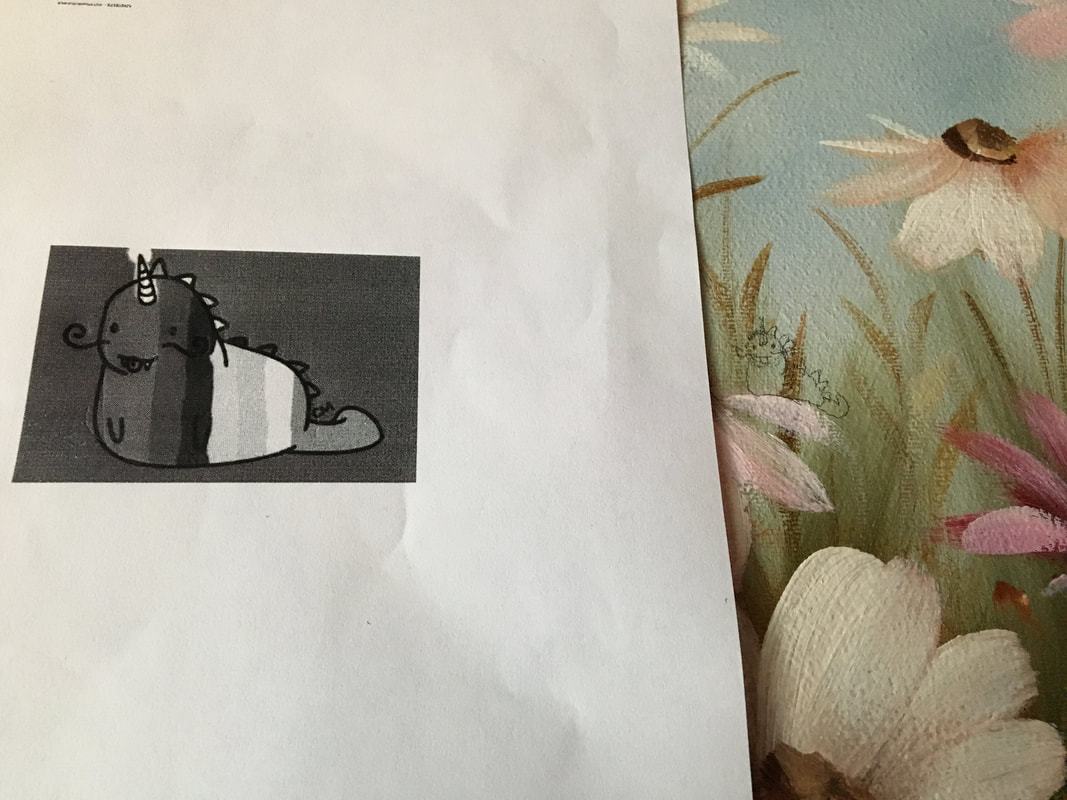
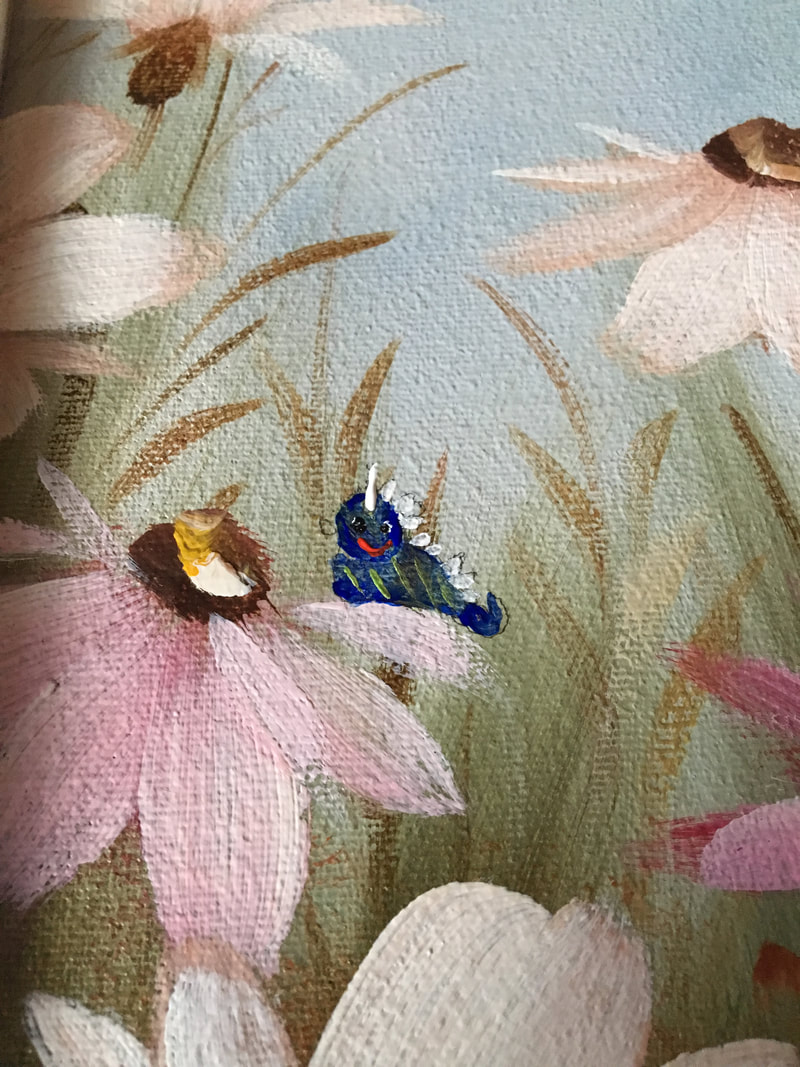
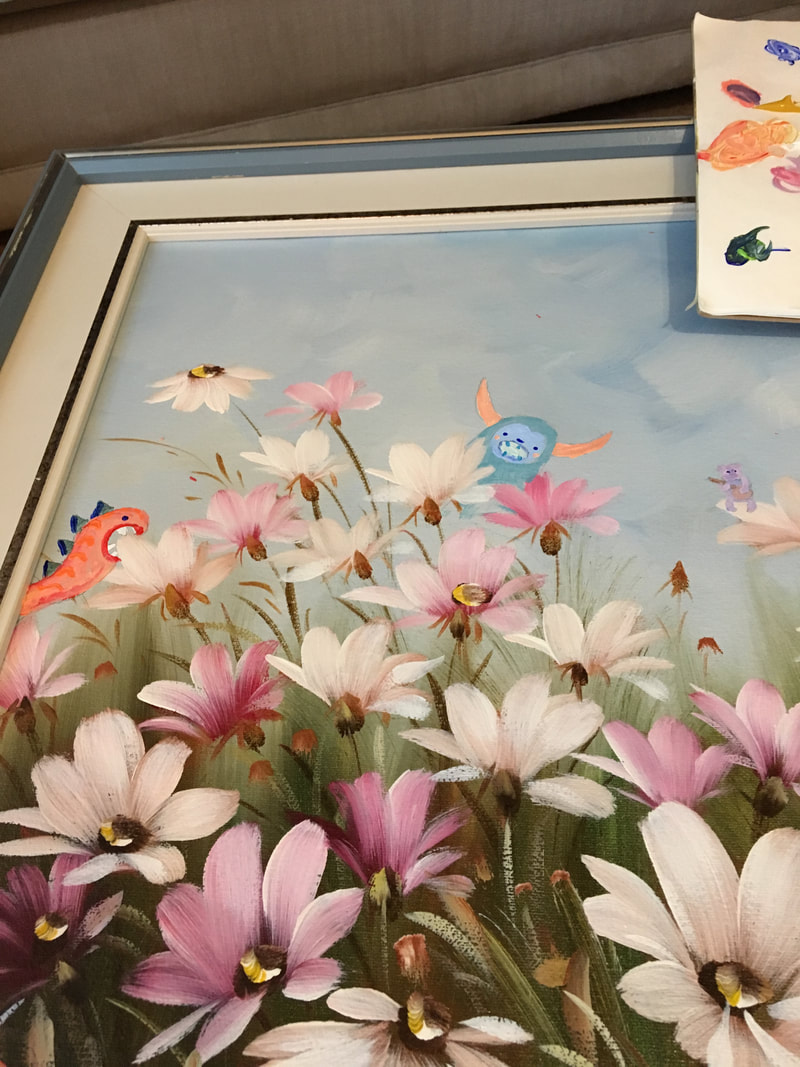
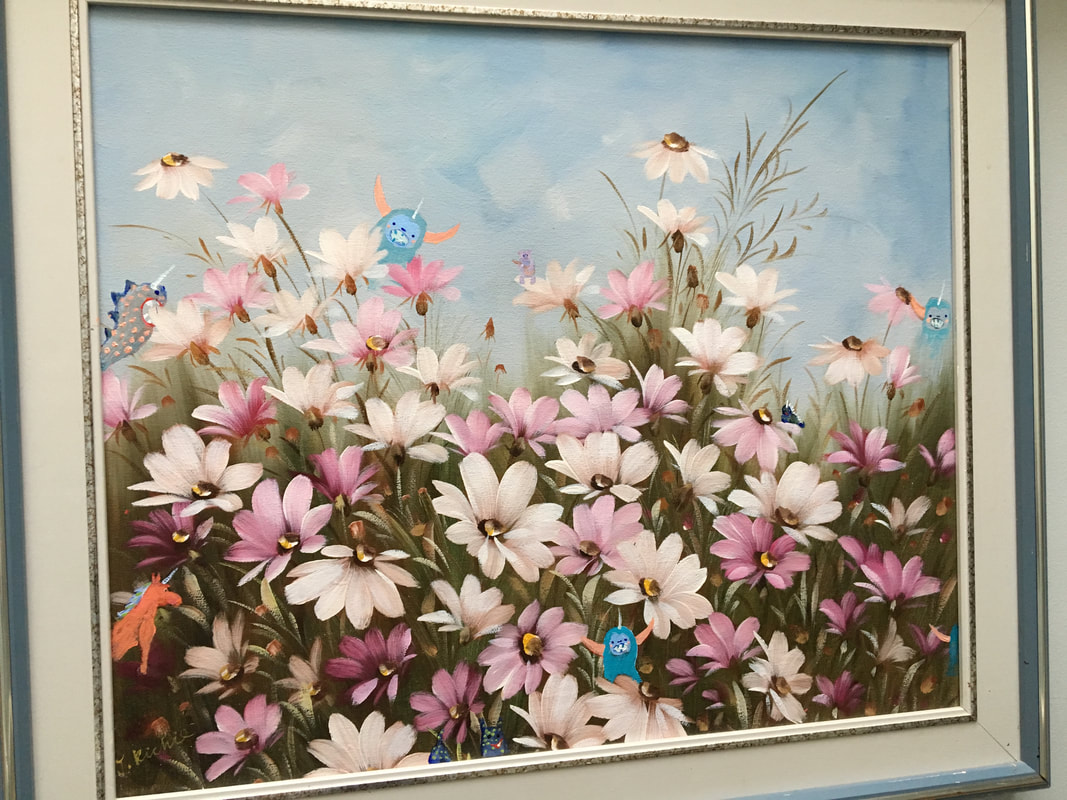
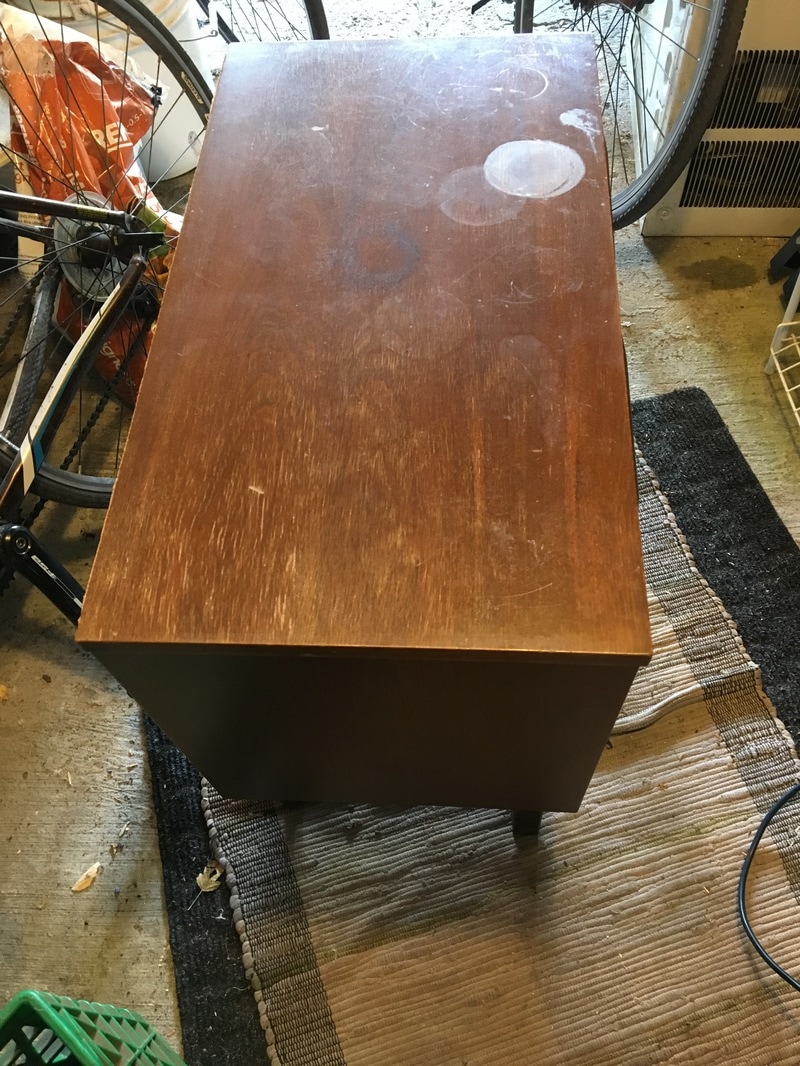
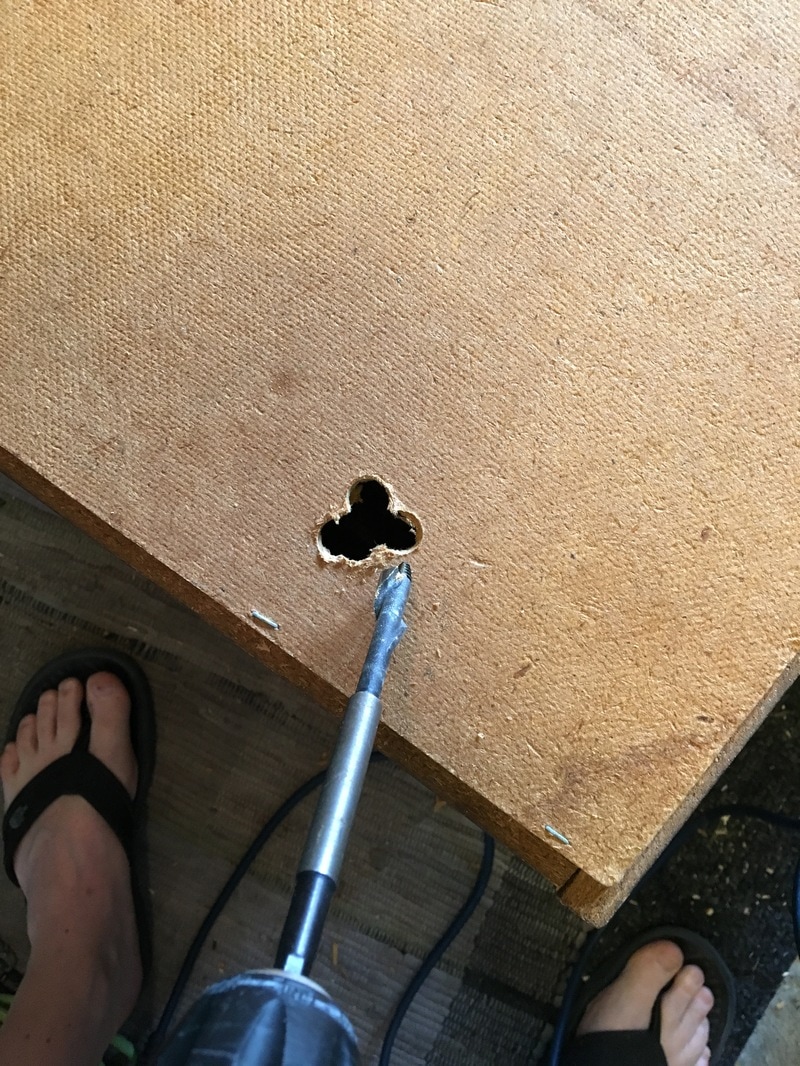
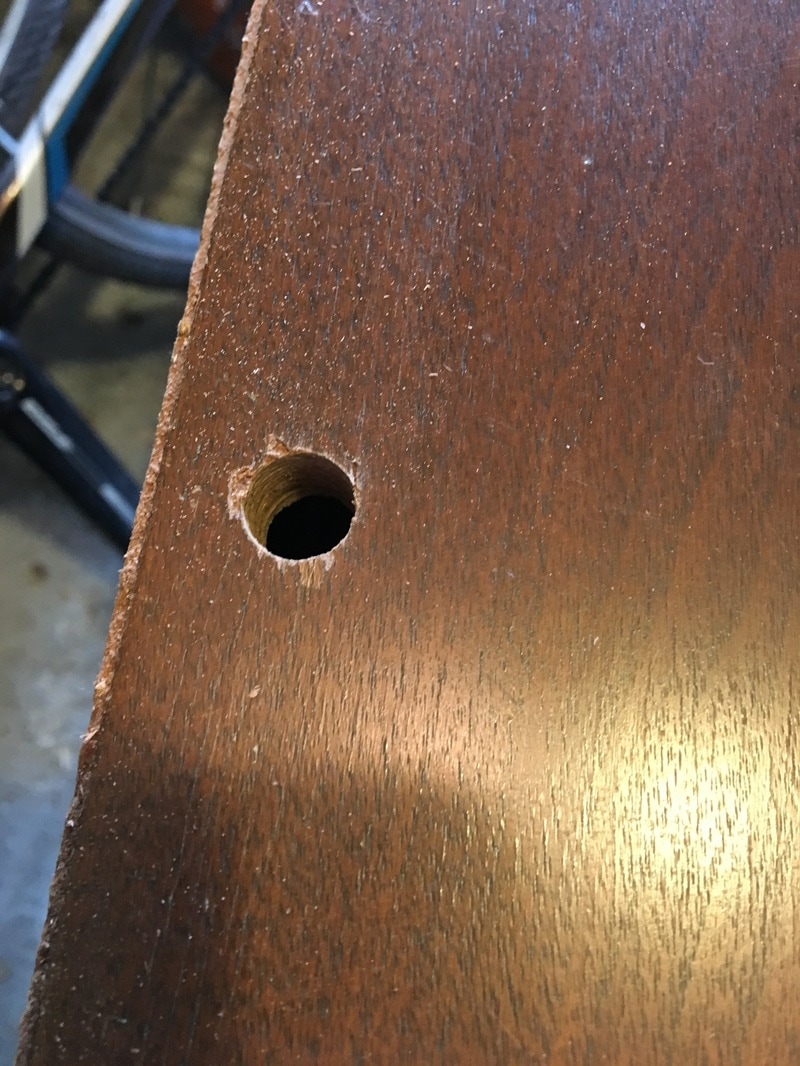
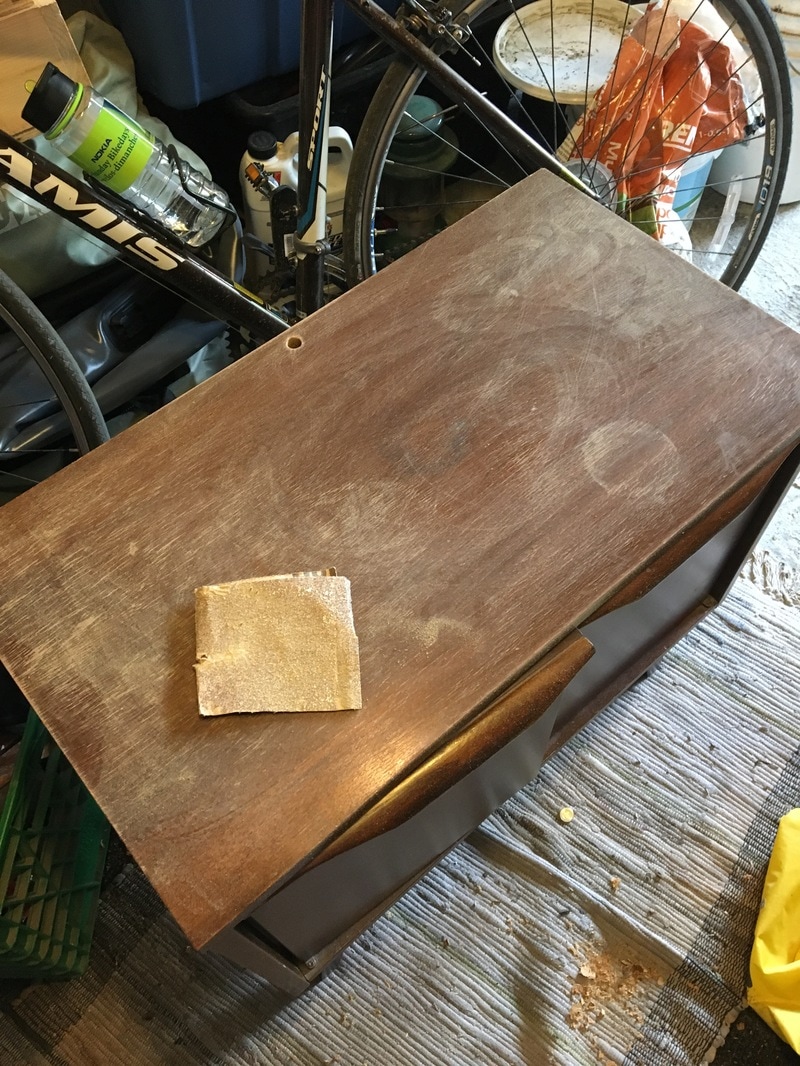
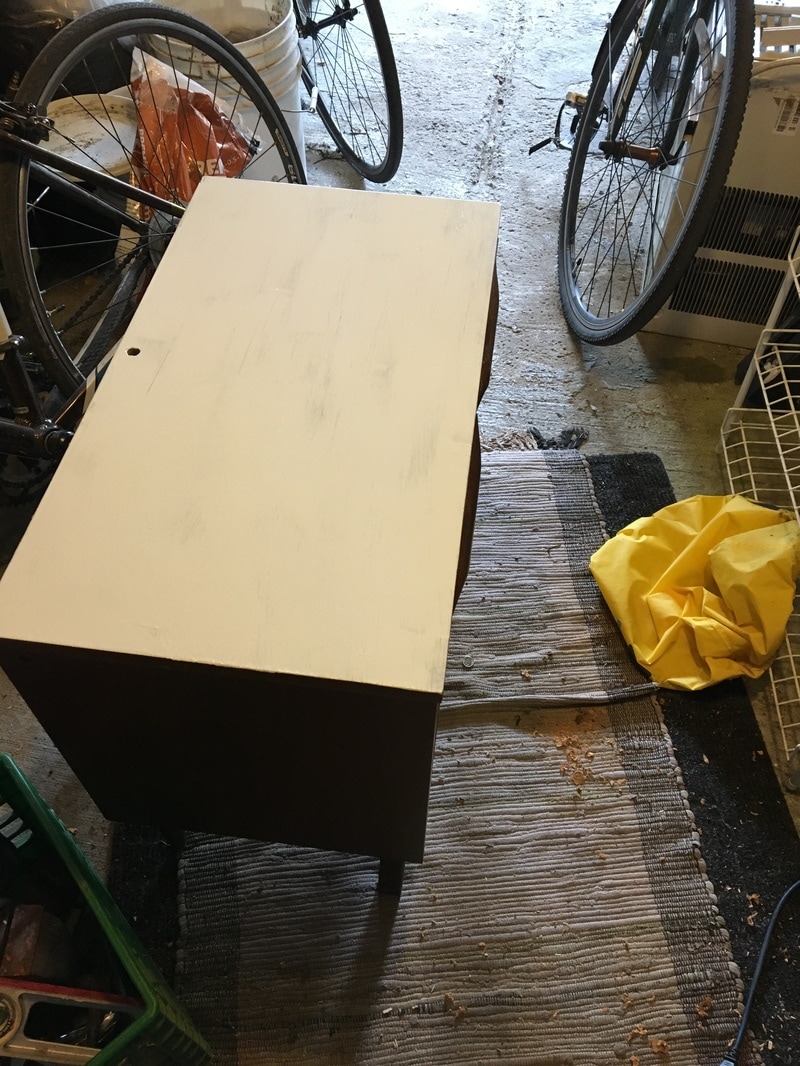
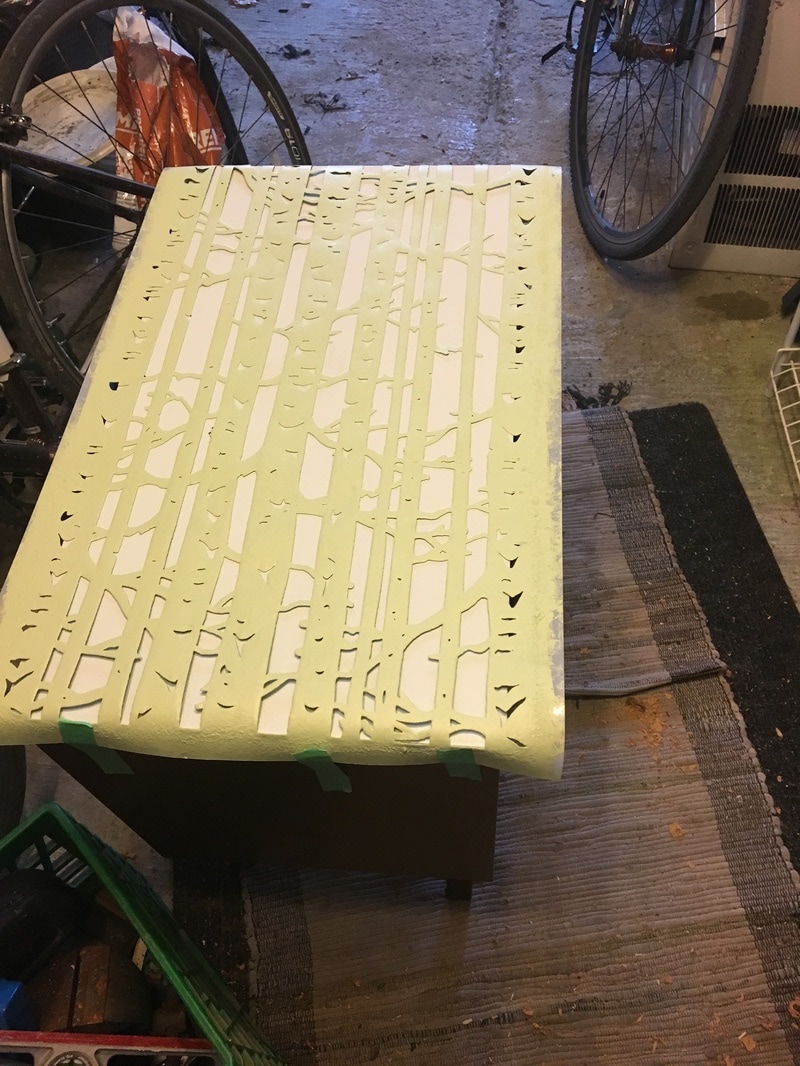
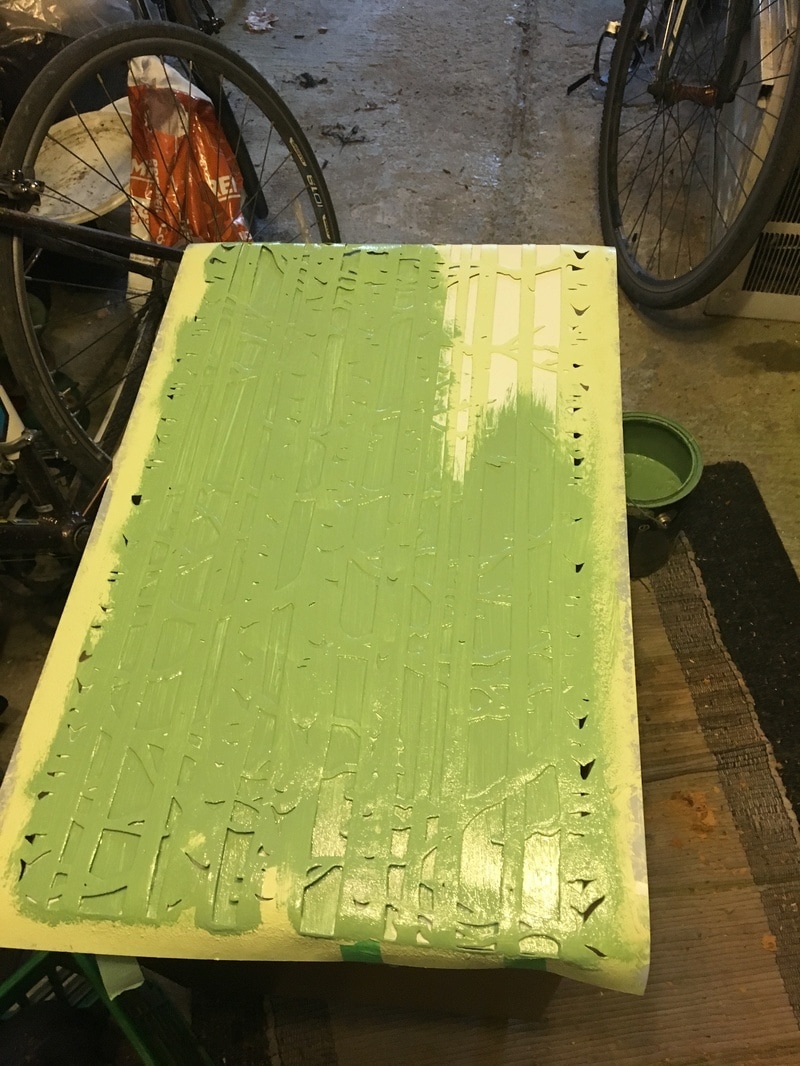
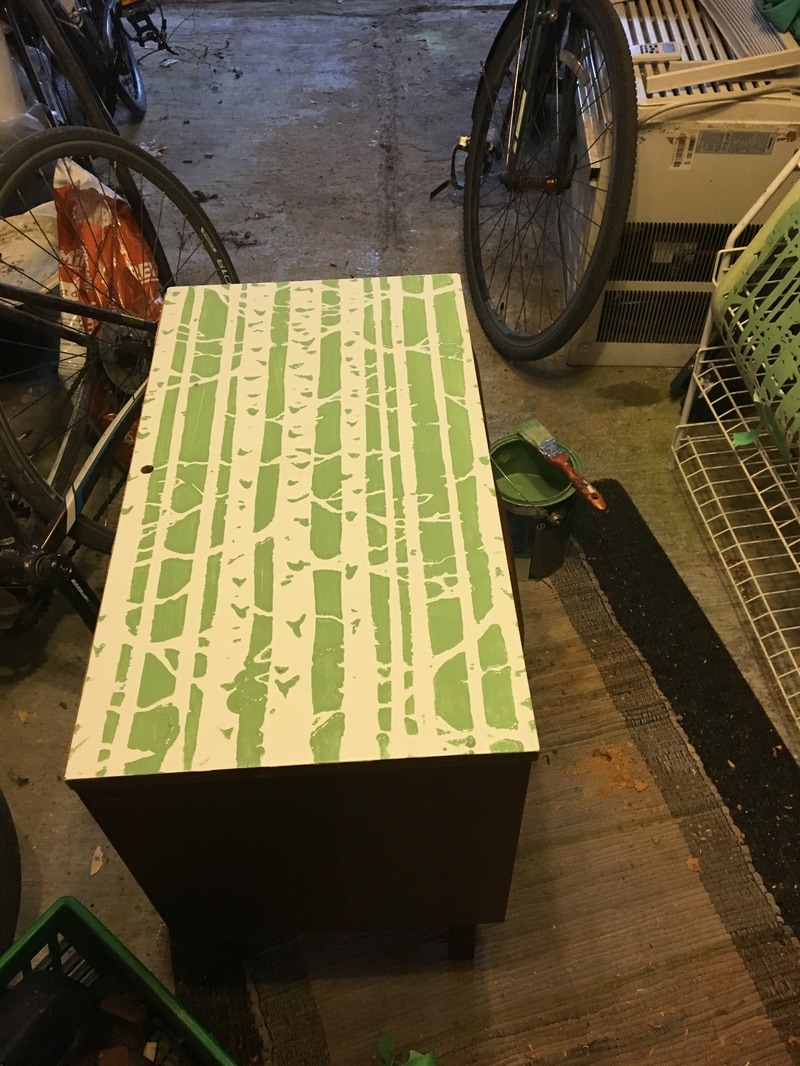
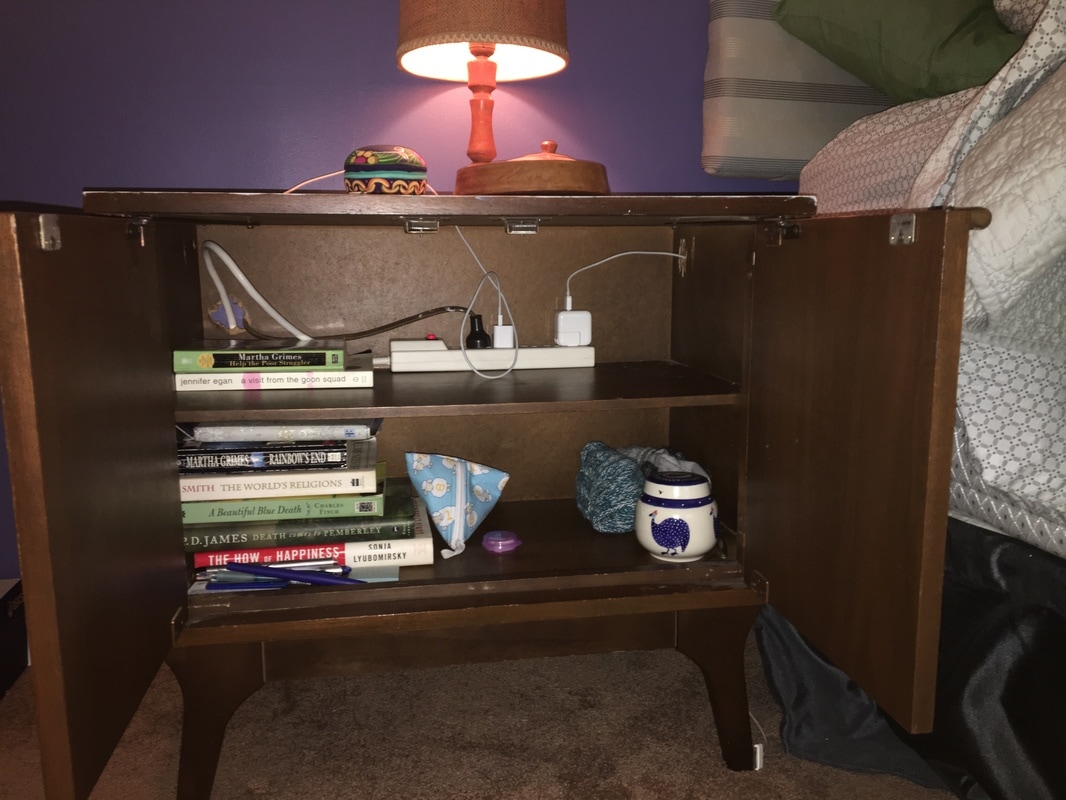
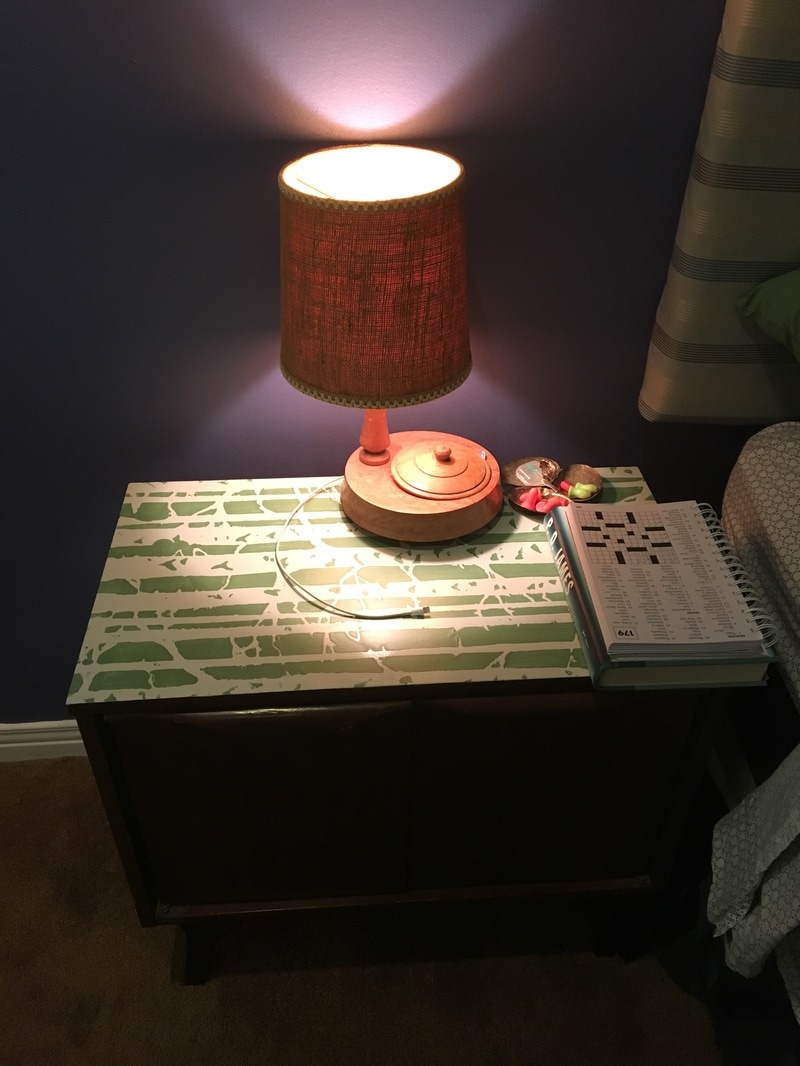
No electrical or plumbing yet but a fair bit of progress over the past few weeks. A few pretty costly add-ons to address the structure challenges, but what can do you.... At this stage, the walls are down and all the new beams are in. We had to make a few adjustments to the plan - rather than one steel beam in the main wall, we have two beams made of LVL - a composite wood product- because of the chimney. That sounds like a savings, but it was more than subsumed by the additional beams we had to install in other areas. The add-on was built pretty badly, so having to invest more than we thought in fixing behind the walls and under the floors. It will be level, structurally sound and insulated when we are done - but a bit of a budget killer to get there. Mental note: don't let amateur uncle johnny and his best buddy build your two-story addition. With all the problems cropping up, it has been great to have Herman to manage the options and come up with creative solutions, generally be on our side. The Ikea kitchen sale is on now until April so now have to get that all organized before it ends. We have an Ikea person coming to take the measurements sometime over the next few weeks, help design the cabinets we'll install. I've gotten a ton of great advice so will be acting on that - lots of pull out shelves! I visited the local Rehab store, where companies and people donate old building materials; profits go to Habitat for Humanity. I am hoping we can maybe get our tiles and a few other materials from there. Onward. Snow is melting so spirits are up. Week one done. Firstly, the mini-kitchen set up in the dining room is going really well, very functional. Having a full fridge, stove and laundry sink is great, much better than the toaster oven/hot plate system we thought we'd have. I was semi-excited to live off Yangzee spring rolls and cereal for two months, but I know this is better. I think.... This was a week of demo! I can't believe how quickly Marc and his son took it all down. Very few surprises, which was a great relief. Asbestos analysis came back negative (phewph!). Ends up the brick chimney is not in good enough shape to be an 'exposed' feature - but if that is the worst of it, it's fine. I might install a brick veneer on it instead, not sure. It was fun to see the years of flooring and (hideous) tiles in the kitchen over the years. They found a few old newspapers in the wall from May 1990 - so assume that was when the second addition was done. They also found the old house numbers underneath the drywall in the walls of the bath- I'm going to try to salvage it. I think the next big job is the wall coming down! It has been a bit dusty so far but not crazy - I think that temporary wall was such an awesome idea! Onward! And we are off. Permits secured, contracts signed, demo started. Took a few before pictures, and then after one day. To keep the dust down and make the next few months a bit easier, we have a temporary wall to separate our living space from the construction. We are also moving all our appliances into our dining room, so will have a fairly full kitchen albeit in a small space. Wasn't much work for them to do, but I think it make it all more livable over the next few months. An excellent suggestion from Herman. Tomorrow they are coming to install the correct plug for the fridge and the stove in the temporary wall, and setting up a laundry sink for dishes. The bin comes on Tuesday (which required serious driveway shovelling to make space). Ottawa had a record breaking January snowfall, and just had another 40+ cm blizzard, so things are a little tight. So far so good. Looks like there is a brick chimney in there, so now we wait and see what shape it is in. Also looks like the structural wall is not brick under the drywall, so should be an easier job to remove. One day down! Well we are now fully moved in as of Wednesday night and have turned in the keys for Florence. No going back. It feels good to have the move behind us and not being paying double mortgage! We had a few friends over for a Sunday afternoon visit, which really made it feel like home here, and the pets are settling in. We have two weeks respite before they come with the sledge hammers to start the work on the back part of the house. We have our mini-kitchen for the construction phase more or less planned. #lotsoftakeout The move wasn't the smoothest. One particularly quirky parts of the house is the original staircase, which is 28 inches wide at the top of the stairs....... And at its narrowest point, the hide-a-bed couch was 29 inches. The elliptical at its narrowest is 29 inches. There was no hope for the box spring. We knew we had issues beforehand. We measured. The movers tried with the couch but we knew. You can't will the walls wider by an inch. For the elliptical we completely deconstructed it to the smallest base parts. We have yet to reconstruct it, but have lots of little baggies with post-it notes (step 7 screws, step 8 bolts, etc..). No problem! For the box spring and couch, we had to commit to potentially completely destroying them and hope for the best. This Old House has a great youtube on how to cut your box spring in half. We sawed it in half, brought it upstairs and more or less put it back together. A bed skirt hides the mess. No problem! The hide-a-bed was a bit more complicated. I debated selling it, but there isn't much of a market for a used hide-a-bed and we'd need to solve a bed for guests. It is one of the few pieces of furniture we bought new. Figured we had nothing to lose so decided to cut off the top! Why not?! The fabric on the back of the couch is surprisingly easy to pull up. We drew a straight line across the seven pieces of wood that held it all together and started to saw. Probably took 15 minutes to work through the pieces (thanks Abe for all the muscle!). We pushed it up the stairs and right into the front bedroom. And then we just left it in pieces for 24 hours, contemplating our next step. A trip to the hardware store introduced me to Mending Plates! Perfect! We predrilled the holes and just patched is all back together in less than 30 minutes. No problem! A few staples on the back fabric and good as new. No one will ever know. And that couch isn't moving again ever, For me the lessons was that I overthought it all. I'd wake up at 2am, wondering how we were going to get that @#$#couch or the %$ elliptical up the stairs. I should have trusted that we would figure it out. So much freaking painting! We are still working away to get the design finalized and major work started - so doing what we can while we wait. So paint, paint and more paint. And more paint. Main lesson learned is that it is worth it to paint the ceilings. They were a literal pain-in-the-neck to do but well worth it before the furniture arrives. The surfaces were pretty dirty and beat-up- one coat often enough to fresh up the space! I've also recently started on the trim downstairs - they were also pretty marked up and dirty. I feel like there are miles of trim left to do, but will just keep working away. Place looking lighter and brighter, a bit newer. It isn't the type of painting that anyone notices but does have an impact on overall feel. My other lesson learned is to make sure Abe is 100% on board with a colour before I start painting (note try#2 in the living room paint).  Well, in hunt of a yard/garden, we've purchased a new (old) house just around the corner. The old brick dame has a few rough edges. In other words, there are now so many projects I barely know which way to look or which one to start with. I am now drowning in potential projects. To start, we've done painting in two of the upstairs bedrooms. Why is every house we move in to painted mustard yellow?!?! They are now ocean-y shades of blue and green. Also Lloyd was down for a weekend and he and Abe replace the outdoor switch. So in summary to date, 2 of the 765 projects have been addressed. The main effort this year will be the kitchen/main floor area. We are working with our neighbour and his business partner to get things going. As we are planning to remove a structural wall and open the space, we thought it best to bring in the professionals. I think I'll spend my project time mostly in the garden this coming year. So we are about to start a rather intense design/project journey. I want to track both our efforts and also the work with the professionals. Here we go!  This post is a really an 'ode to Bessie Bartlett'. She is the Queen of Projects. She is a sewer! She is a carpenter! She is a plumber! I watched her time and time again do it herself, making curtains, building bookshelves and ottomans, taking apart toilets, redoing bathrooms, rebuilding the BBQ, and so on. Mom thought it was important for the girls (me, Amy, Lesley) to be self sufficient. When I went off to university, she made sure I had my own copy of How to Fix Just About Anything and a set of basic tools along with a beautiful quilt (made by mom). When the toilet broke in my 3rd year university apartment, I opened the trusty manual, bought the part and fixed it myself. I felt invincible! #ItFlushed Throughout the years, sewing seemed to be her core creative output. Lots of pyjamas, aprons, matching outfits (sigh...). She applied her skills to many a halloween costume (remember the three headed dragon!) as well as dressing local theatre troupes. What would 'Dogs Playing Poker: Live' be without her ingenious dog heads (and matching paws)? I figured I should take advantage of this amazing source of expertise and so, asked mom to help me sew a dress over the holiday break. I bought a few McCalls patterns during a $2 sale and picked one of the hardest to bring home (M7351). Collars, buttons and sleeves- oh my! My main sewing experience was in grade 7 when I had to sew an apron. The teacher nearly failed me because I did not follow the instructions and skipped a few steps. All to say, I am a true amateur. I got some polka-dotted cotton at Mardens (~3 yards) and off to moms sewing room. It took around an hour maybe to cut out all the pieces. During this process, I discovered I was a few yards short (whoops! First lesson learned - by extra fabric) so decided to drop the sleeves and pockets. The sewing happened over a few days, but went pretty steadily along. Lots of pinning, ironing, sewing, pinning again. The collar was probably the hardest section, lots of elements to it, but is my favourite part. Mom and her fancy machine did the button holes, etc. The pattern instructions are obtuse to say the least, so mom had to do a lot of translating. In the end, the dress fits and looks pretty good. More importantly, I got to spend some time with my mom and learned enough of the basics I think to start the voyage of sewing my own clothes. Until the next project! So I was taking the puppy for a walk and found a painting with a frame just lying around. #LuckiestDay I offered it to Amy to decorate her new fancy office but it was declared to be "Way to boring Leah...Not cool enough for Amy". Time for a project!! I asked Amy to send me a few inspirational images and went from there. Amy kept asking me if I was happy with it, which is Amy's way of saying 'Please do more work on it". I like it's rough and vintage feel so am going to stop here. Cost was zero as it required existing art supplies and the garbage painting. Things to find: three dinosaurs, four monsters, one unicorn and a teddy playing banjo! Onto my next project! There are things in life that may impact your ability to do the projects you love, like slicing the front tendon in your thumb and getting a puppy. But let time pass, and eventually you will get back at it! A few years ago I bought a chest of drawers for the second bedroom off kijiji for I think $25. With it came two additional matching bedside tables and I've been using it for a while but don't love it - Project time! This project costed absolutely nothing, just using things I already had in the house. There were two main steps to this project: drilling holes for plug management and then painting the top. Holes: We already had the drilling attachment from a deck building project many moons ago so no big deal! I put in a bunch of connected holes in the back of the top shelf to get the plug of the powerbar out the back, then one hole on the top centre for the iPhone charger and one on the side for my iPad. I love it! Paint: The top of the bedside table was pretty damage so figured I'd paint it. I started with a quick sanding to help the paint adhere. I did a base coat of a grey-blue I had on hand and then decided to use Amy's birch tree stencil to add a little detail. The actual work of this project was probably around 20 minutes, plus the time for the paint to dry. I've had it back in place for a few nights and really love it #needtodrillholesinmorefurniture. I love the function of the easily accessible charger plugs and also love the look of it. Onto my next project! |

Author: Leah BartlettLover of projects, big and small! I try to not be intimidated by lack of experience/skill/know-how. Archives
September 2018
Categories
All
|


 RSS Feed
